Straighten and Cropping Images
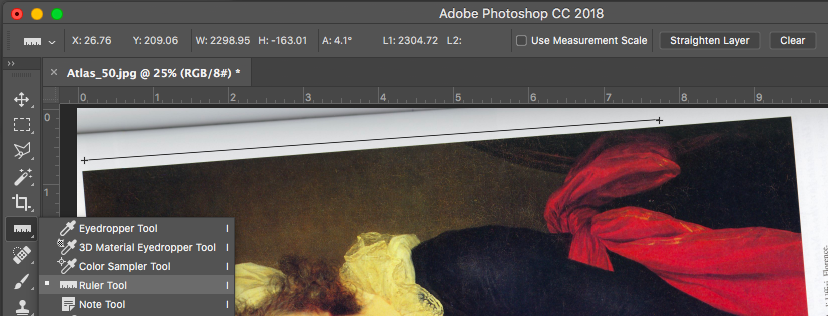
1. To straighten your image, click the “Ruler Tool” button at the left. If the tool does not appear in the tool bar look for the Eye Dropper Tool, 3D Material Eyedropper Tool, Color Sampler Tool, or Note Tool and click and hold down. The full menu of tools will appear and the Ruler Tool will be located in it.
2. Next, use your mouse to draw a line parallel to the edge of your picture, like the black line with plus symbols at the end like the one above.
3. Then click the Straighten Layer button at the top of the tool bar.
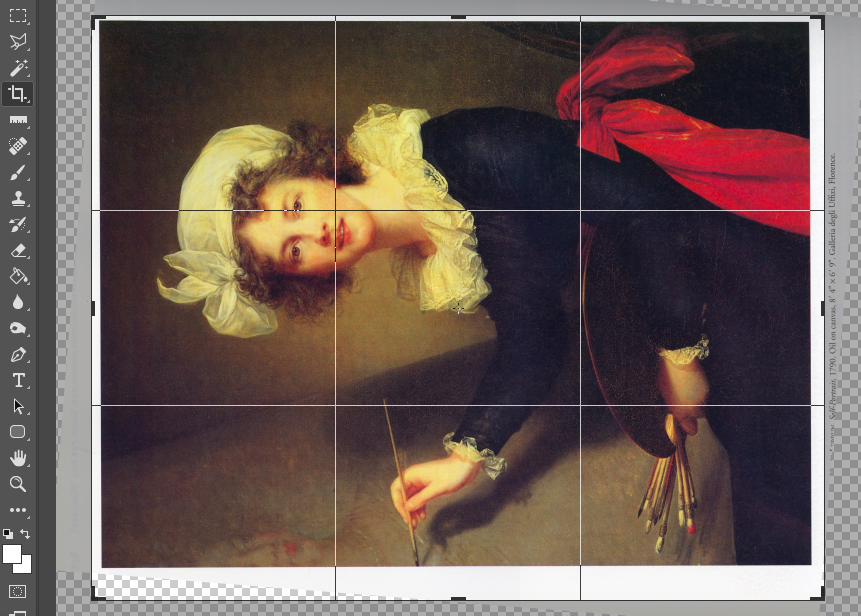
4. Click the crop tool, highlighted in dark grey above, on the tool bar. The crop box will appear around your image.
5. To adjust the crop box, click your mouse along one of the edges of the crop box and drag the double-arrow icon that appears.
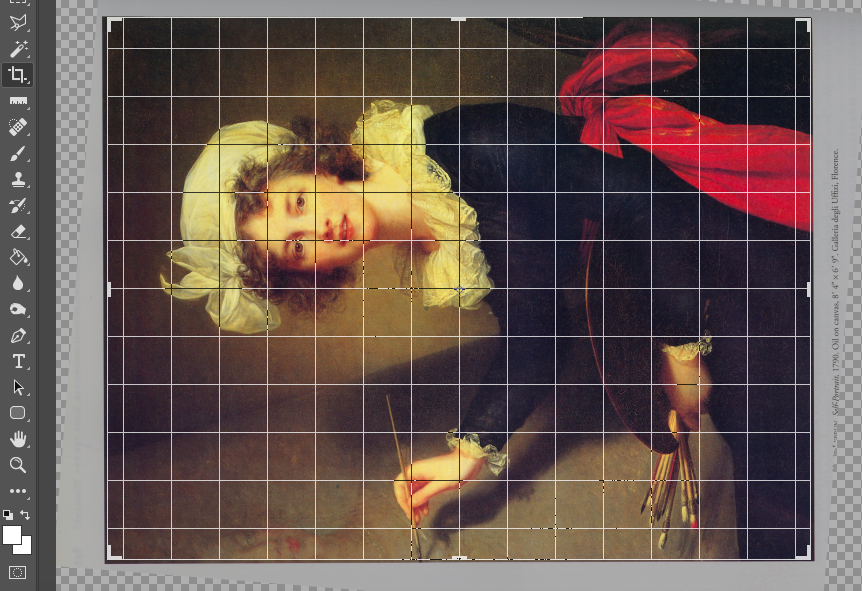
6. To straighten your image further you can go to a corner of the crop box and click the corner-arrow icon to rotate the crop box.
7. When your crop box is positioned where you want it, hit Return. Your image will be cropped.
Adjusting Black-and-White Scans
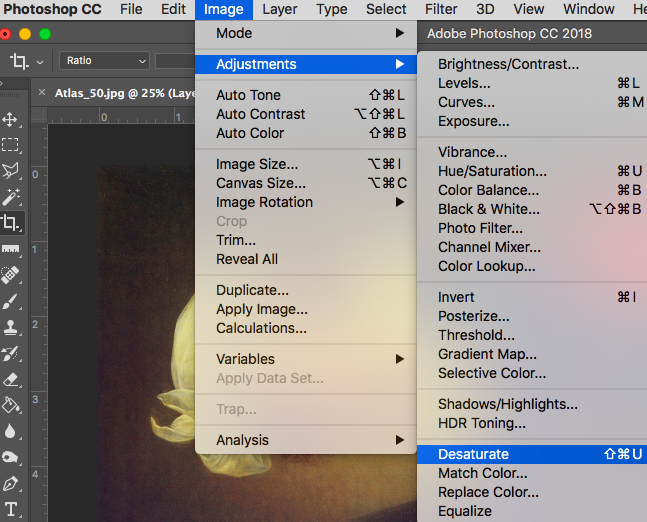
If your image is black-and-white, the scanner may create a color cast over the image. To remove it, select Image > Adjustments > Desaturate.
Adjusting the Levels of Lightness and Darkness in Your Image
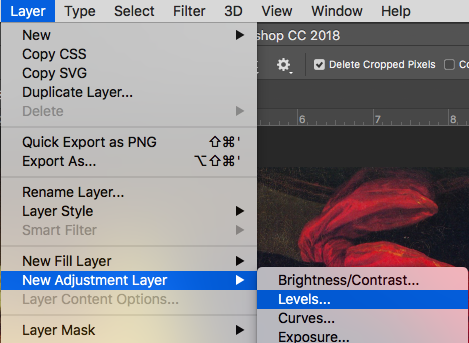
1. Select Layer > New Adjustment Layer > Levels.
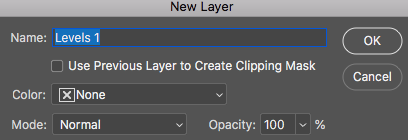
2. When the New Layer window pops up, click OK.
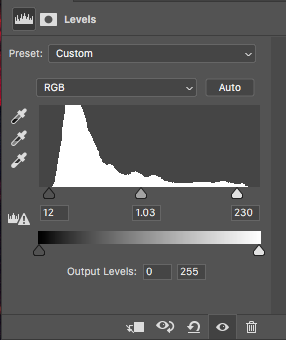
3. Use the three sliders to adjust the dark, mid-range and bright areas of your image.
Adjusting the Color Cast in Your Image
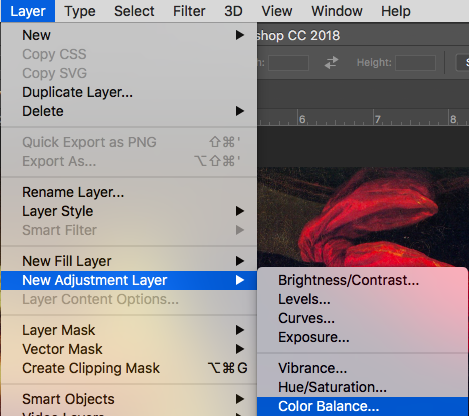
1. Select Layer > New Adjustment Layer > Color Balance.

2. When the New Layer window pops up, click OK.
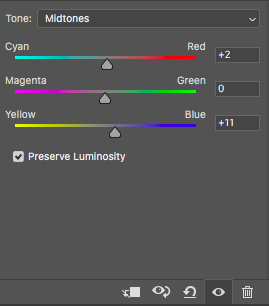
3. Under Tone: select the parts of the image to color correct: shadows, midtones, or highlights.
4. Use the three sliders to adjust the different colors. Pushing the slide toward magenta, for instance, will increase the magenta tint and remove green from the image.
Adjusting Individual Colors in Your Image
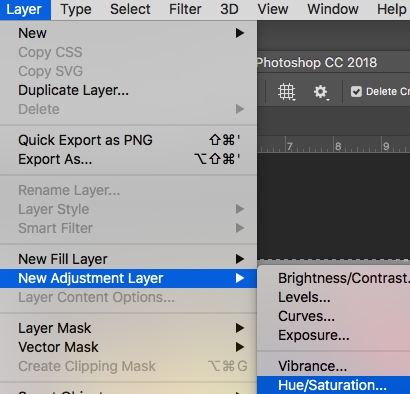
1. Select Layer > New Adjustment Layer > Hue/Saturation.
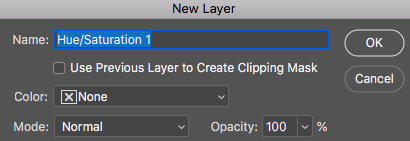
2. When the New Layer window pops up, click OK.
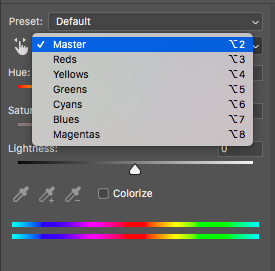
3. Select the color you want to edit.
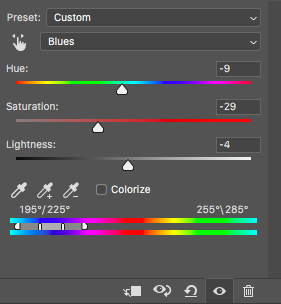
4. Use the three sliders to adjust. Hue will change the color itself. Saturation will change how strongly the color appears in the image. Lightness will adjust the lightness or darkness of the color.
Sharpening Your Image
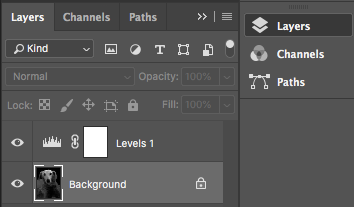
1. At left, click the Layers button.
2. Then, click Background.
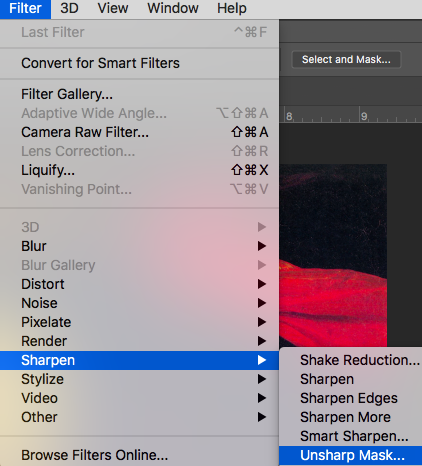
3. Go to Filter > Sharpen > Unsharp Mask.
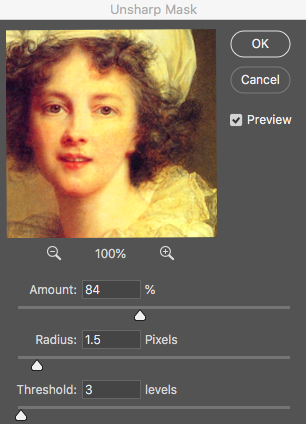
4. Set Amount at 85. Set Radius at 1.5. Set Threshold at 3. Click OK.
Copying and Pasting with Magnetic Lasso and Transform
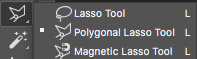
1. From the toolbar at the left, click the lasso button and select Magnetic Lasso Tool.
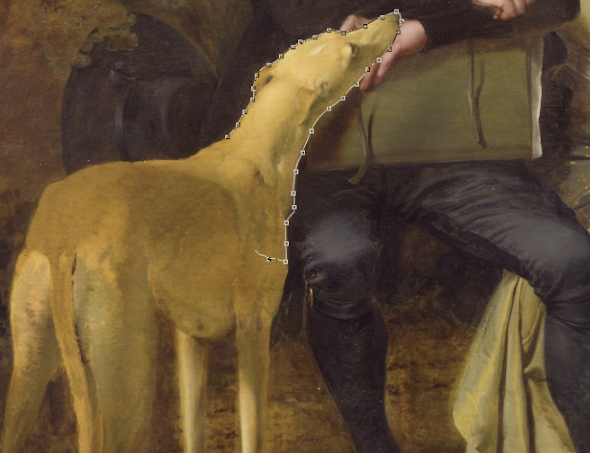
2. Click on the edge of an area you want to copy. Drag the tool along the edge of your selection area. The tool will automatically cling to the edge it detects.
3. To change direction to another edge, pause the tool by clicking your mouse, then drag the lasso in the new direction.
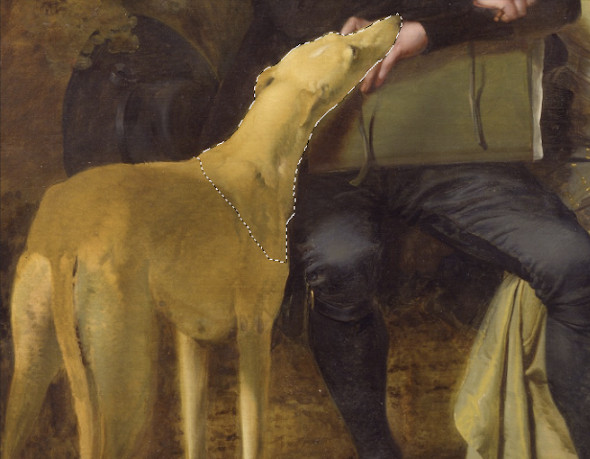
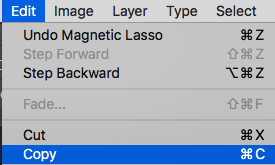
4. To finish the selection, drag the lasso tool to where you started, creating a “loop” around your selection area. Then, click Edit > Copy.
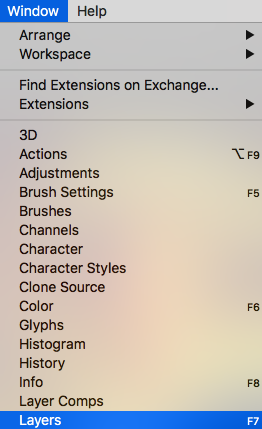
5. Next, go to or open the image where you’d like to paste your selection. Click Window > Layers. This will allow you to select the object once you’ve pasted it into the image.
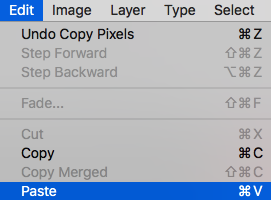
6. Click Edit > Paste. Your object should appear in the middle of the image.
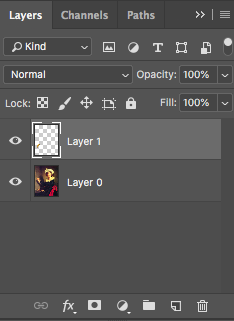
7. You can switch from editing your pasted object to editing your image by clicking the Layer it corresponds to in the Layers window.
8. To move it around, click the ![]() tool at the top left and drag the object to where you’d like it.
tool at the top left and drag the object to where you’d like it.

9. The object you’ve added may be too large or too small for the image. In this case, you can resize it with a transform Tool. Go to Edit > Transform > Scale.
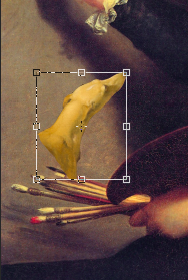
10. A box will appear around your pasted object. To resize you can drag the corners to make it larger or smaller.

11. Alternatively, you can go to the top of the screen and change the size by altering the scale in the W(idth) and H(eight) boxes.
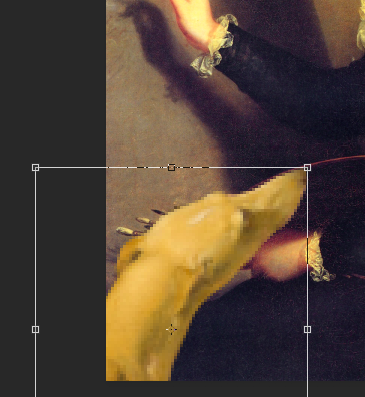
12. Once you have the object to the size you like, click return.
Using Mask to Copy and Paste
![]()
1. Another method for selecting an object to copy and paste is to use a mask. Go the bottom of the toolbar at left and click on the Mask tool.
![]()
2. Next, click the Paintbrush tool.
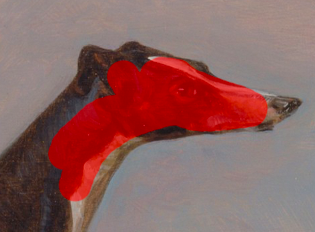
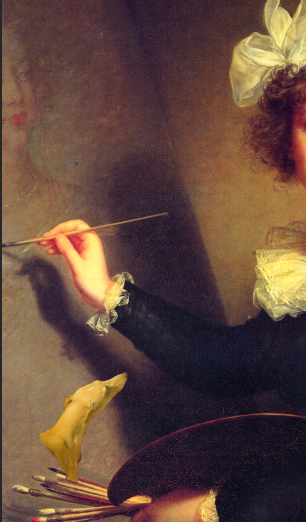
3. Use the brush to “paint” over the area you want to copy.
![]()
4. Make sure that the Opacity drop-down menu at the top of the page.
5. Use the drop-down menu at the top left to choose your brush size.
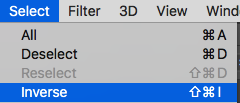
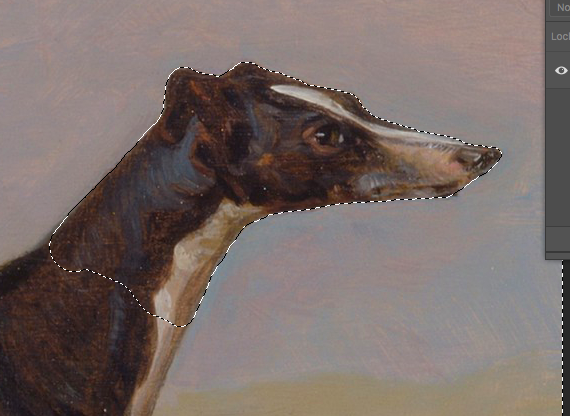
6. Once you have finished, click the Mask tool button ![]() again. A dotted line will appear around your selection area and the edge of the image. Photoshop is selecting everything outside the selection area. Go to Select > Inverse. Now the area you painted over can be copied.
again. A dotted line will appear around your selection area and the edge of the image. Photoshop is selecting everything outside the selection area. Go to Select > Inverse. Now the area you painted over can be copied.