Overview
A halftone is a way to represent continuous value using only two colors, typically by means of a pattern of dots of varying size. This tutorial will show you how to turn an image into a vector halftone which can be used to produce a woodcut on the ShopBot CNC machine in the Smith College Department of Art wood shop. The tutorial uses the Adobe Labs Hello Halftones web app.
Instructions
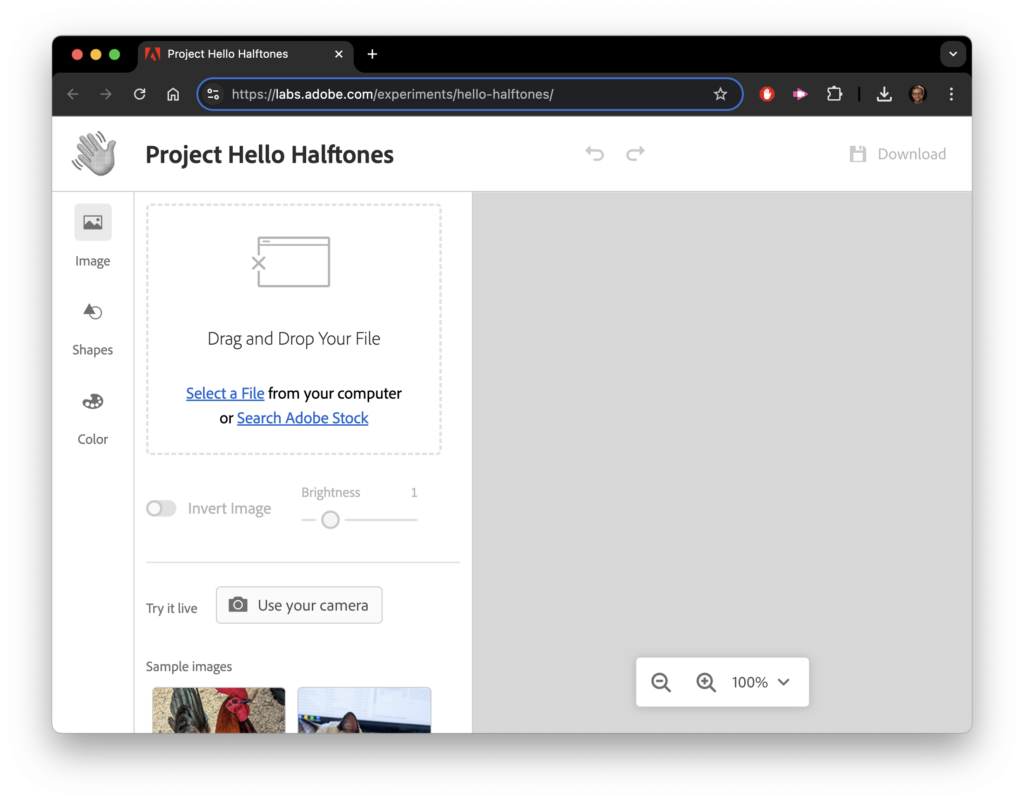
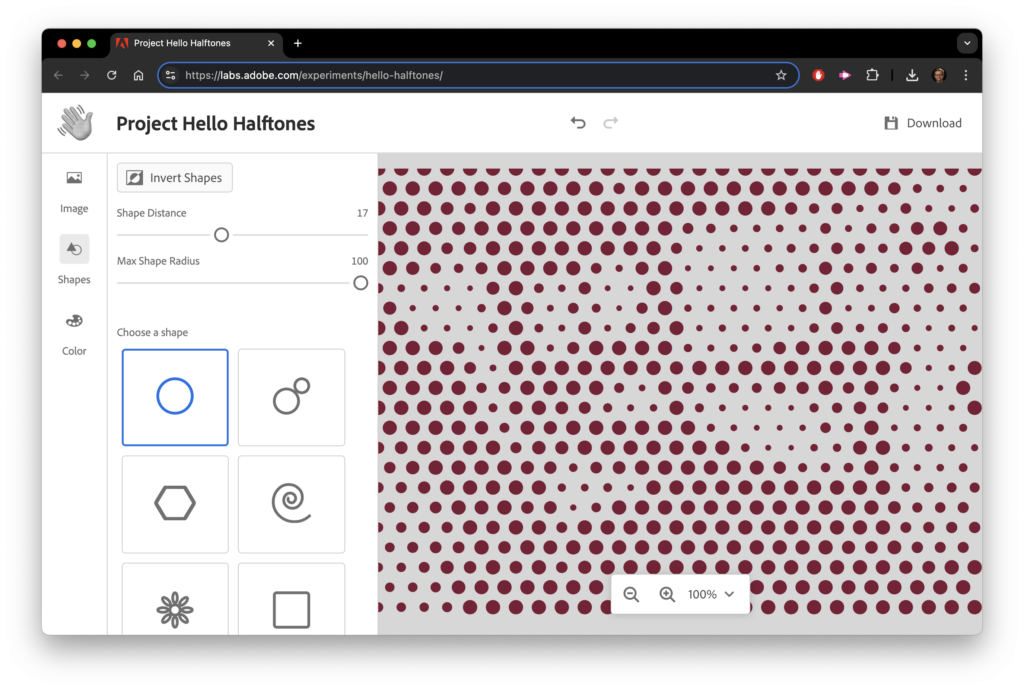
- Click this link to open the app in a separate browser tab: Adobe Labs Hello Halftones web app. It will look like this:
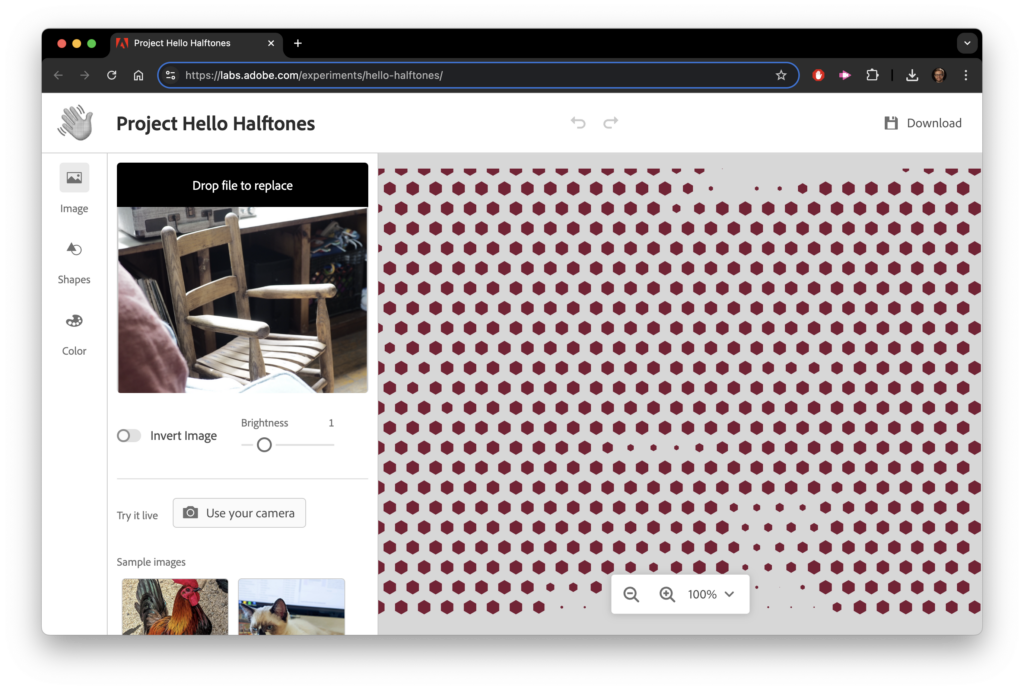
- Drag and drop your image into the area at the top left of the page, like so:
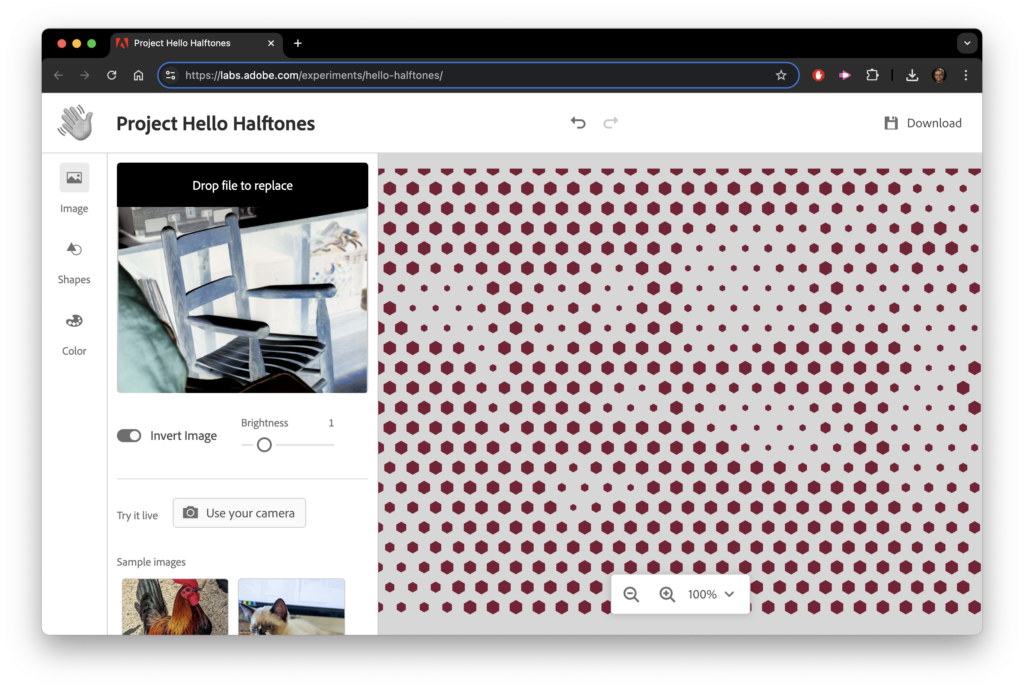
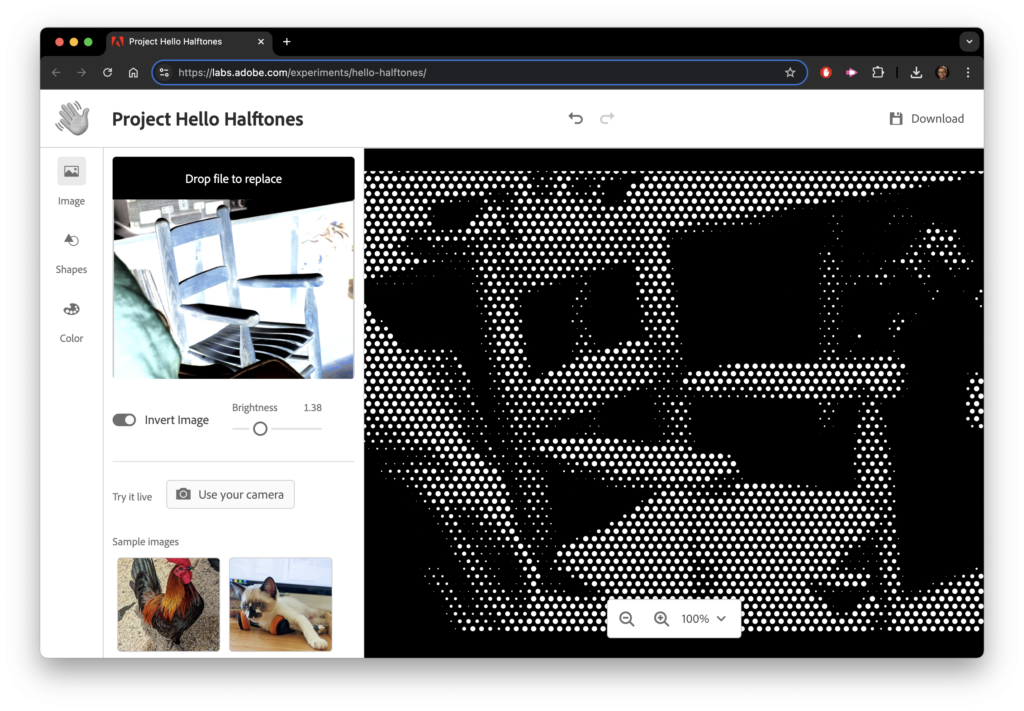
- Click the “Invert Image” button:
- Next, click the “Shapes” tab on the left. It will look like this:
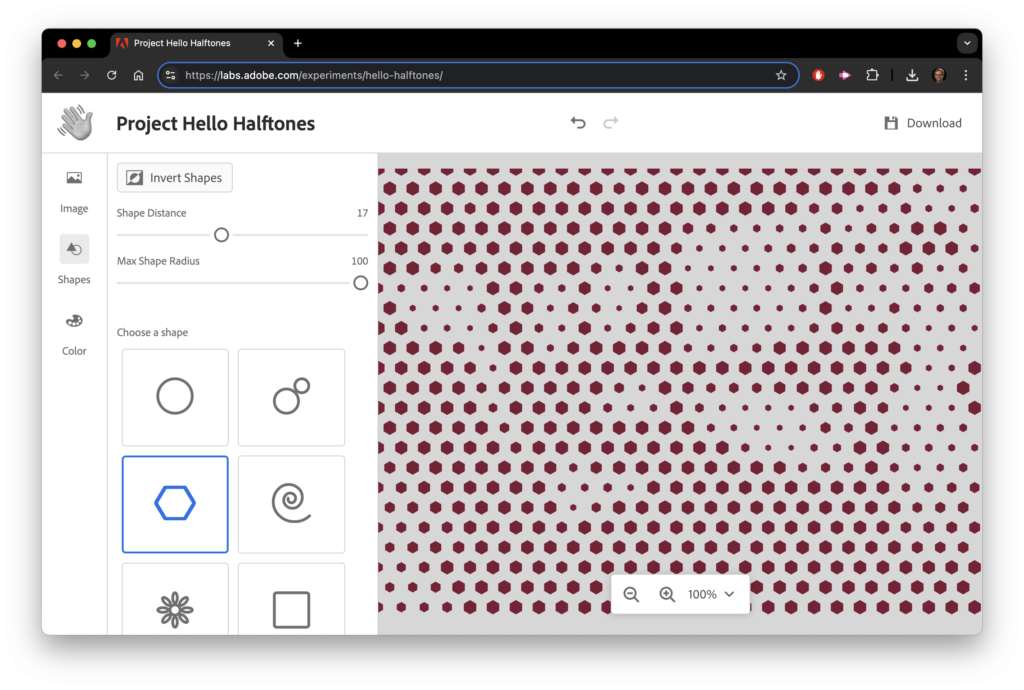
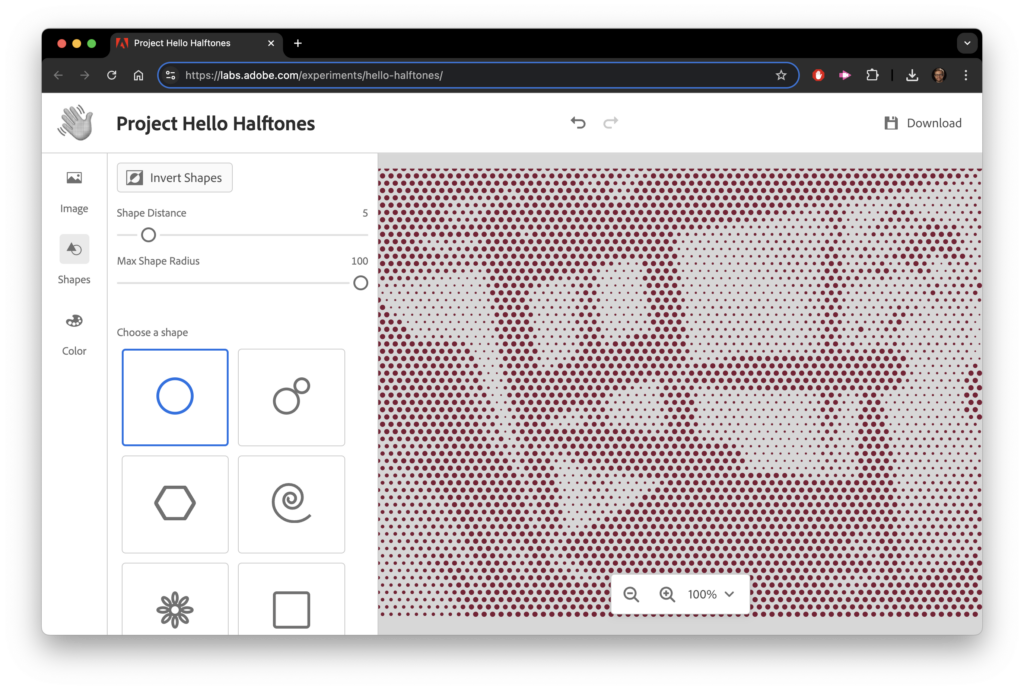
- Set the shape to circle:
- Change the shape distance to modify the character of your halftone. A larger shape distance will produce a more abstract image, while a smaller one will render finer details. Don’t set the shape distance below 3, since this can produce an unnecessarily large file that will be difficult to work with in later stages of the process.
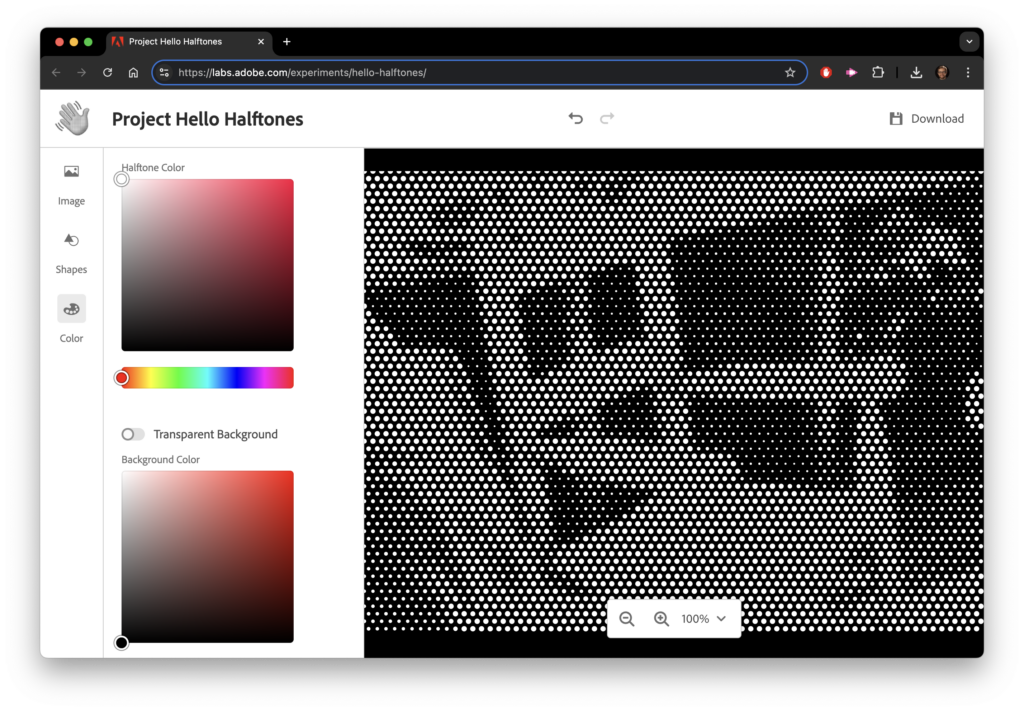
- Click on the Color tab on the left. Set the halftone color to white and the background color to black. We do this because it gives an accurate picture of what the final woodcut will look like when the CNC machine carves out the dots:
- You can continue to play with any of the previously-mentioned settings to achieve your desired result. Changing the “Brightness” setting under the “Image” tab may also help to refine your image:
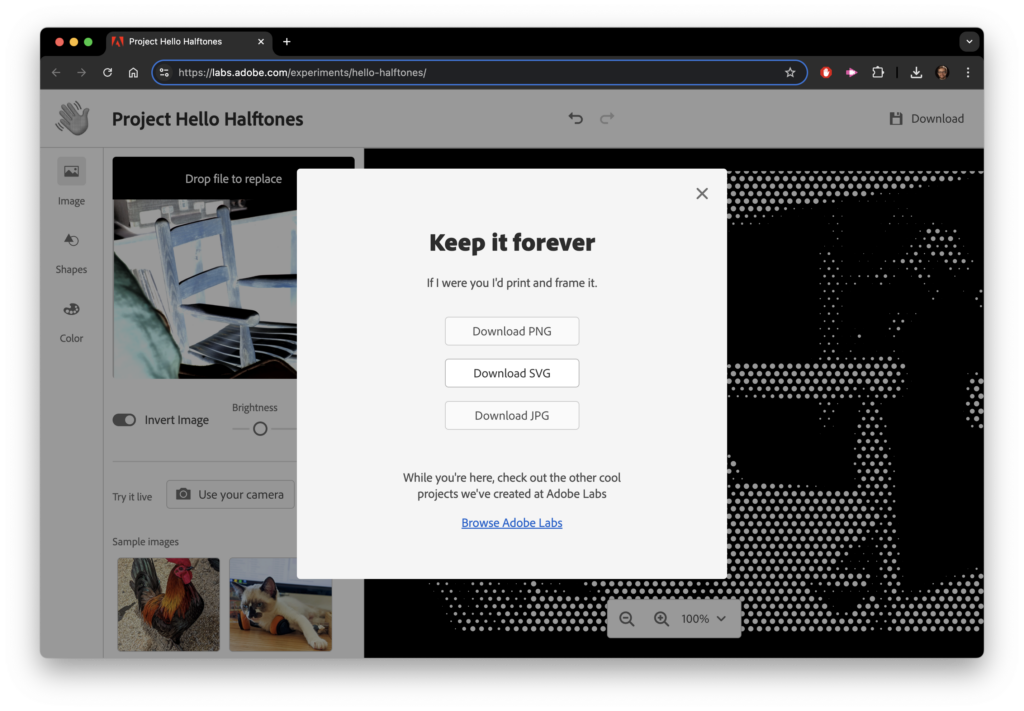
- When your image looks right, export it by clicking the “Download” button at the top right. Be sure to download your file as an SVG:
- You’re done! The SVG file you downloaded can now be cut on the CNC, or can be opened in Adobe Illustrator for further editing. This tutorial on the Imaging Center YouTube channel contains more information about editing your file in Adobe Illustrator using the Blob Brush tool.