Overview
The Imaging Center uses BrightSign media players to play audio and video content in the Art Department galleries.
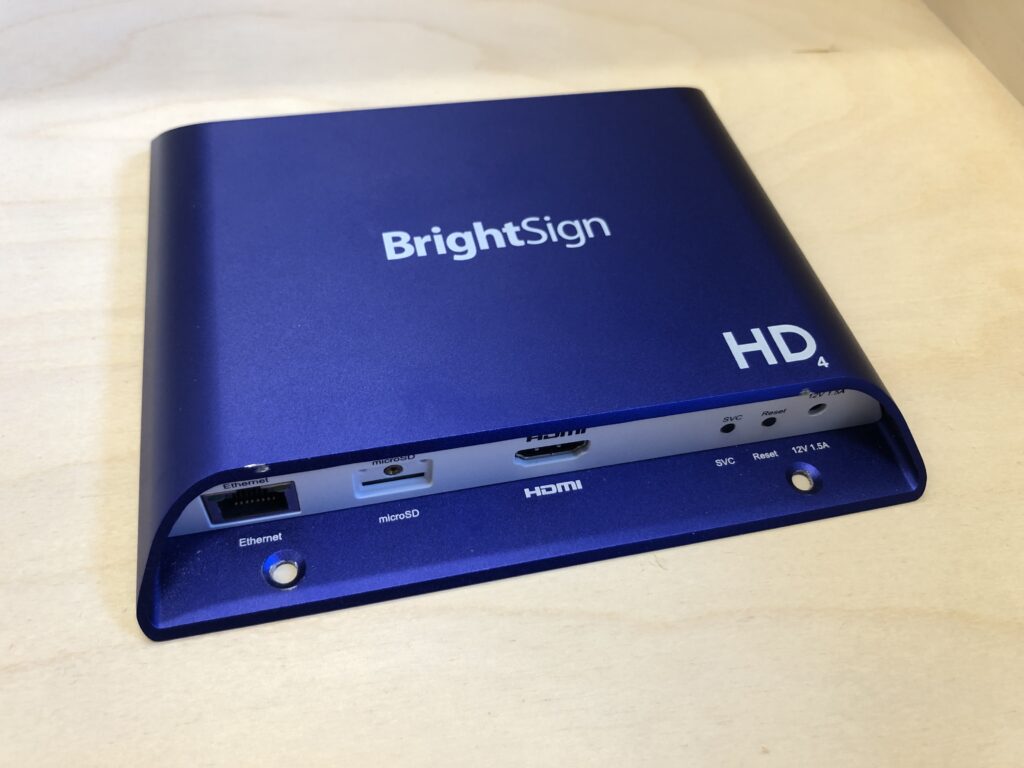
In order to play media files on one of these players, the files need to be saved as a BrightSign presentation. A BrightSign presentation can be as simple as a single looping video, or can contain a sequence of many different media files.
If you have checked out an Imaging Center media box for a show, you can use the following tutorial to set up a BrightSign presentation with your media files.
Setting up a Presentation
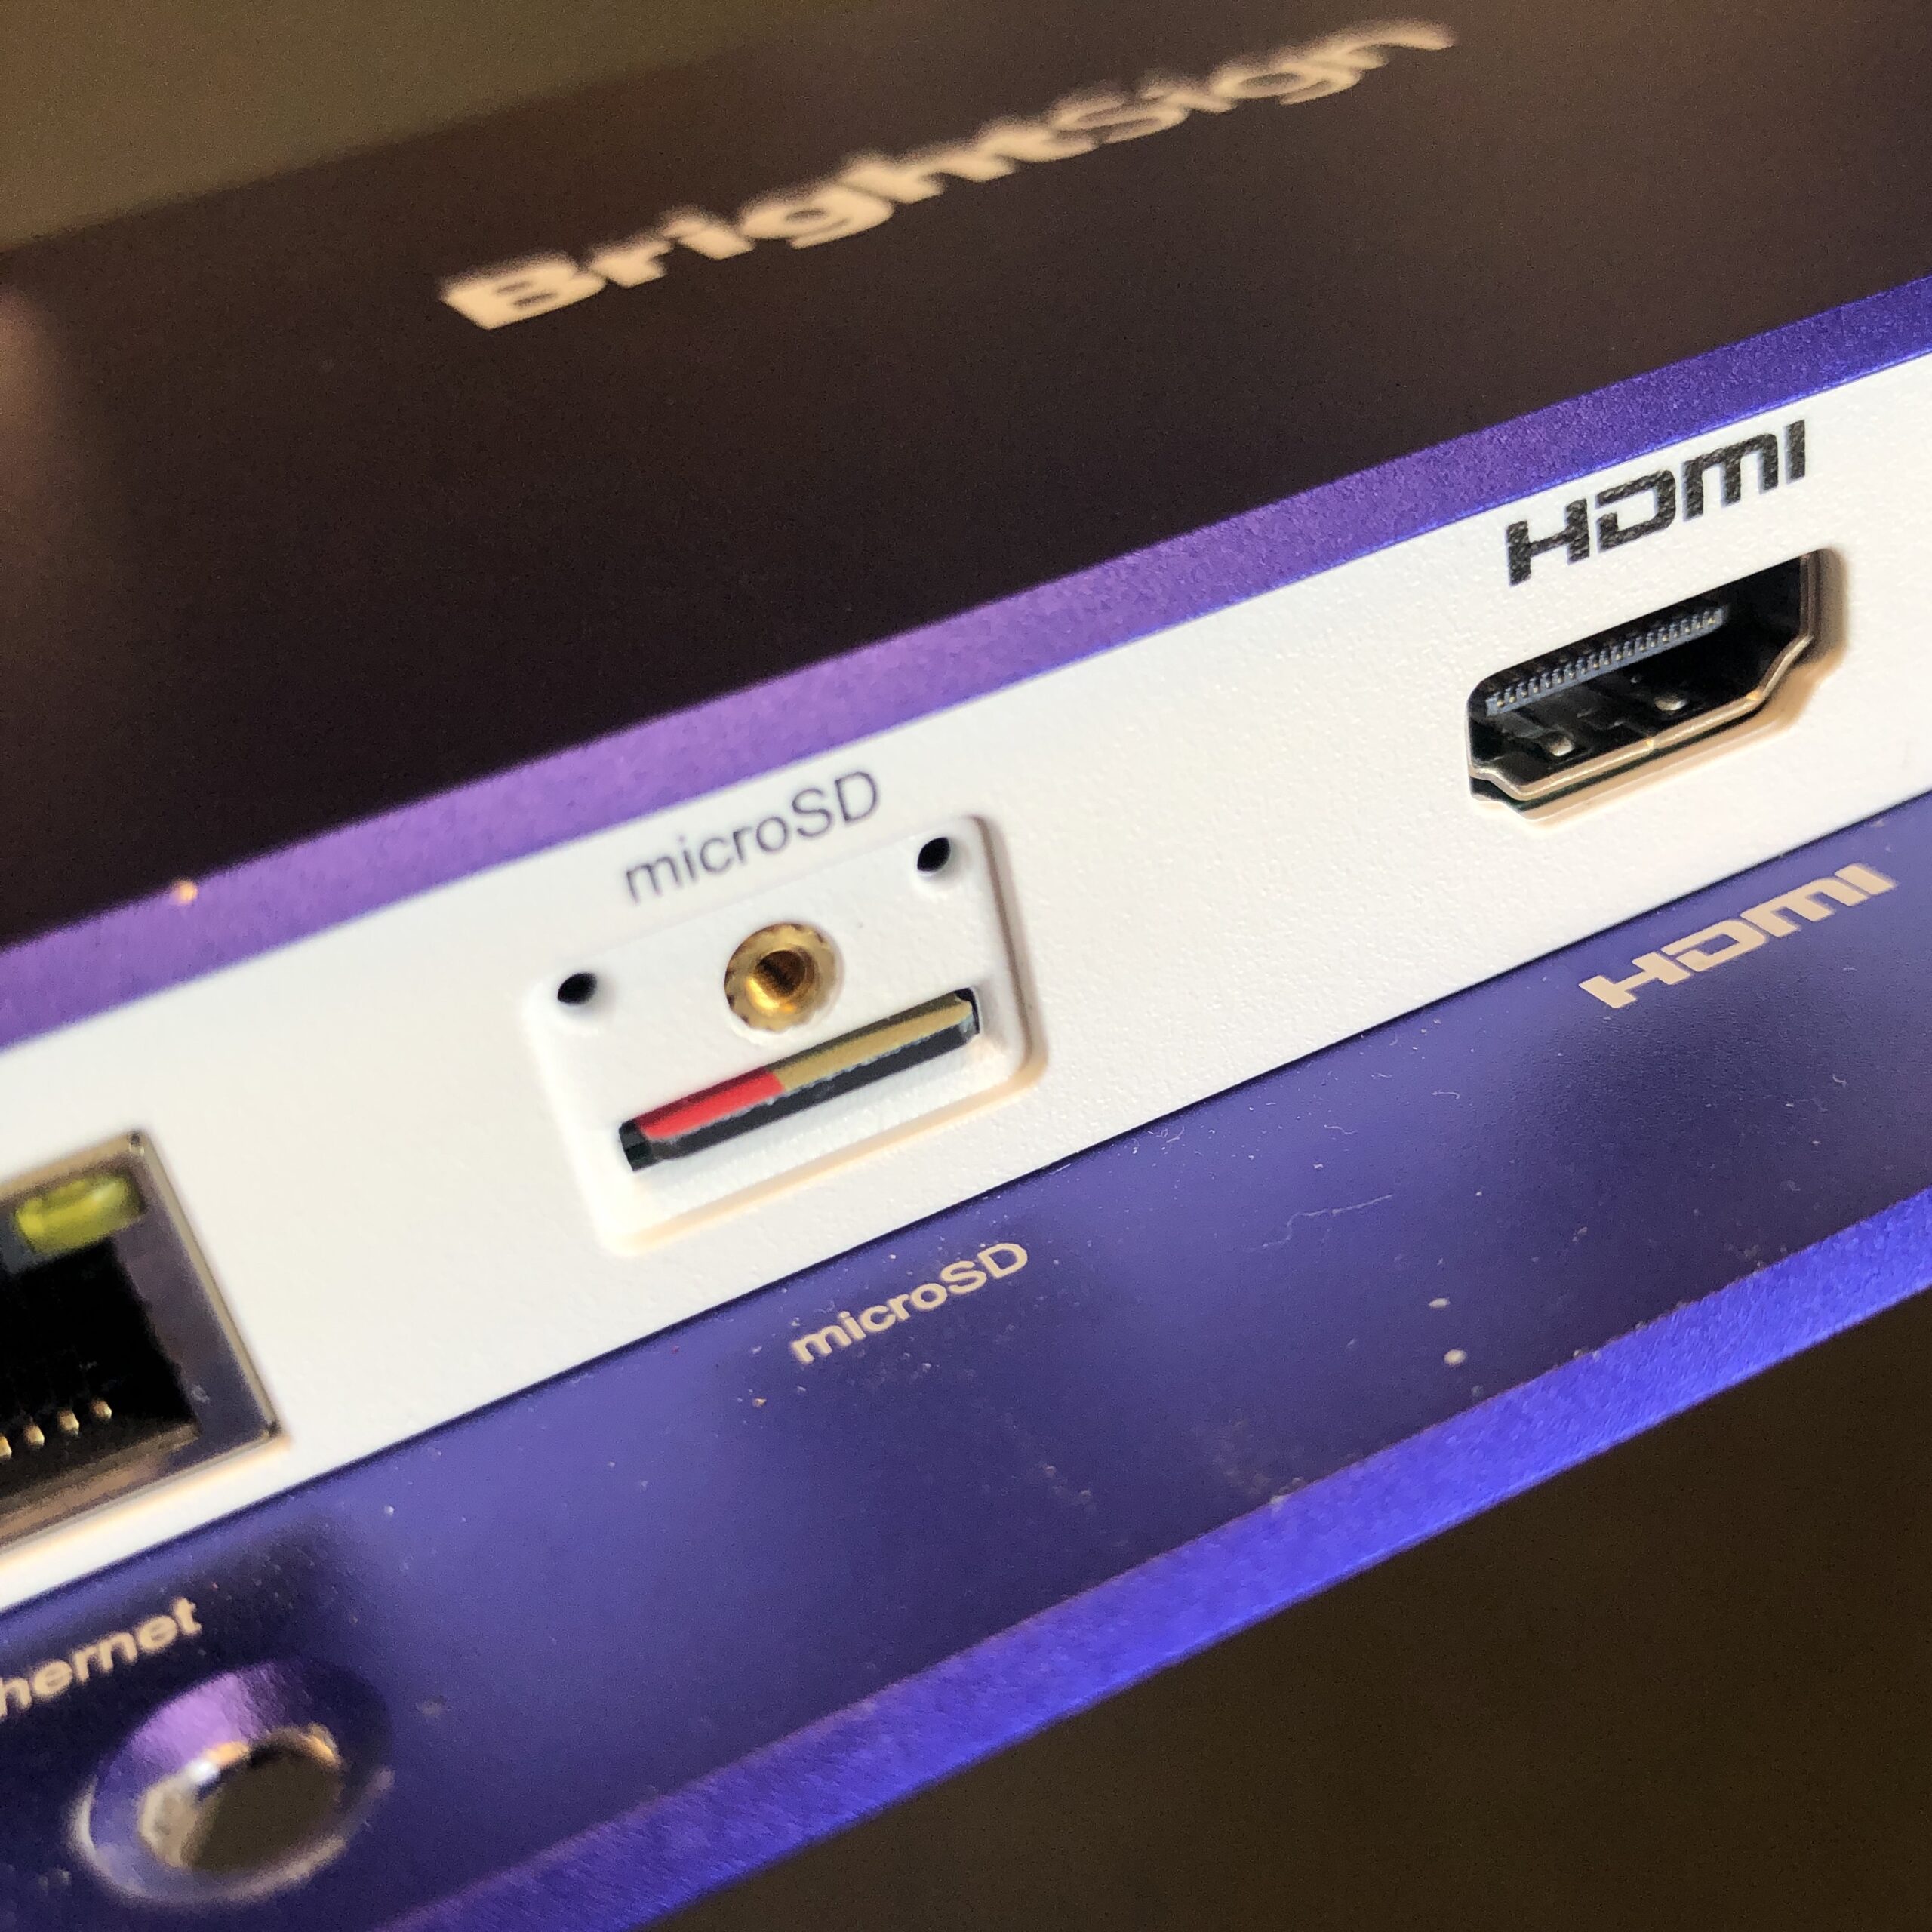
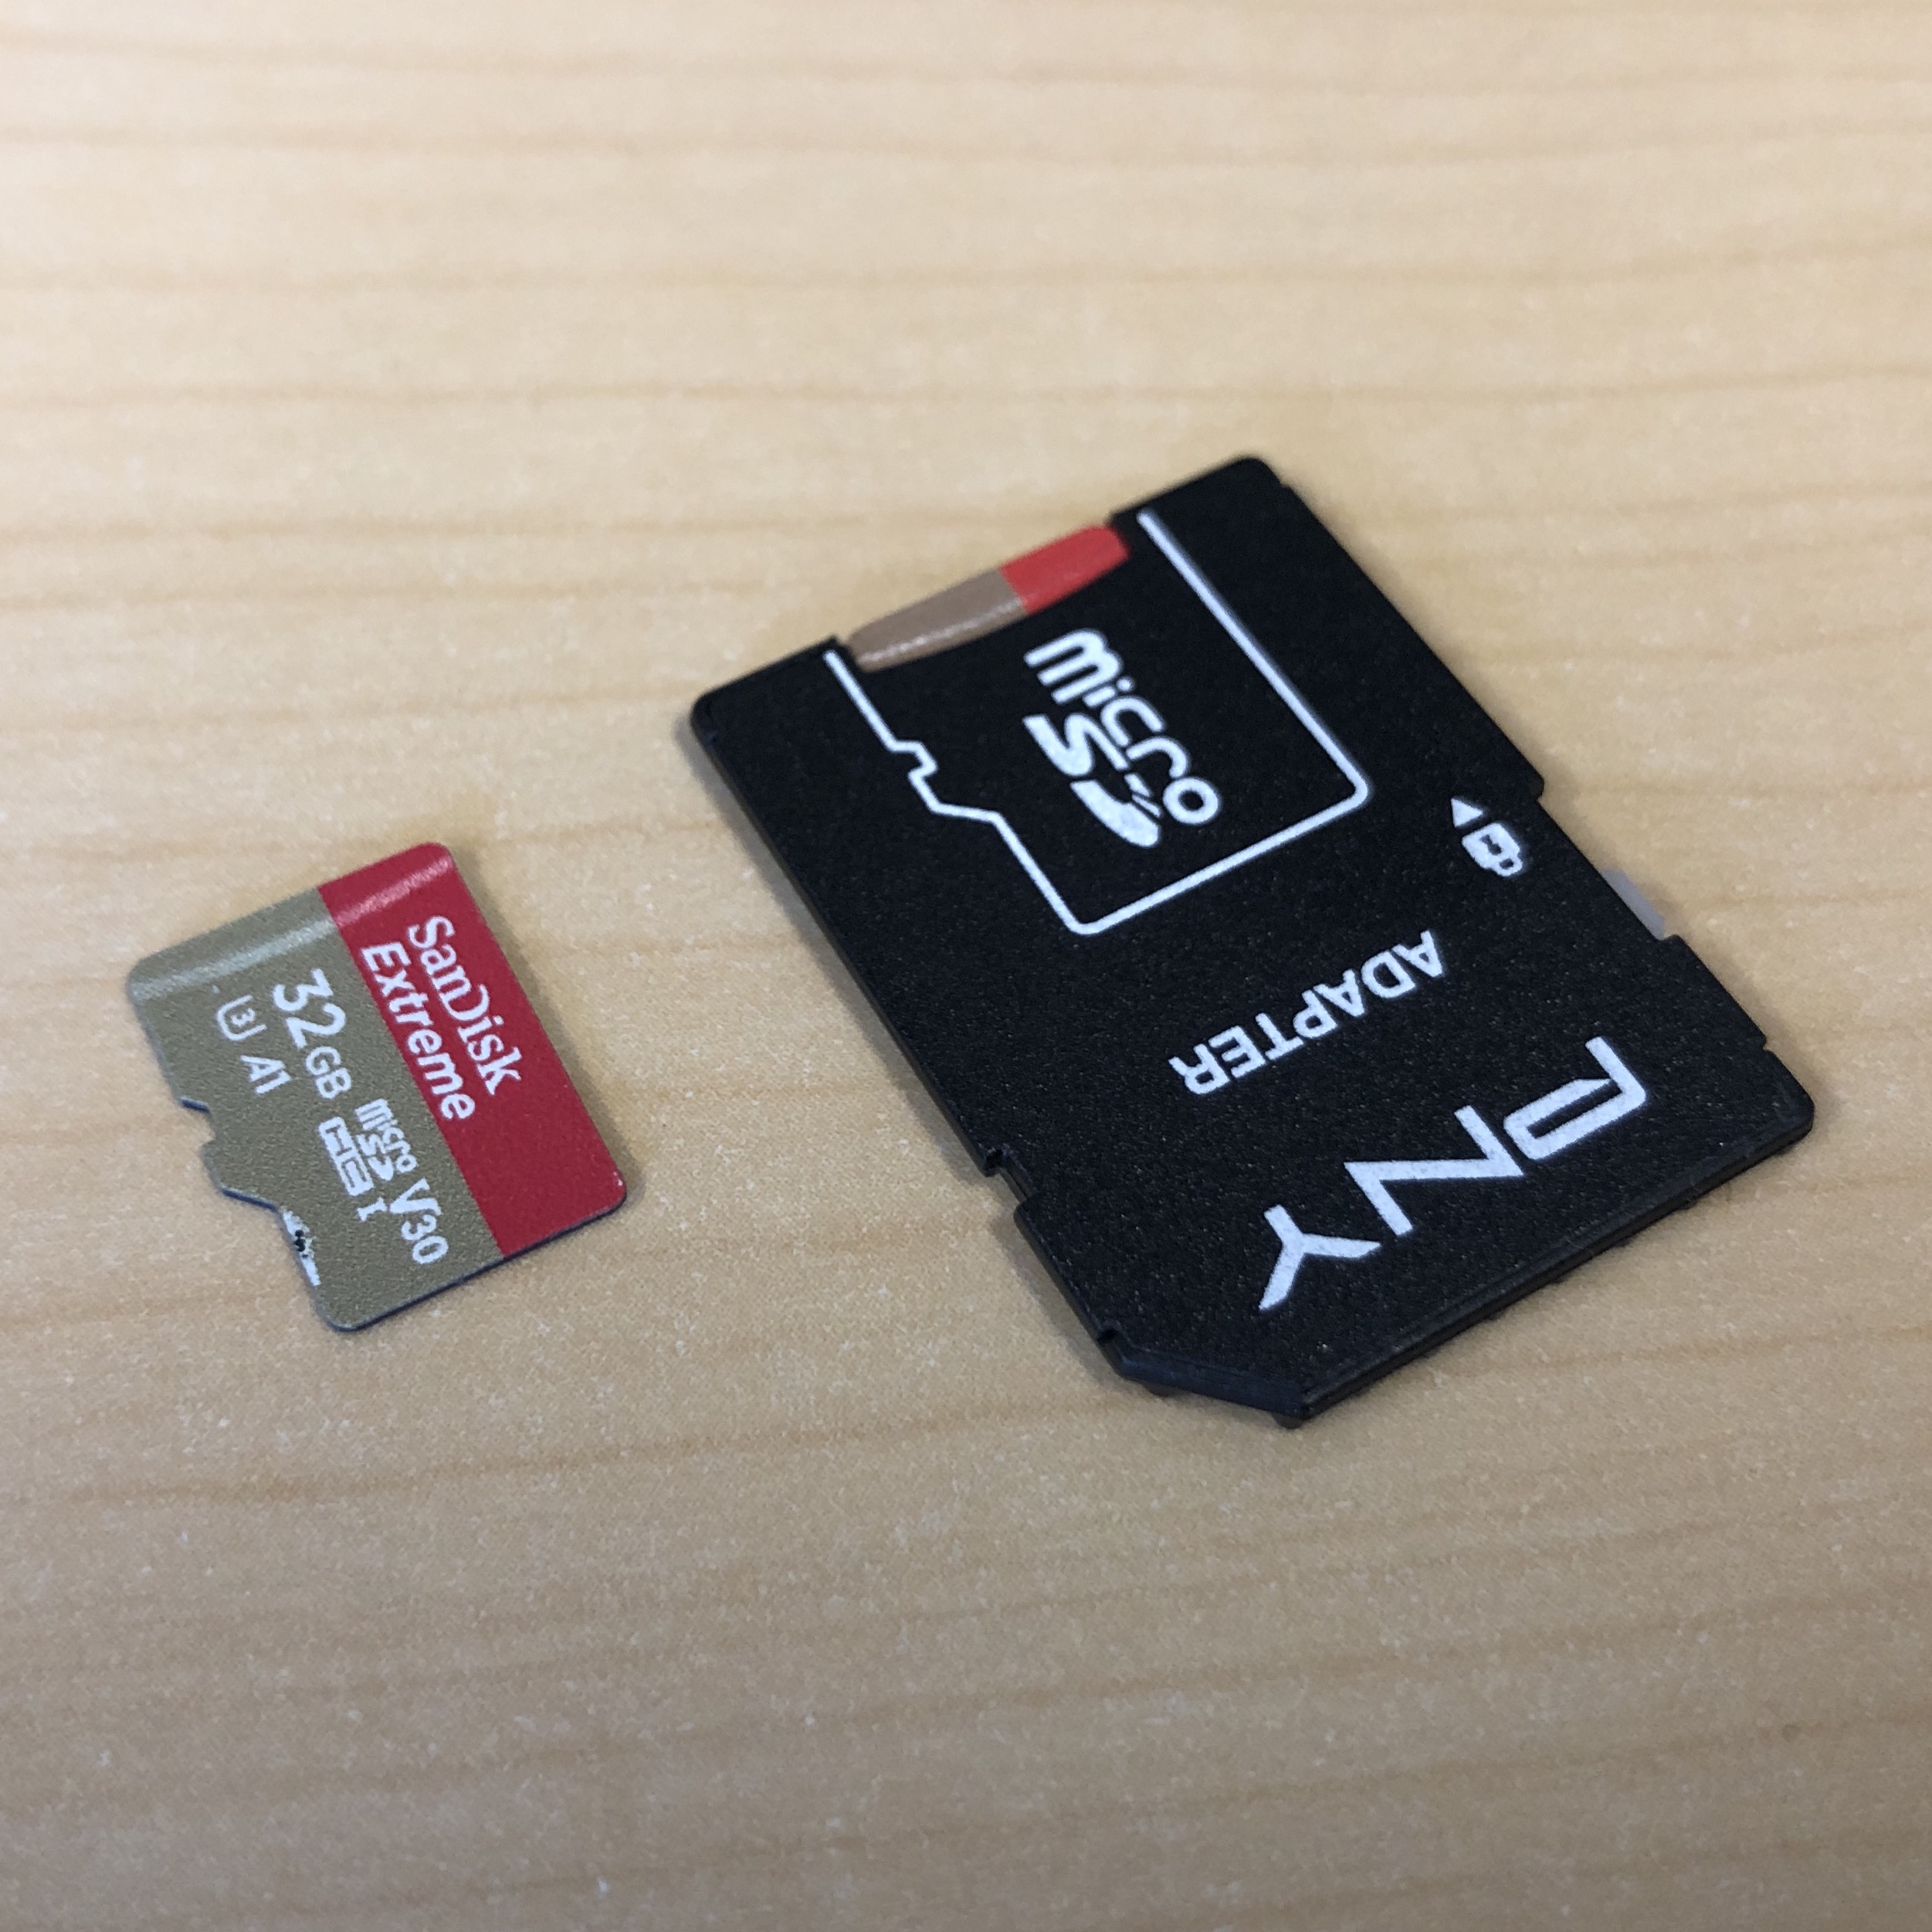
1. Take the MicroSD card from the BrightSign player and insert it into a media card reader attached to your computer. You can borrow a card reader from the Imaging Center. You may need to use a MicroSD-to-SD card adapter.
2. Delete any files on the MicroSD card.
3. Download the BrightAuthor:connected software from the BrightSign Software Download page. Note that you want BrightAuthor:connected, not the older BrightAuthor software.
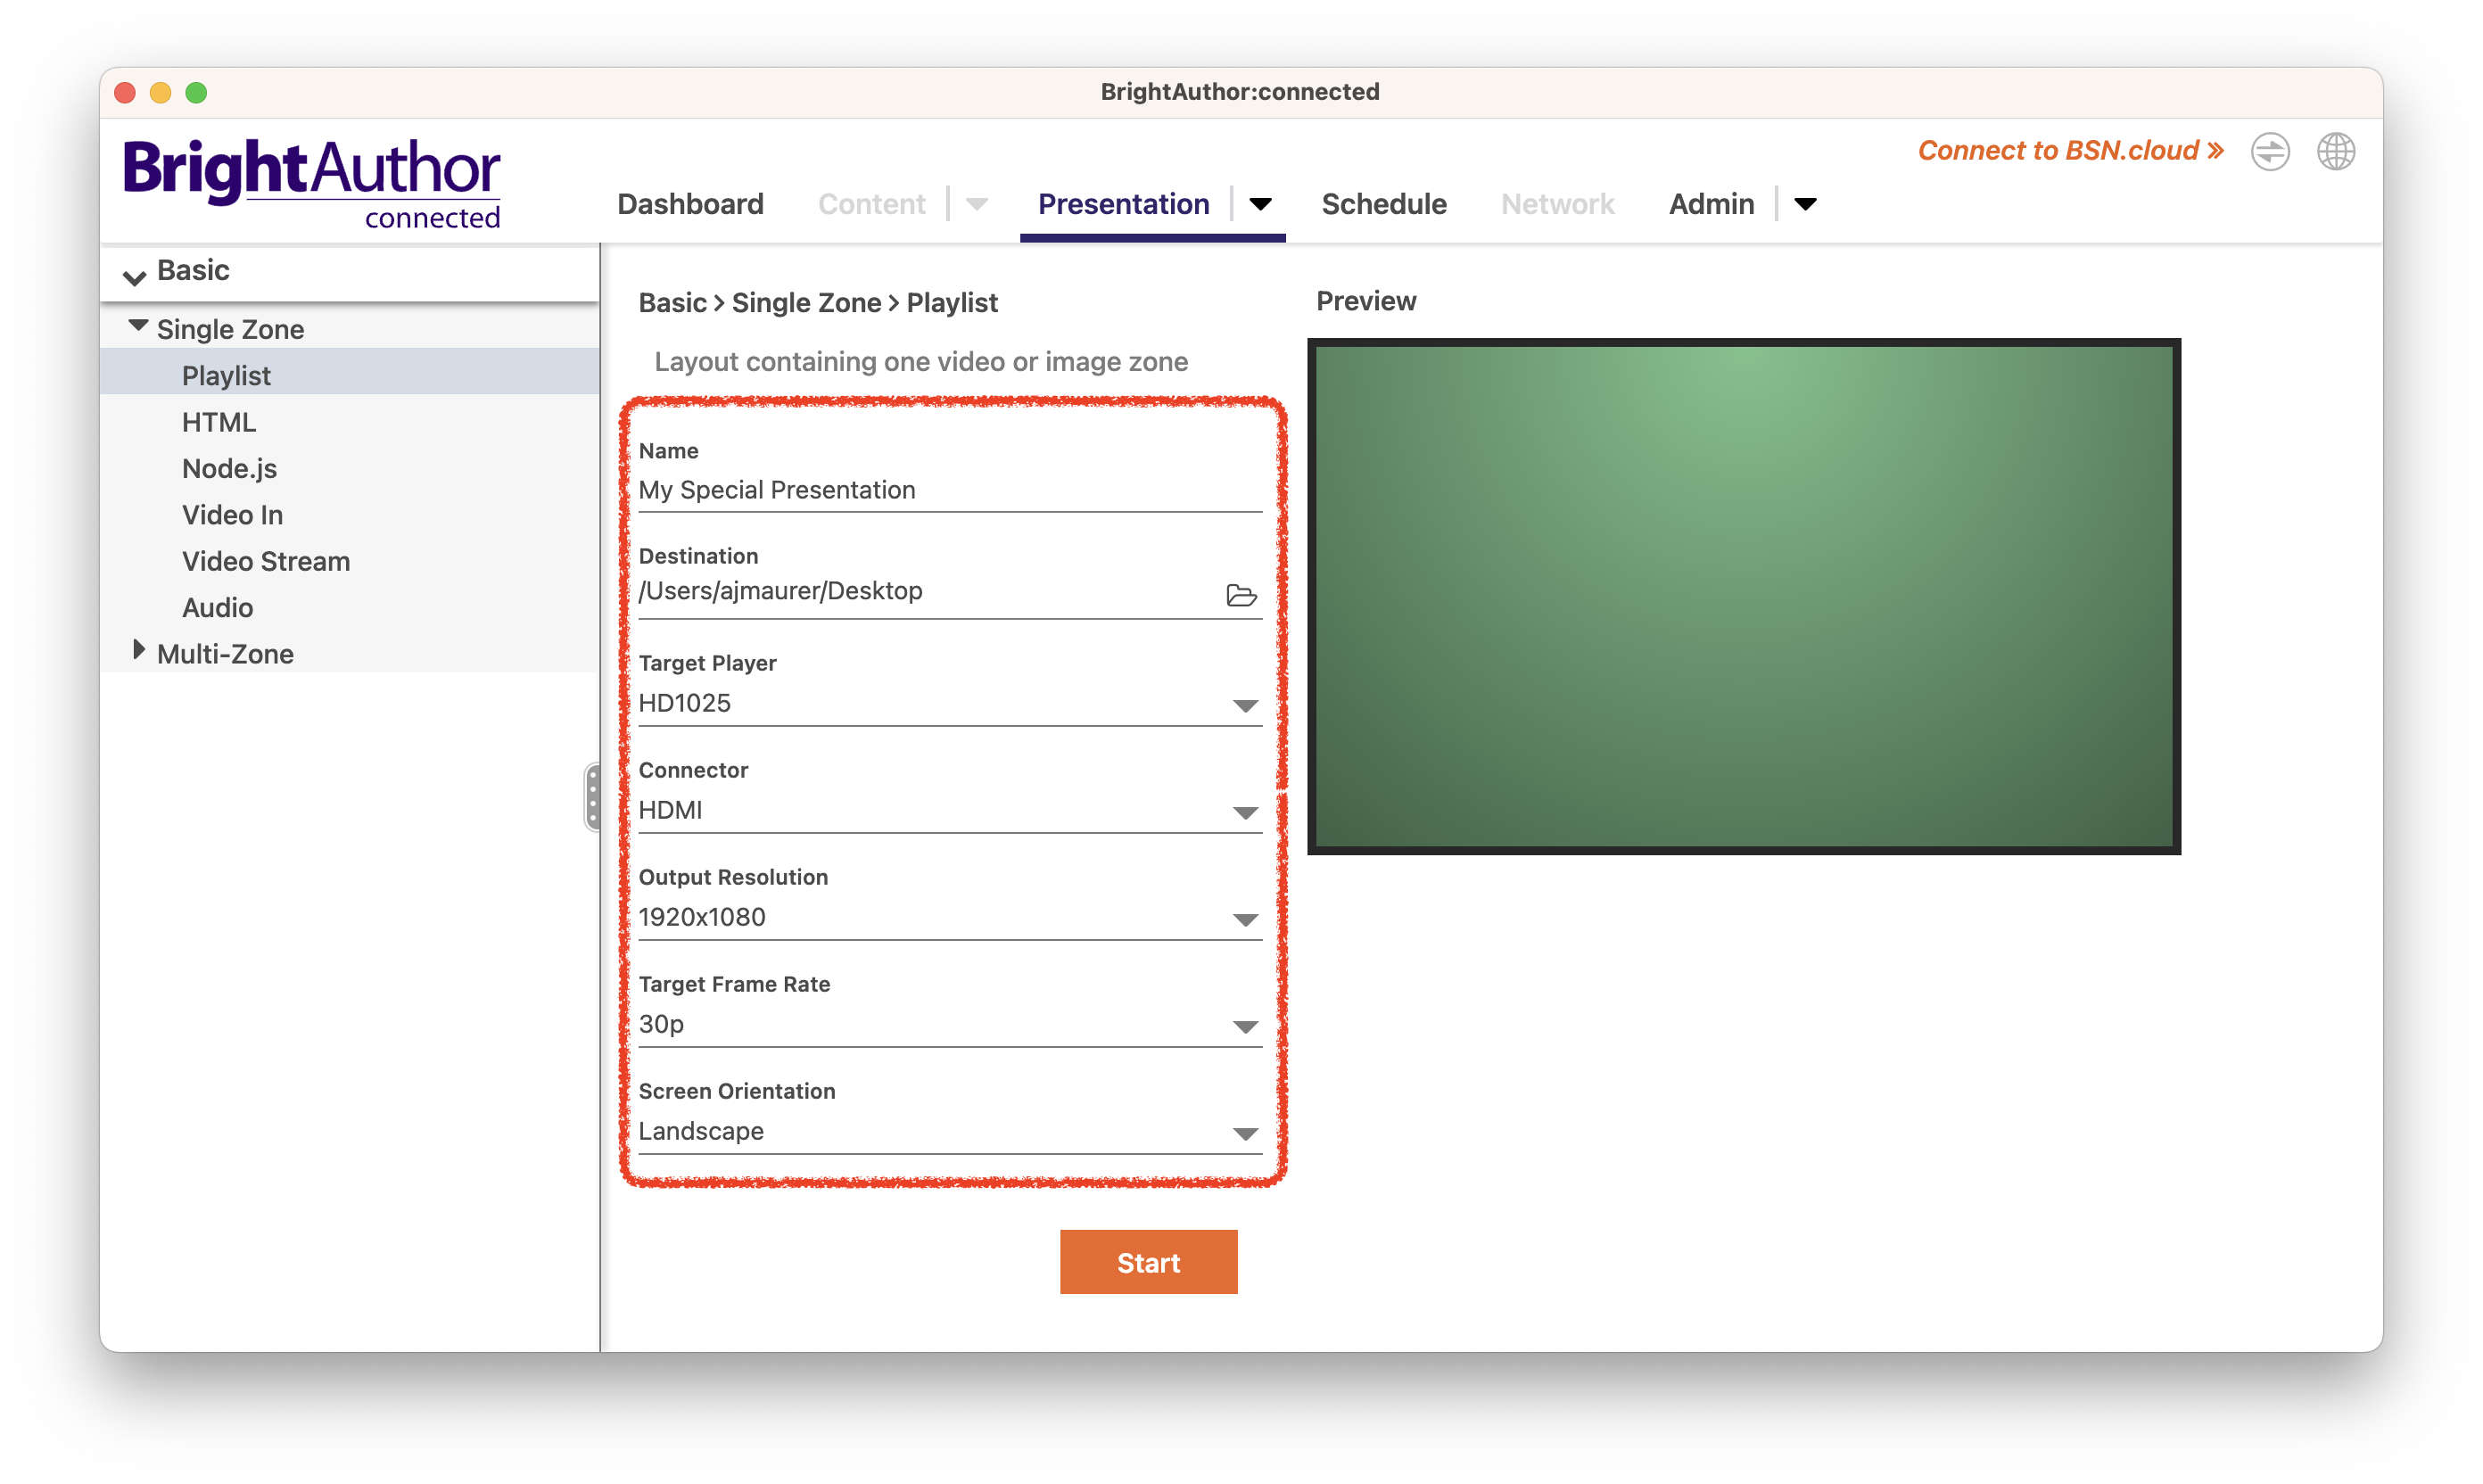
4. Open the software and click “New Presentation.”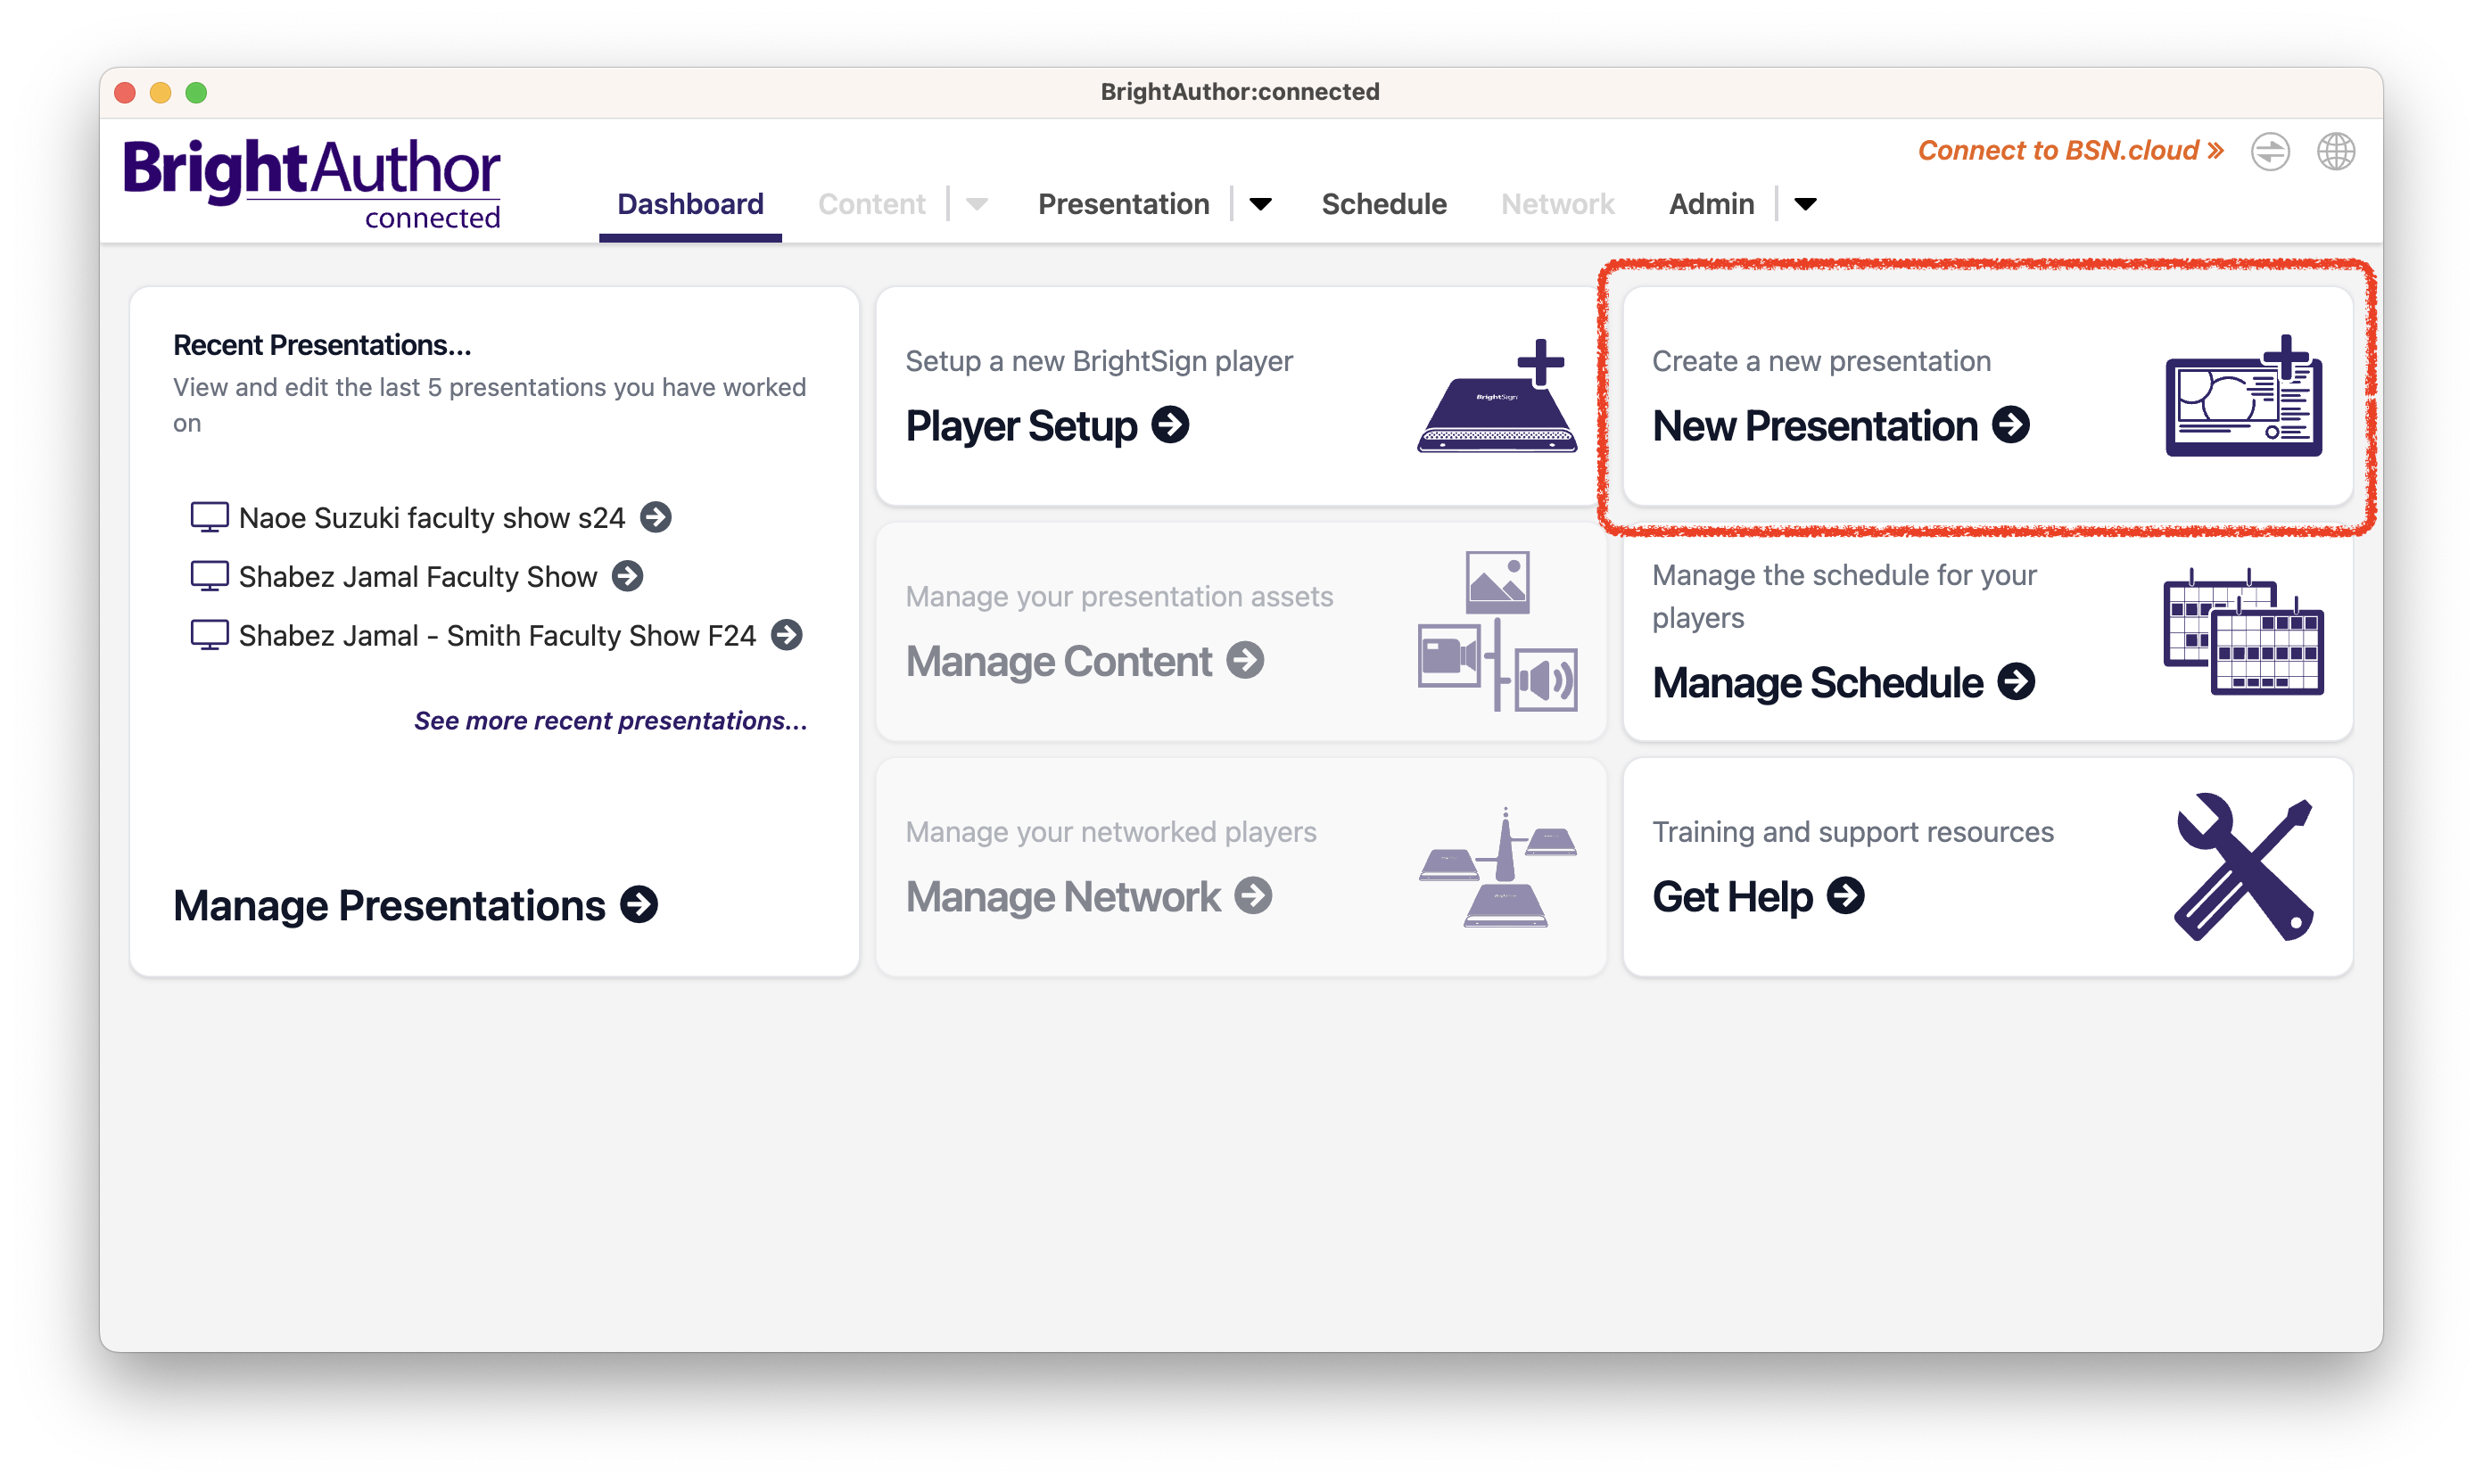 5. Give your presentation a name, and set the player type as “HD1025.” Under “Destination,” choose somewhere on your computer to save a backup of the presentation file, in case you need to change it later. The remaining settings should match those in the image below. When you’re ready to proceed, press “Start.”
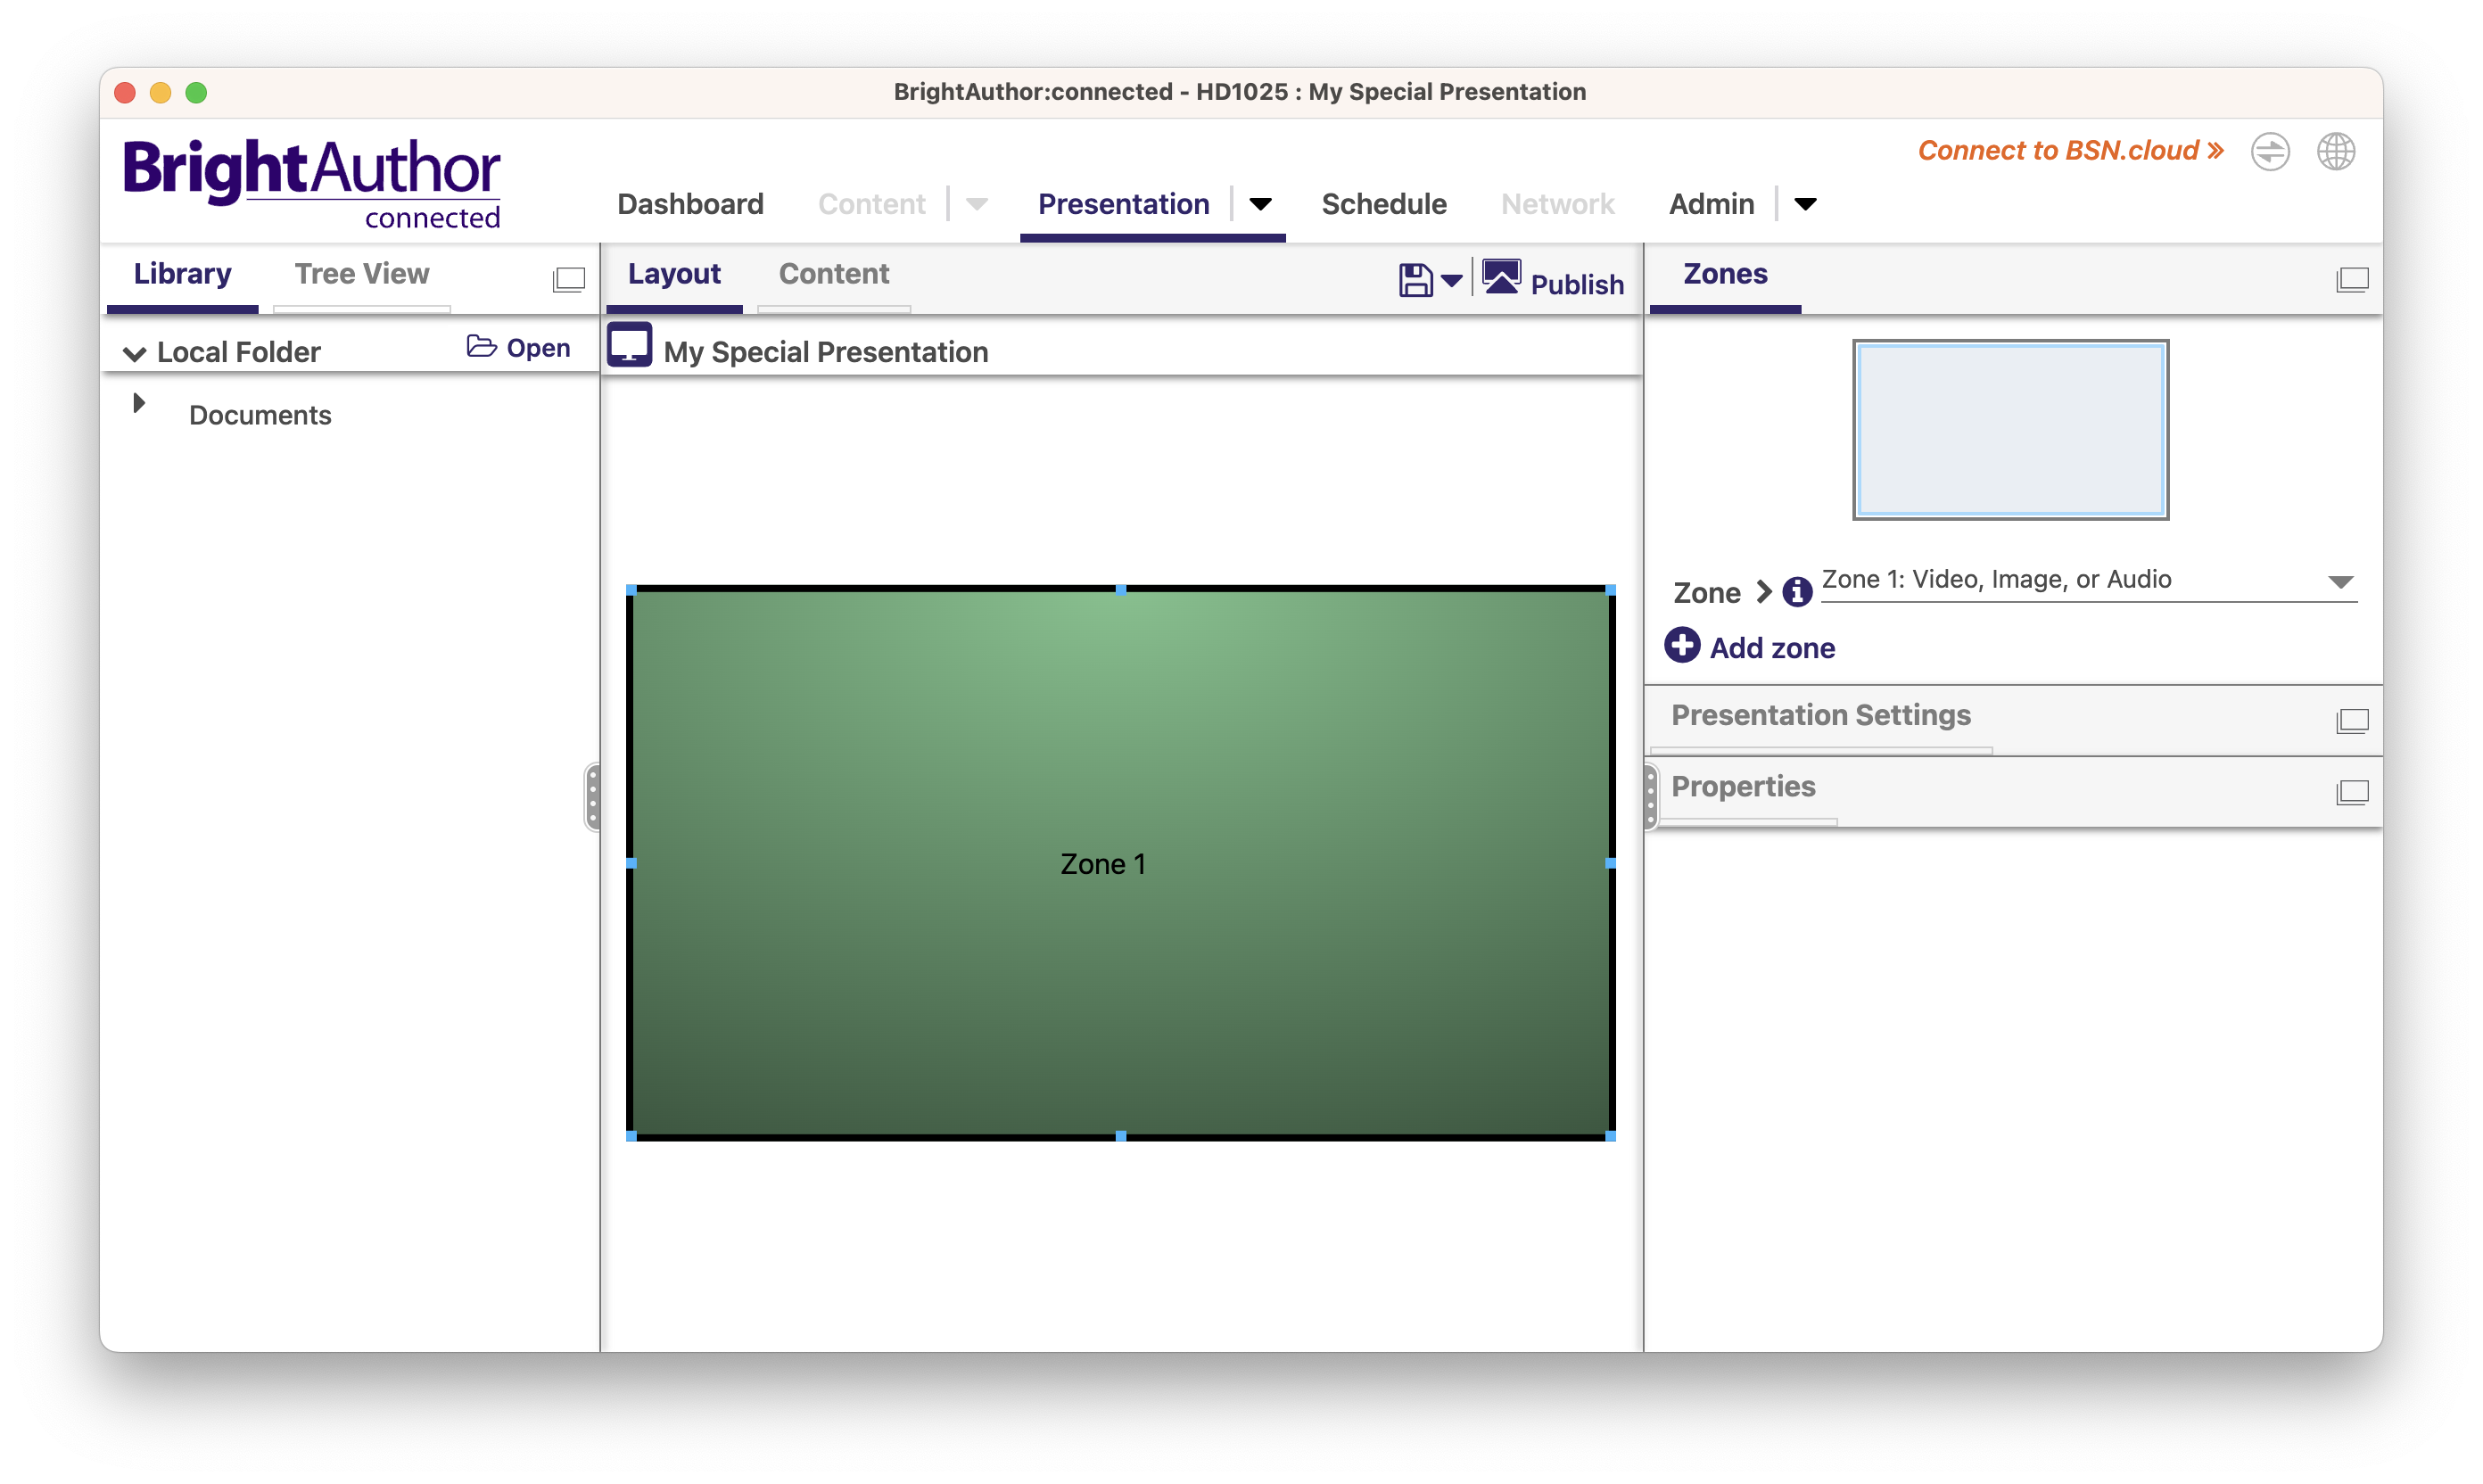
6. By default there will be a single video “Zone” laid out for the presentation, which will fill the whole TV screen in the gallery. This is probably what you want. Note that the BrightAuthor:connected software provides advanced functionality for creating additional video Zones, text, and interactive elements; however, these features are beyond the scope of this tutorial. For more information please consult the software’s documentation.
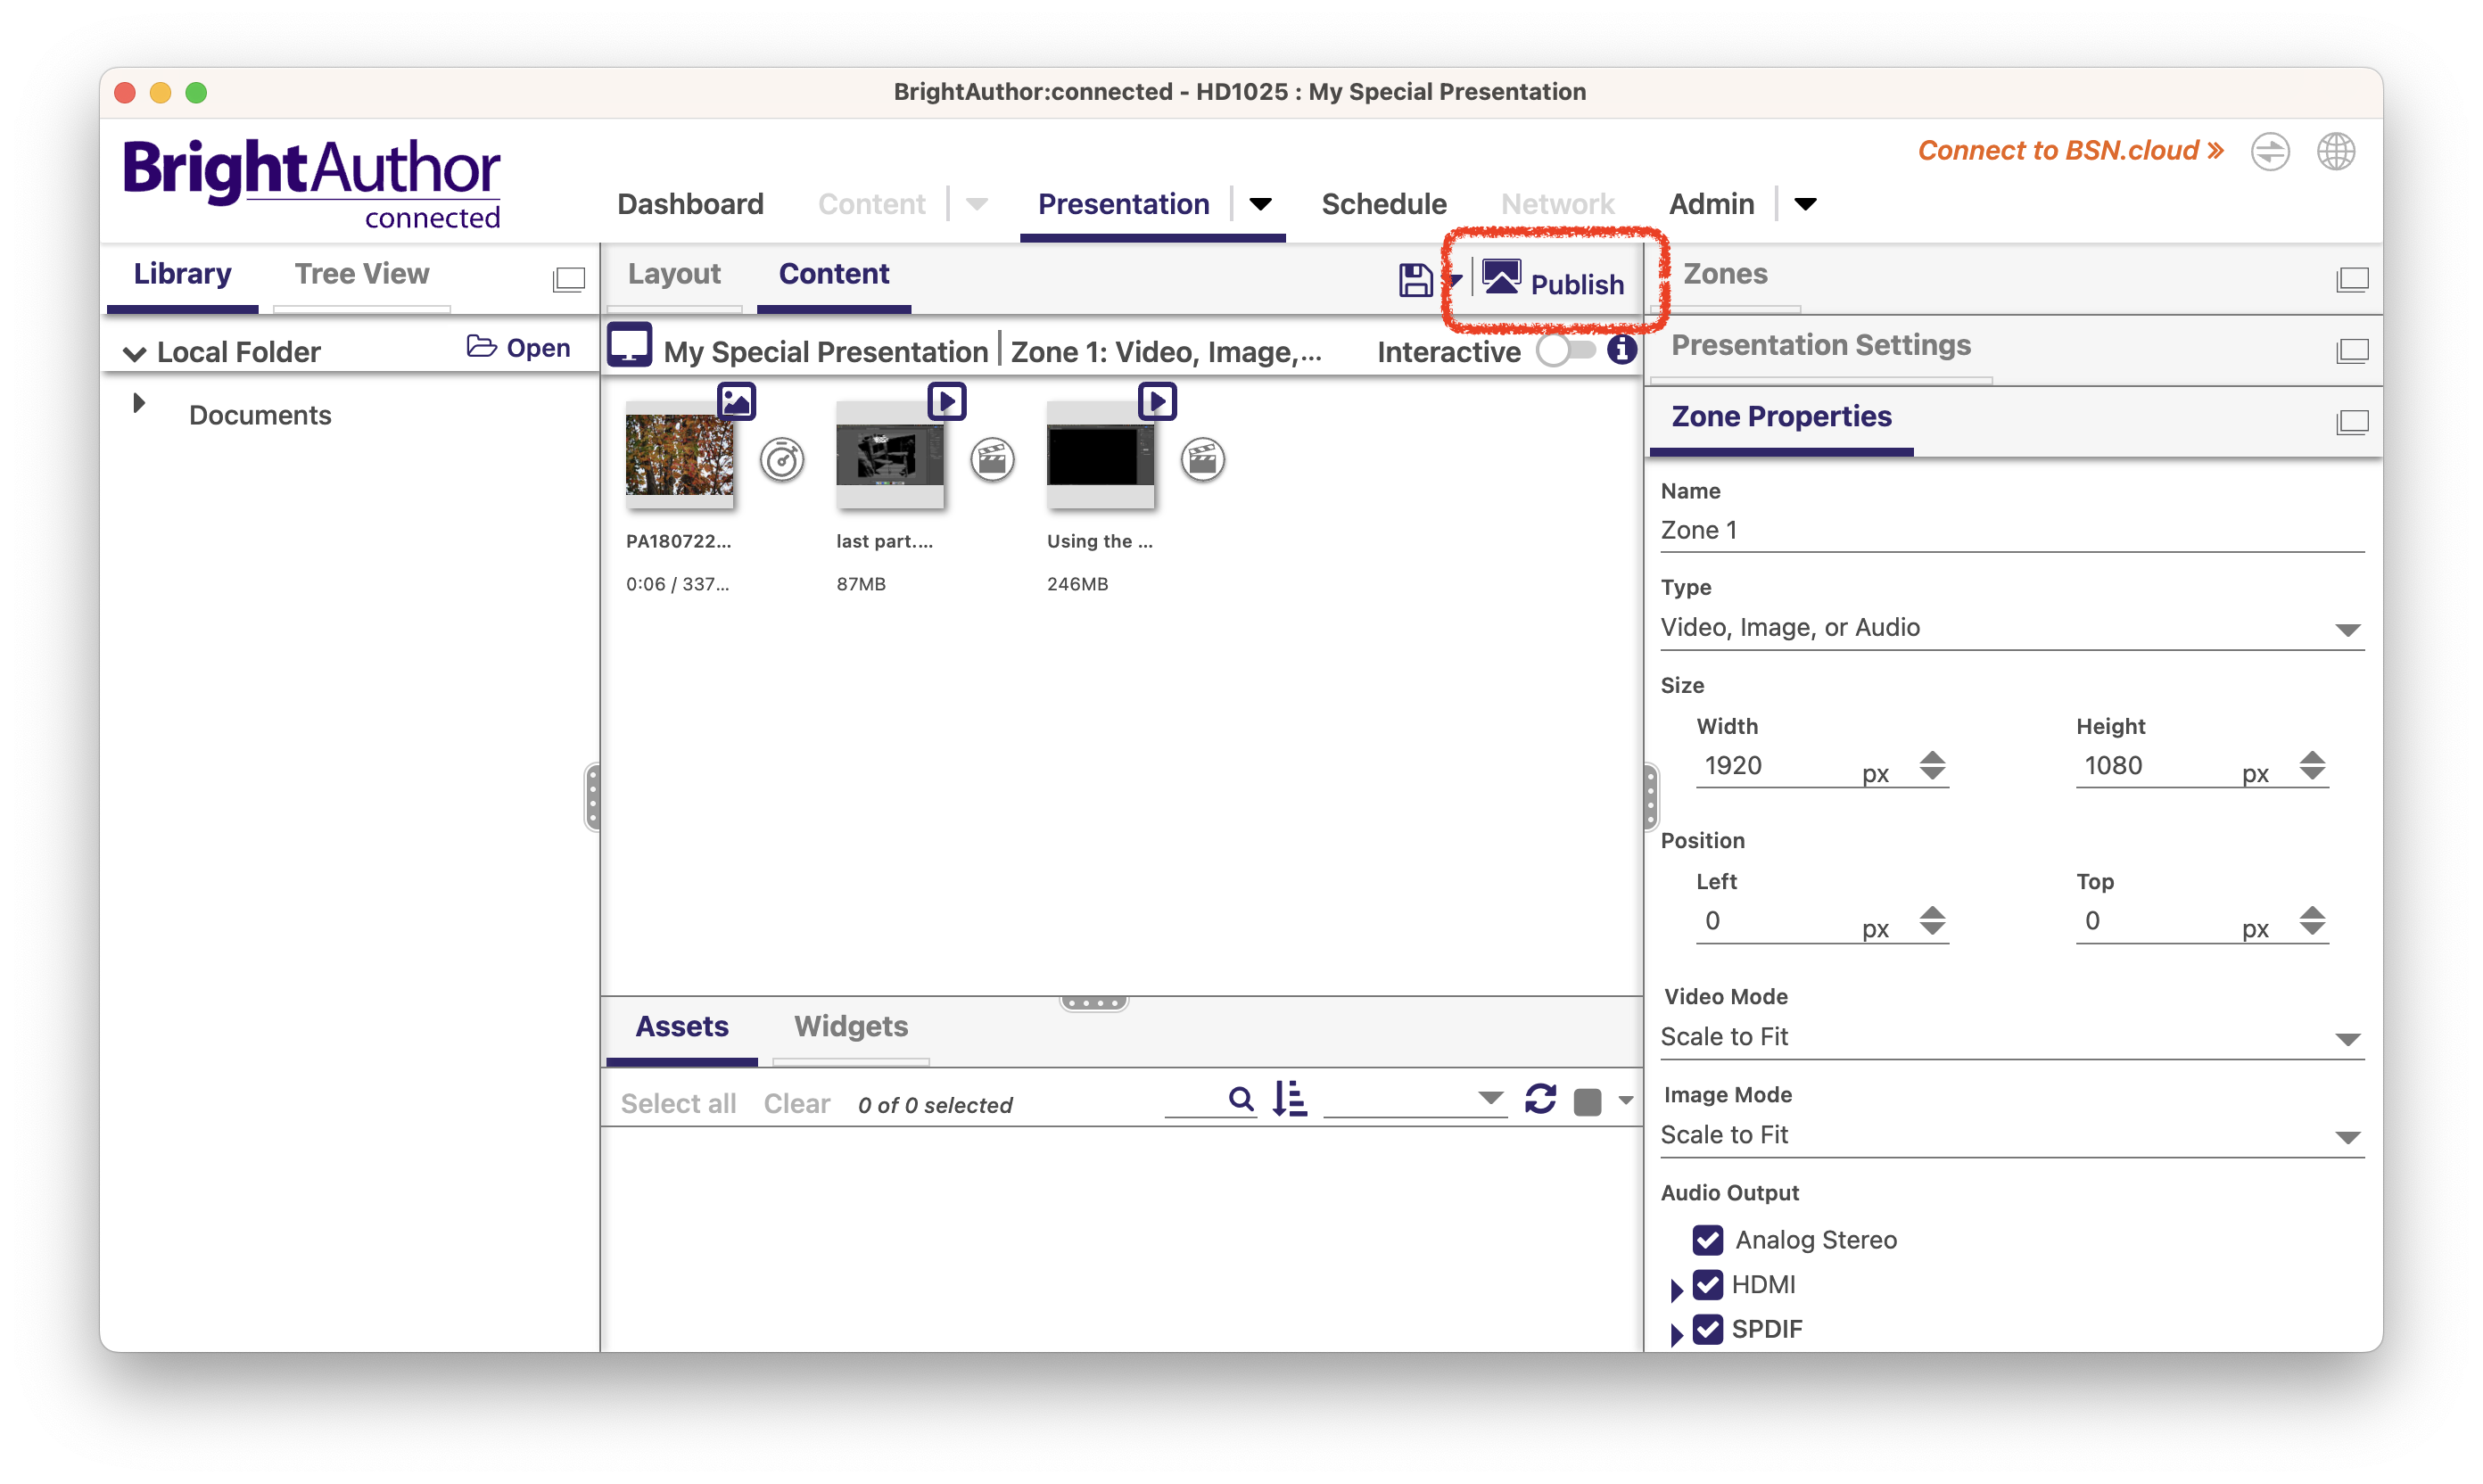
7. Go to the “Content” tab.
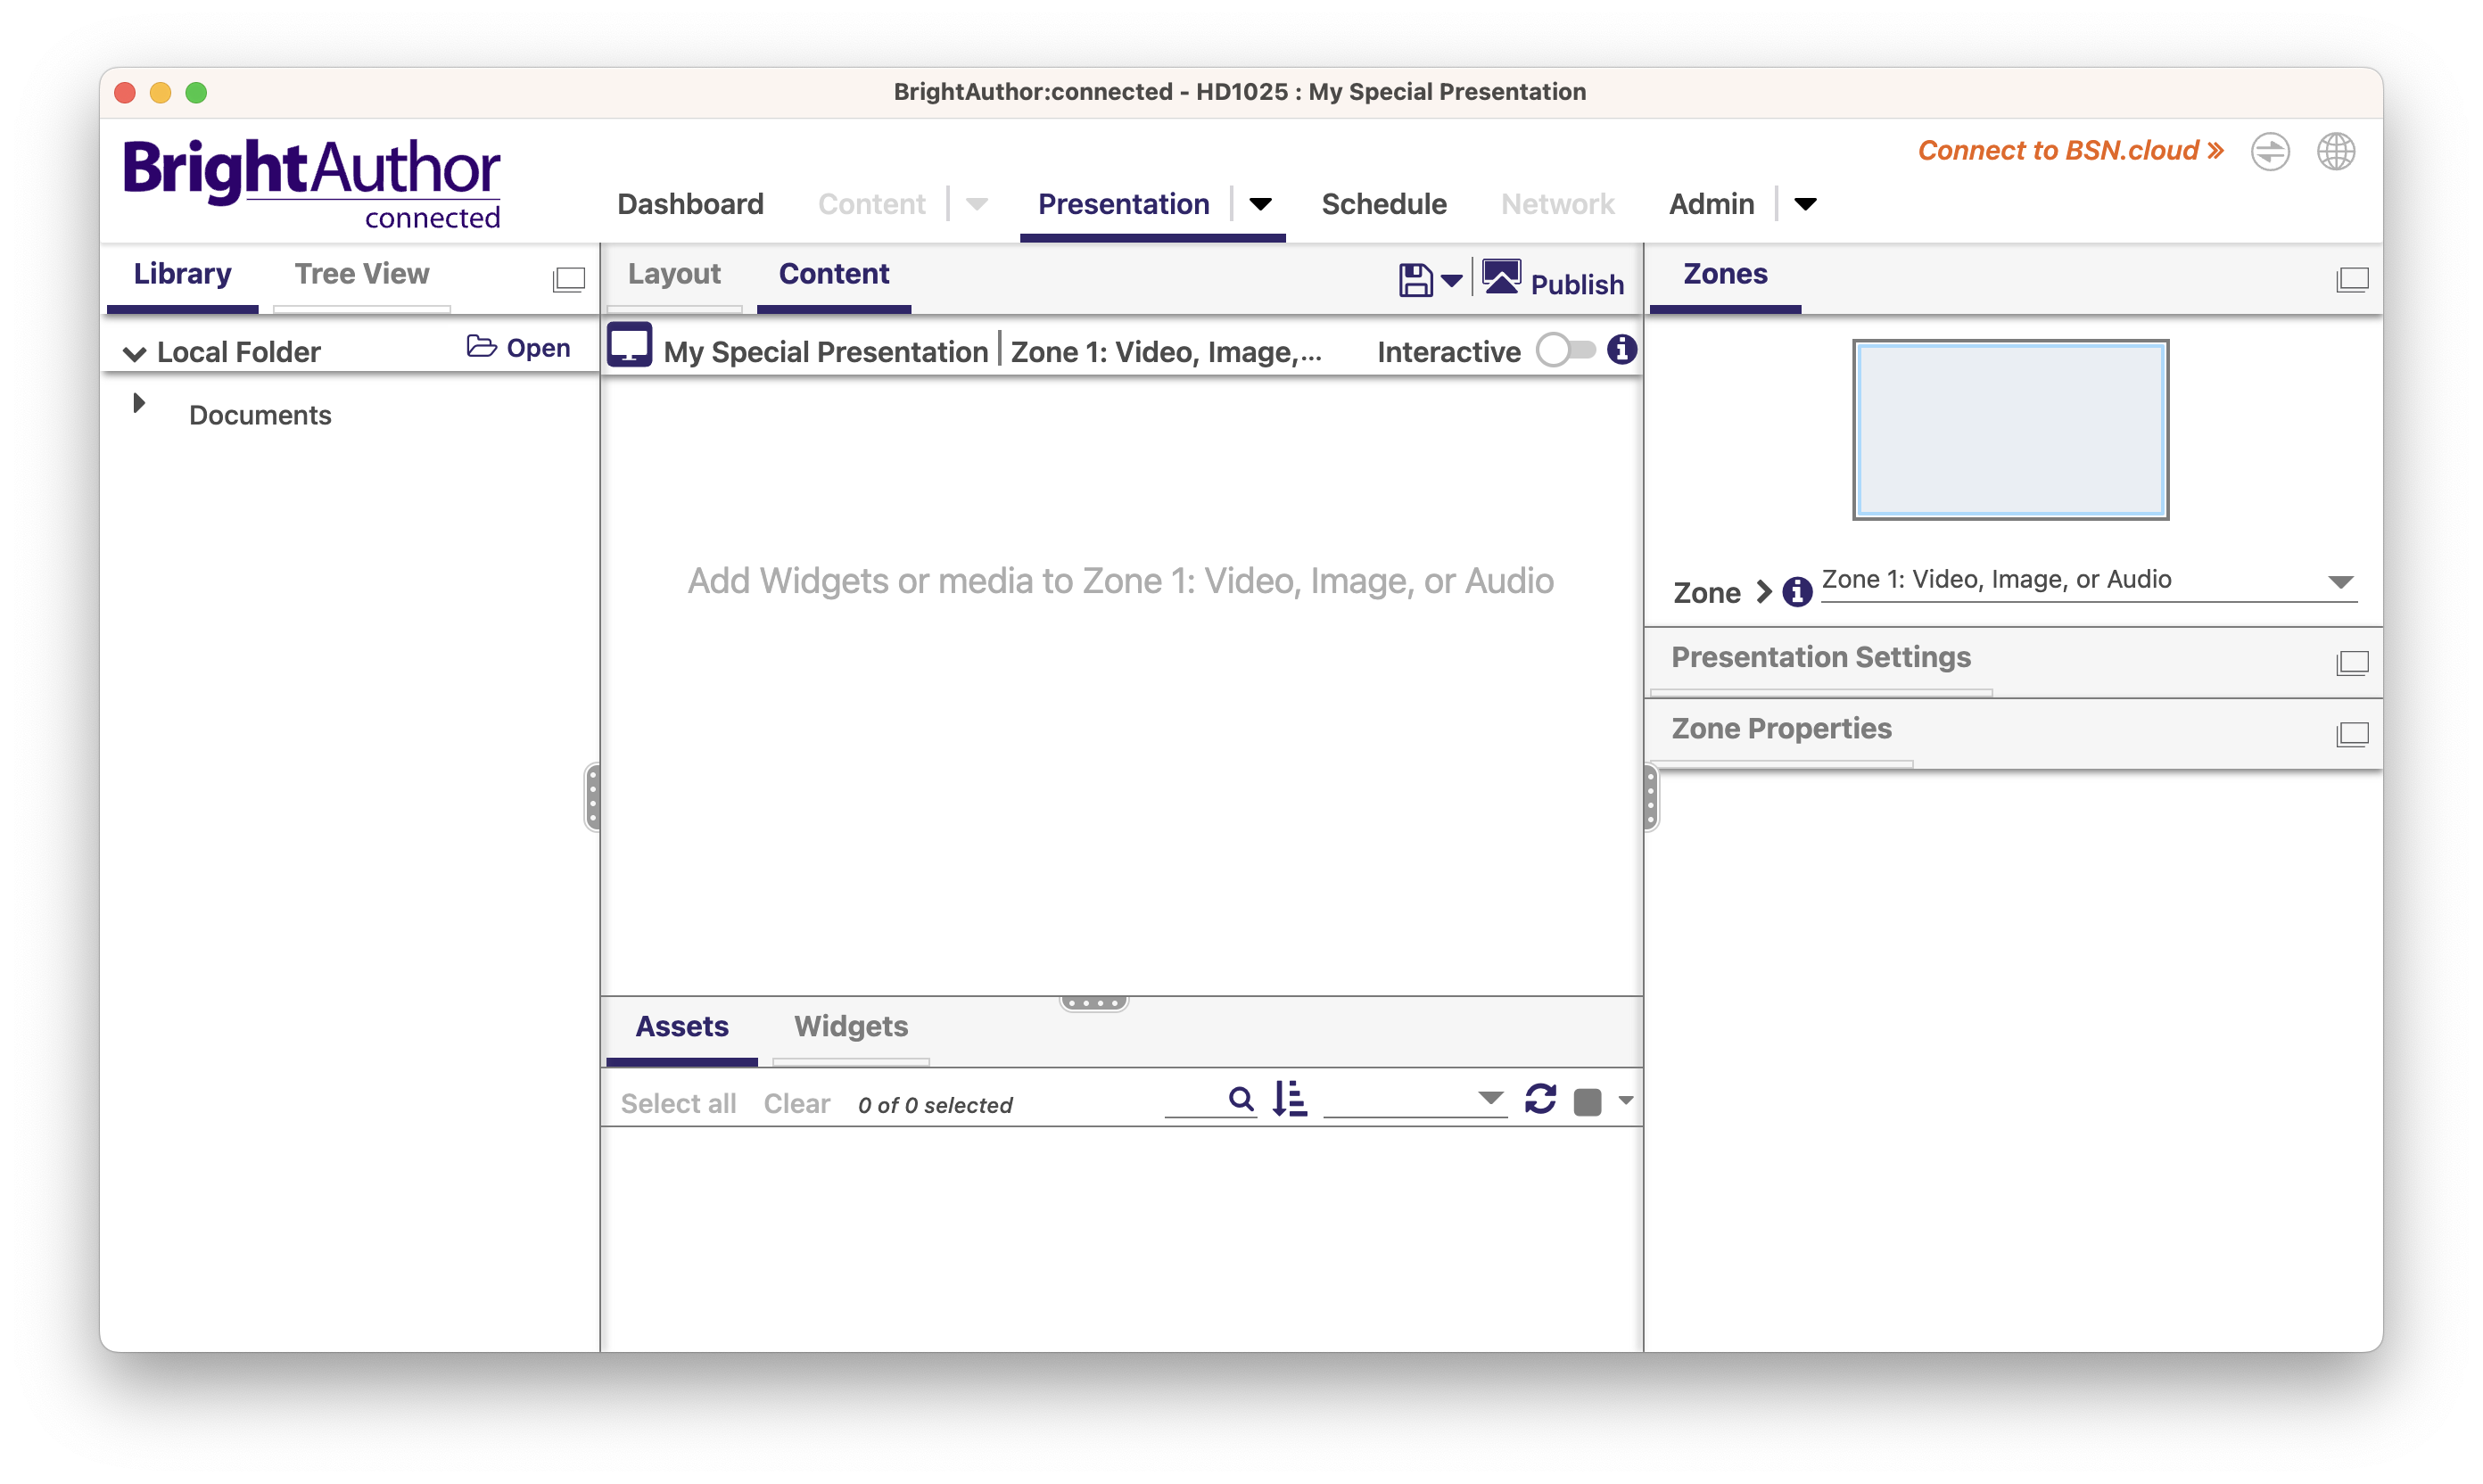
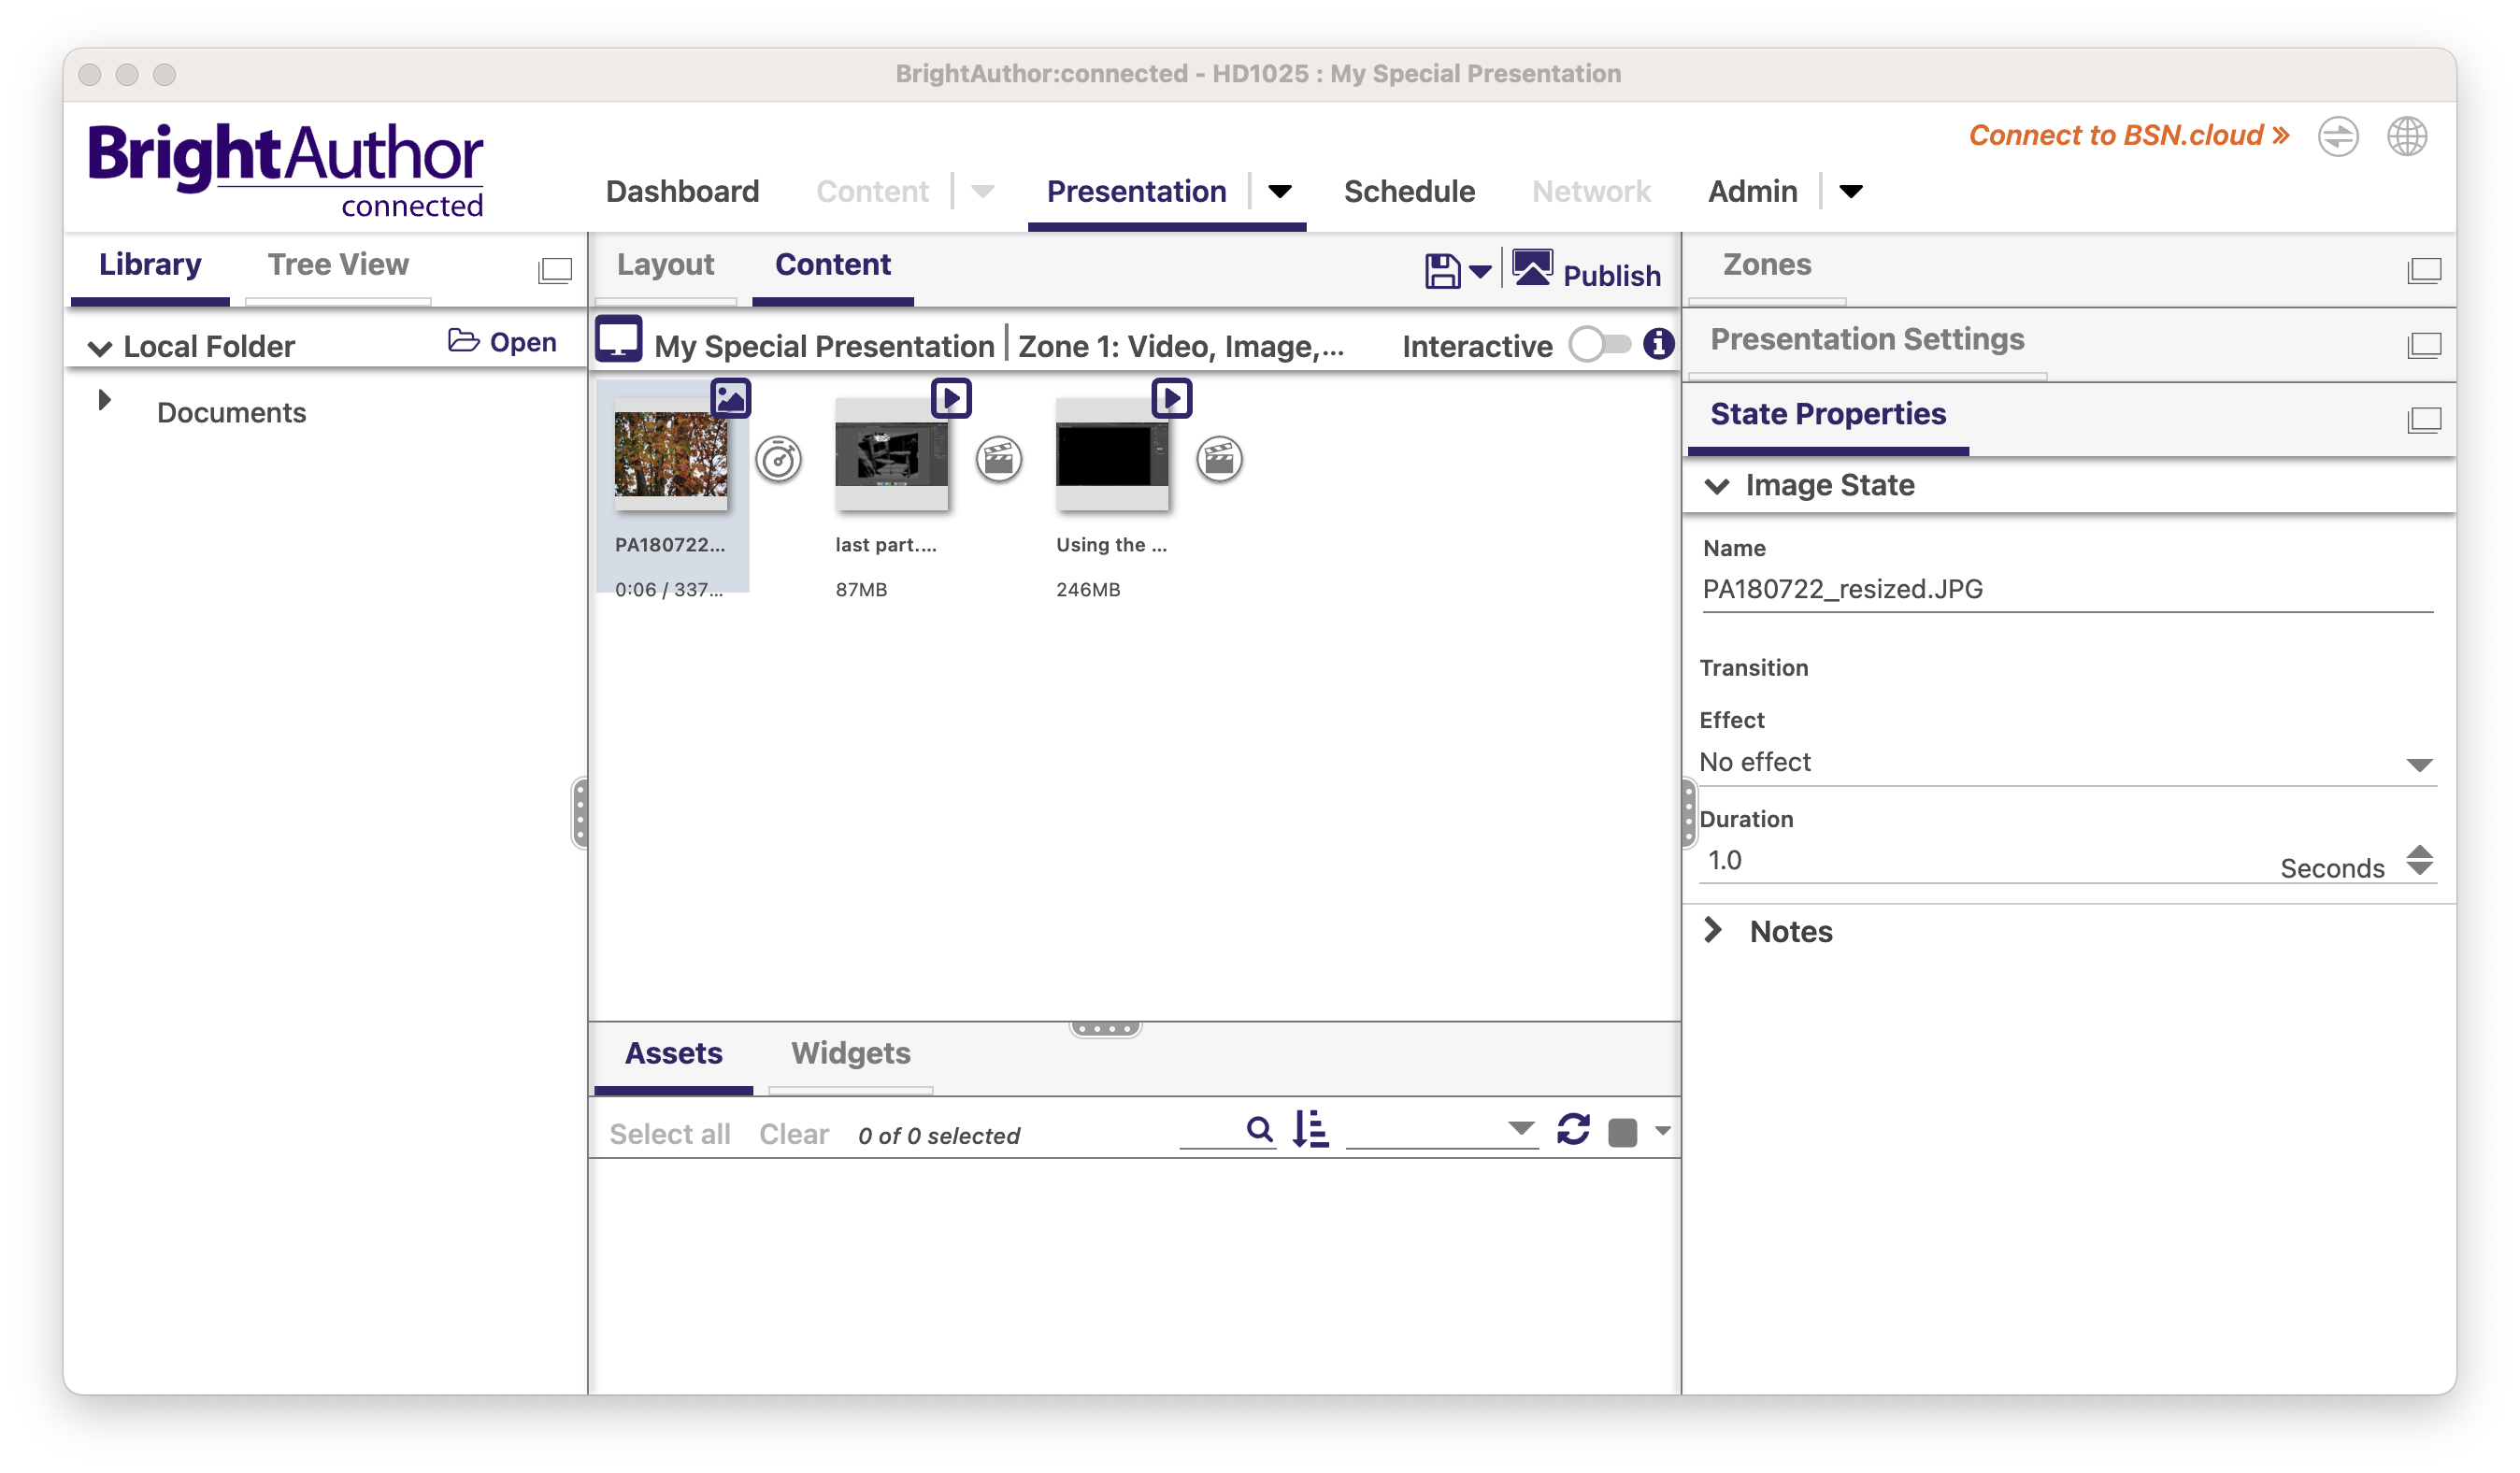
8. Drag your audio, video, or image file(s) into the content area. If you have more than one file, their order can be rearranged by clicking and dragging. If you have an image file, you can specify its duration by selecting it and changing the “Duration” field on the right-hand side of the screen. You do not need to modify any settings for audio or video files.
9. In order to be used on a BrightSign player, the presentation must be published to the microSD card. While you are on the “Presentation” screen, click the “Publish” button, and select “Yes” when prompted to save the changes you made to your presentation.
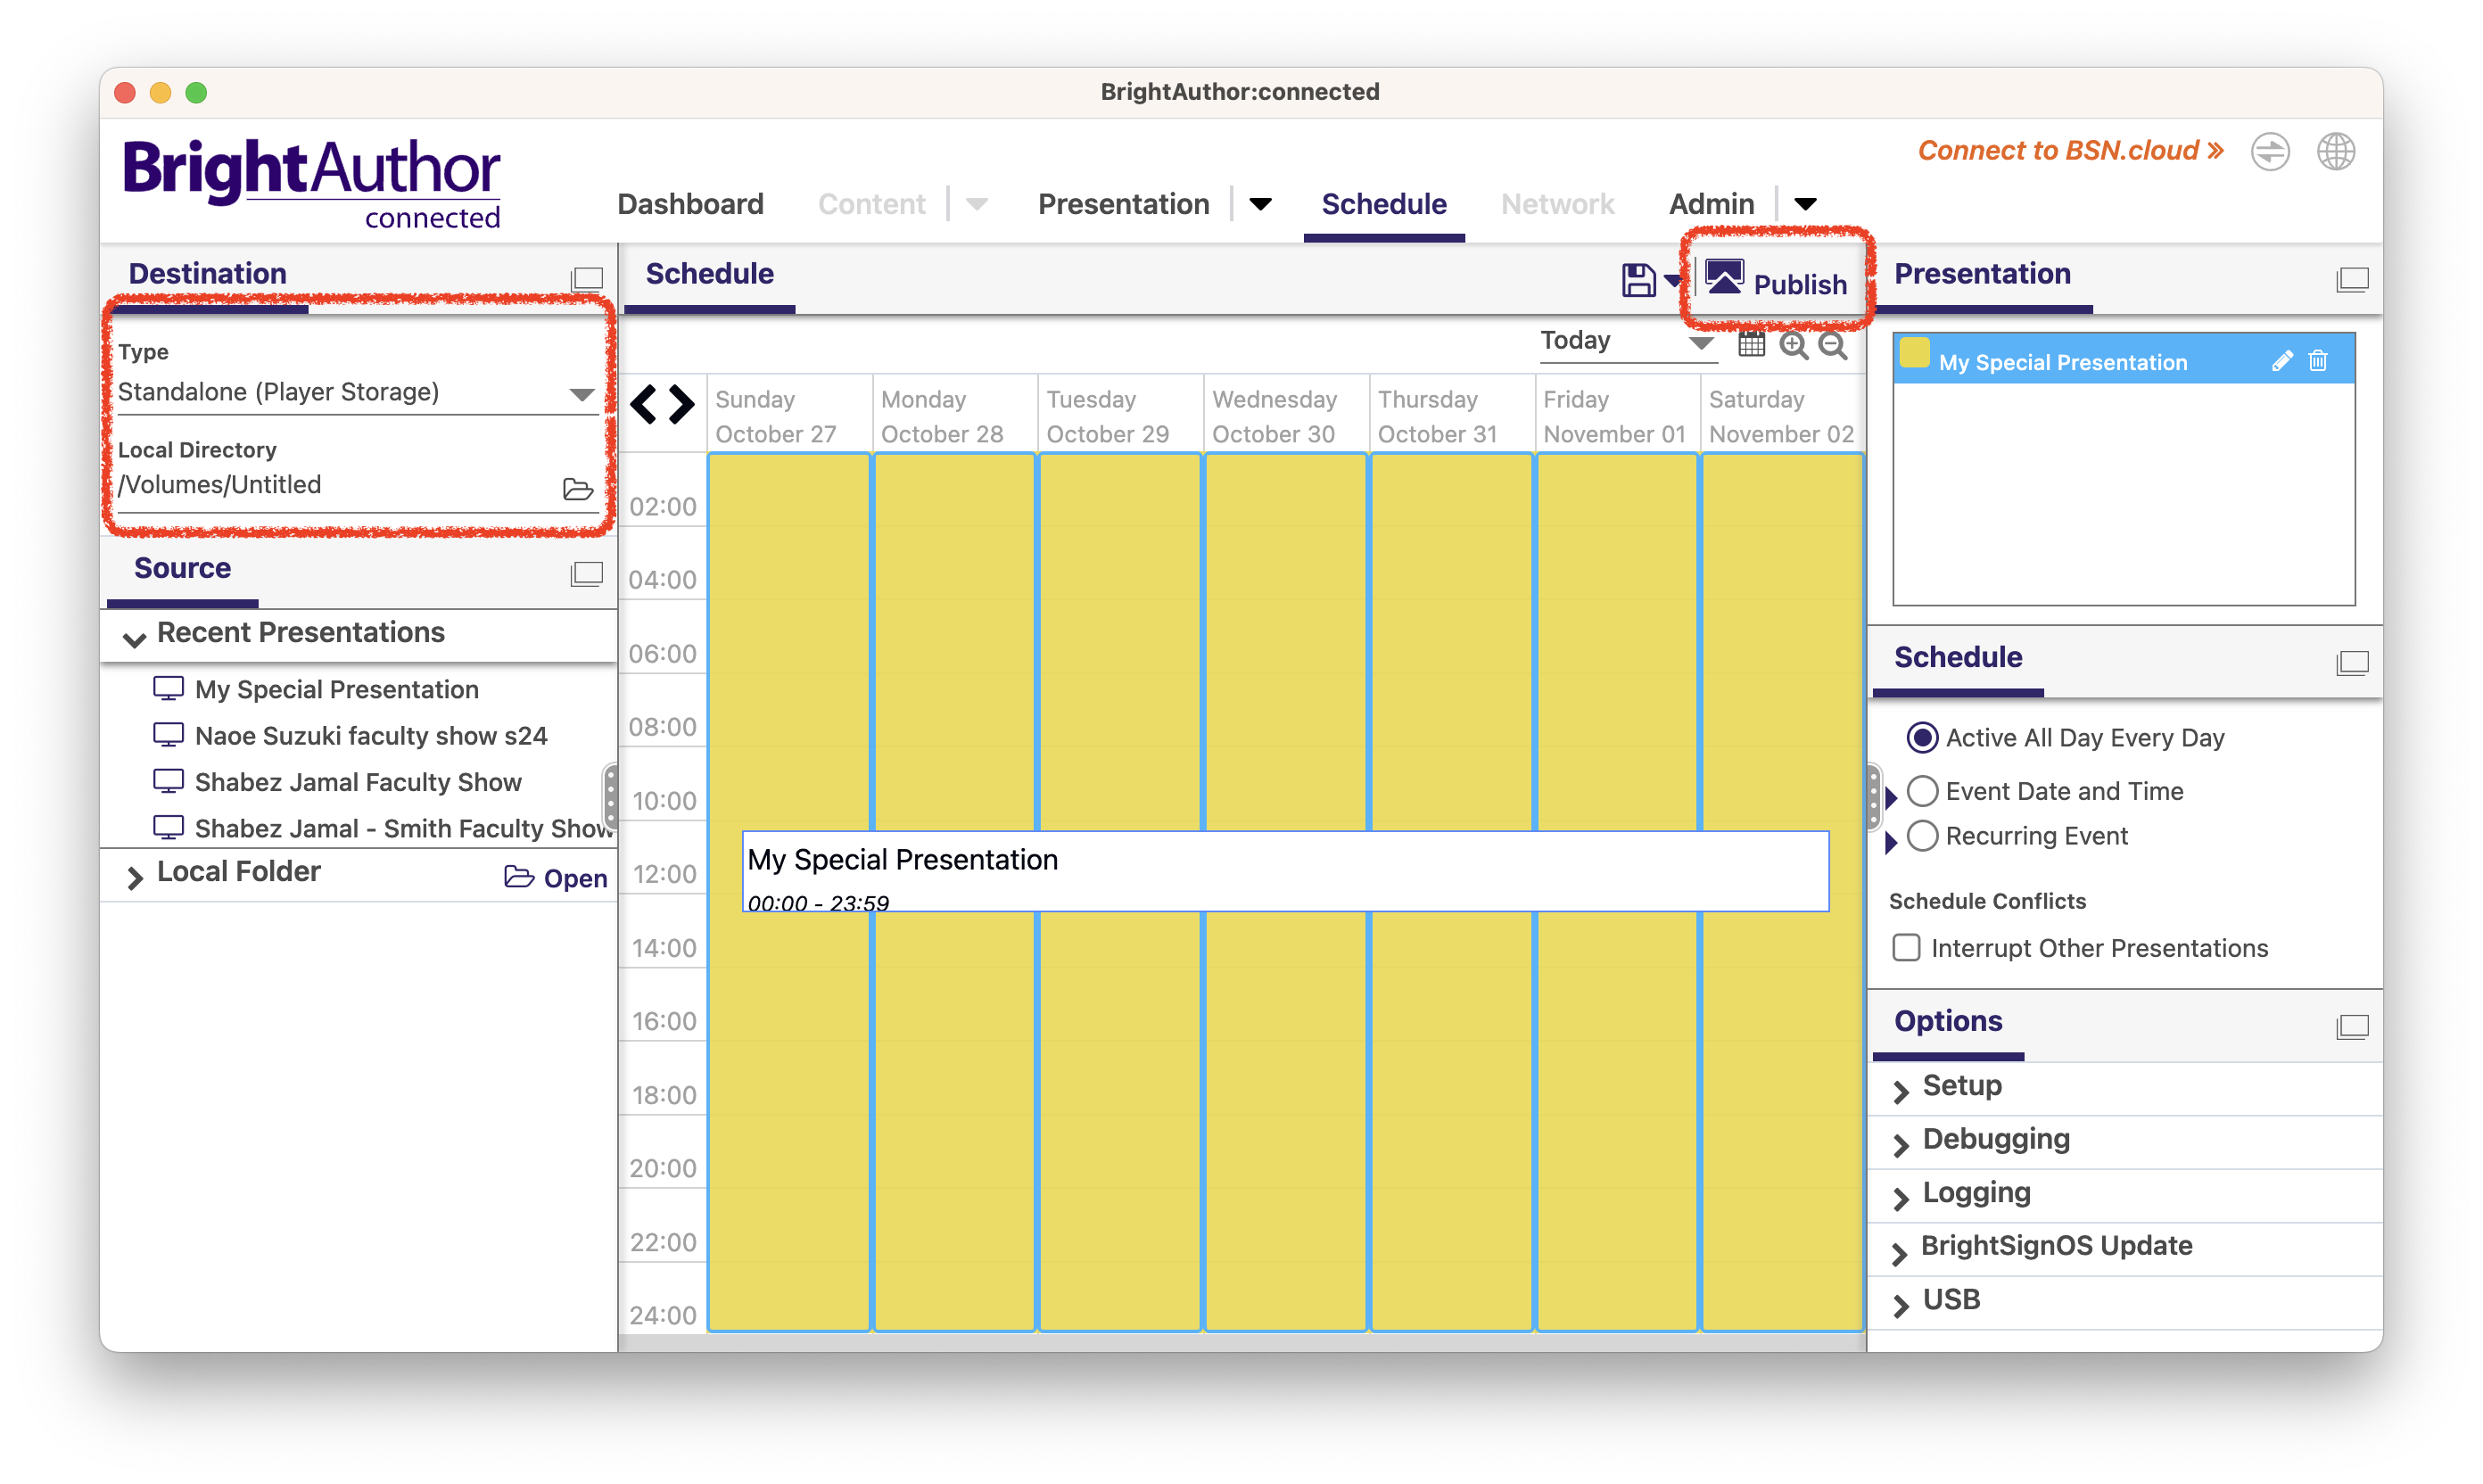
10. The “Schedule” tab will now be open at the top of the screen. By default the schedule will be set to play your presentation all day every day. This is what we typically use for gallery installations.
11. Set the “Type” of presentation to “Standalone (Player Storage).”
12. Under “Local Directory” select the MicroSD card you inserted into your computer earlier.
13. Click the “Publish” button. You will see a progress bar and a notification when the files have been transferred to the card.
14. Now your presentation is published to the MicroSD card. The only thing left to do is eject the MicroSD card from the computer, insert it into the BrightSign player, and plug in the player to turn its power on (there is no power switch on the player, you just plug in the power adapter). Within a short time, your presentation should begin playing.
If you have followed these steps and still have any problems, feel free to contact the Imaging Center at ic-u@smith.edu.