Create a Stop Motion Video on Mac using QuickTime
1. Open the Quicktime application, and then click File then Open Image Sequence
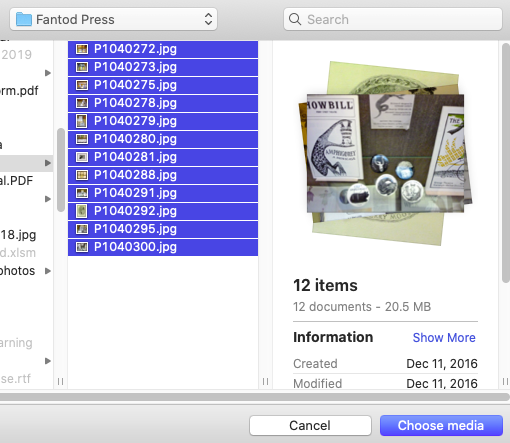
2. Select the images you want to make your stop motion video.
3. The files should be named in numerical order and you should have multiple copies of each image – otherwise you’ll have a very short video!
4. Make the following selections:
- Resolution: Select 720p
- Frame Code: Chose 24 frames per second
- Encode for: Choose from greater compatibility (H.264)
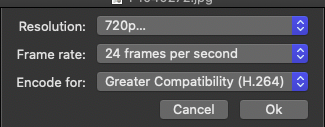
5. Click OK. The video will automatically be generated.
6. Press play to review it. If it is okay, then close the window.
7. Name and save the video.
Create a Stop Motion Video on Mac using iMovie
iMovie is standard for most Mac computers. It’s a little more complicated than QuickTime but it also allows you more control.
1. Open the iMovie application.
2. Next click on the Projects tab.
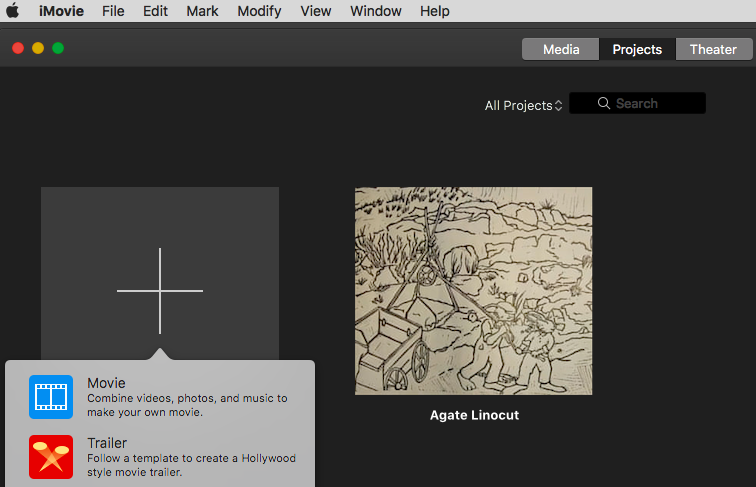
3. Click the Create New block and select.
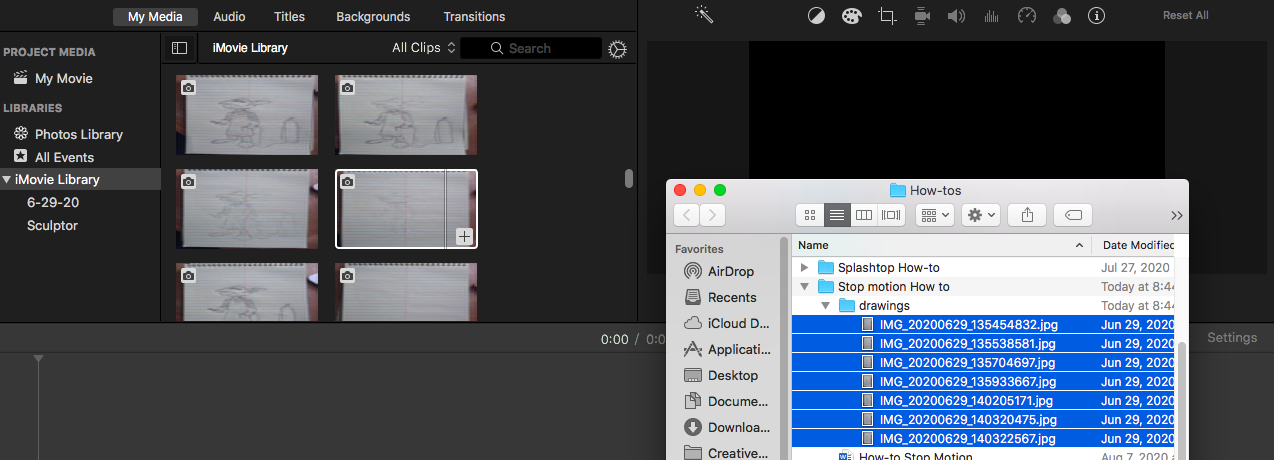
4. Select images you plan to use. These can be dragged into the iMovie Library panel at top left.
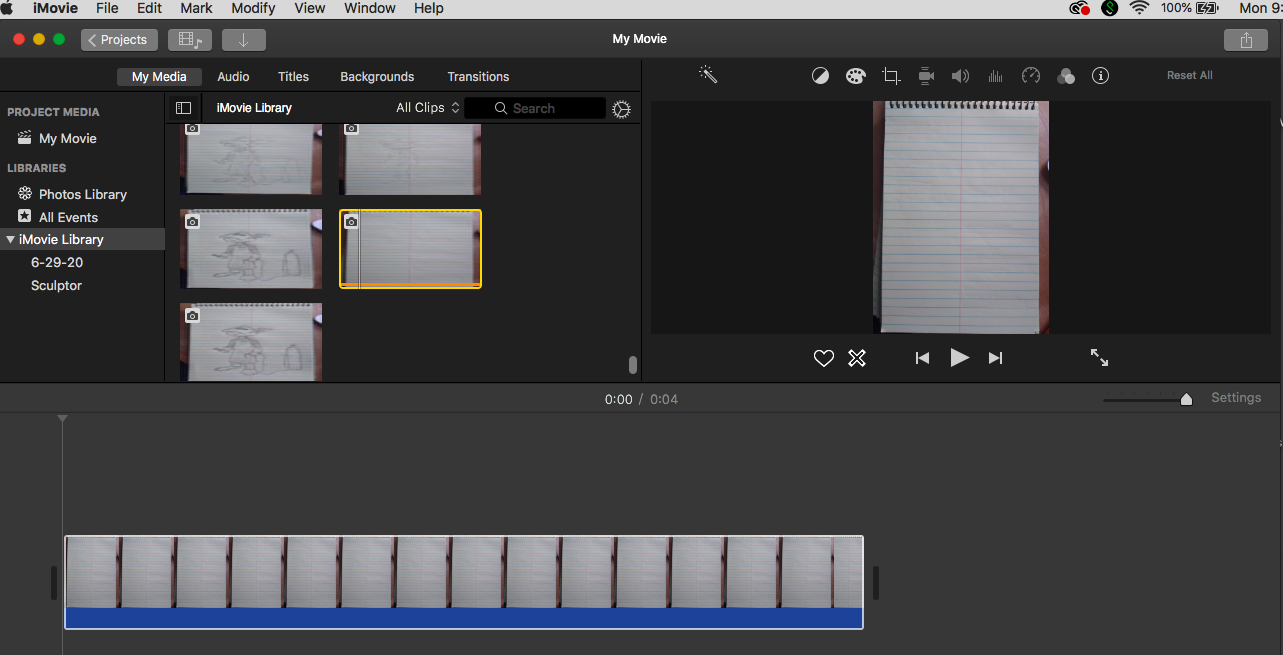
6. Select a drawing pull it down into the Editor Panel below. iMovie will create a sequence from the drawing that will run about 4 seconds.
7. Pull in next drawing and iMovie will add another sequence behind the first.
8. To change the amount of time each image is viewed, click on the first image in the Editor Panel and shift-click on the last. Next, Click the Info button (i) in the Duration box, type in the time and click return.
9. To view the animation, move the vertical start line to the point you’d like to view and click play in the viewer to run the sequence.
11. You can shorten a sequence by clicking on it. Once selected, you can go to either end and drag the edge inward to crop time from the sequence.
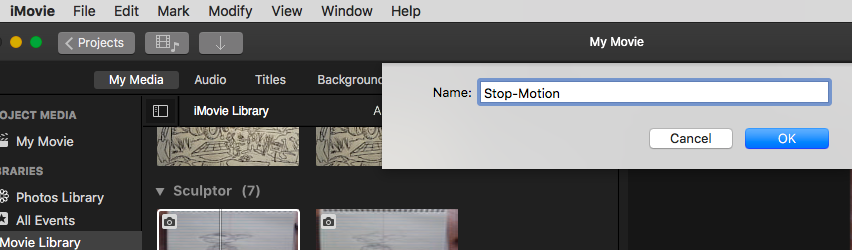
12. When finished, click Project at top left.
13. You’ll be asked to name your project. Then click OK.

14. To export your animation, click the triple-dot button (…)
15. Select iMovie
16. Click on Share Project > File
17. In the window that appears, click Next and then save your file.
Audio and Editing Options
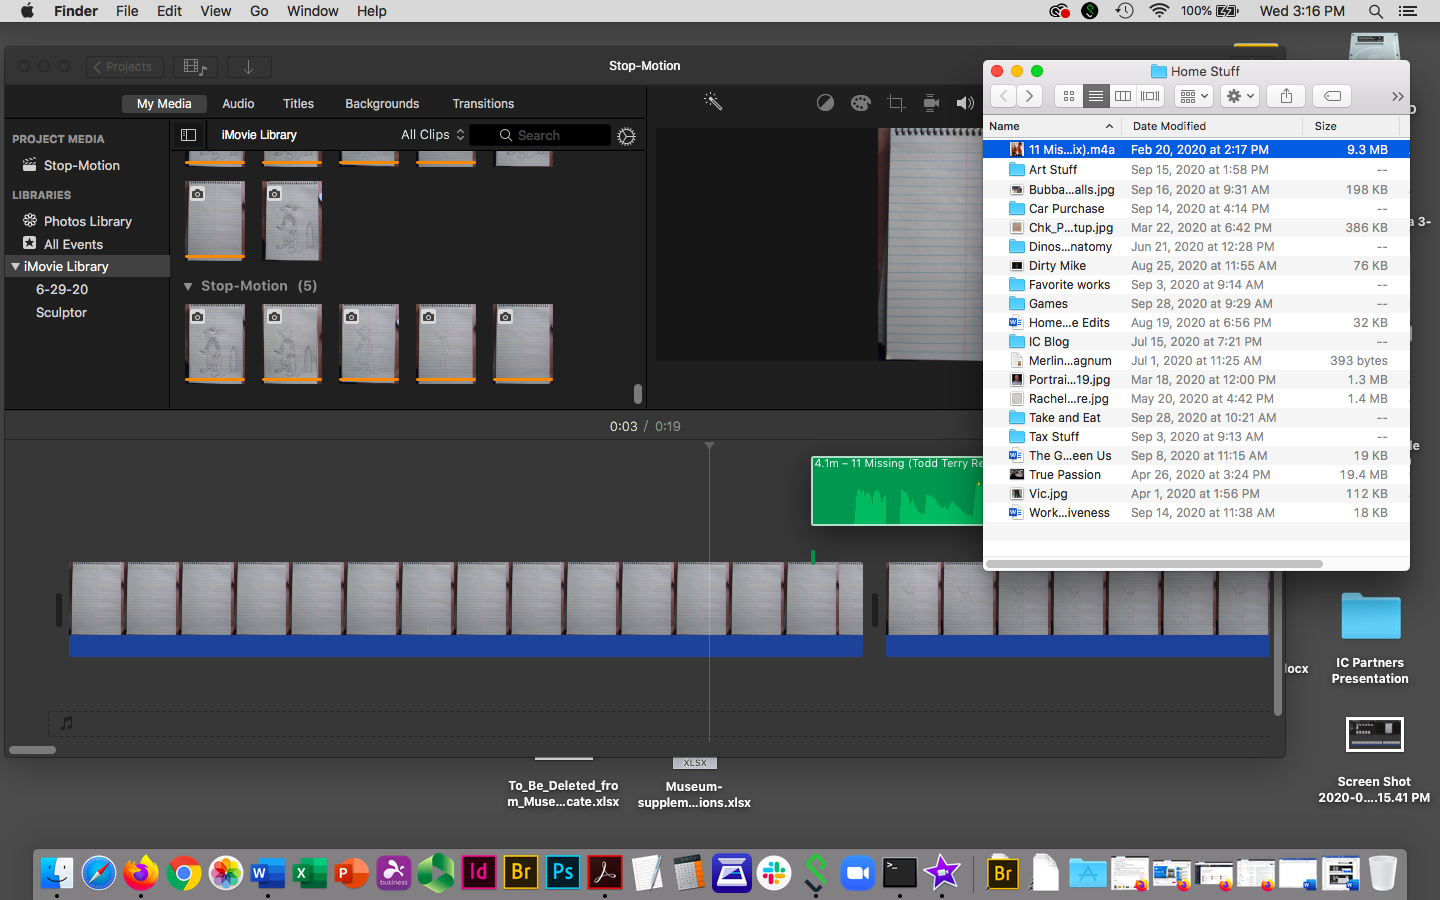
1. To add music, drag a sound file from your desktop to the music strip below your video sequence.
2. You can shorten an audio sequence by clicking the edge of the audio and dragging it inward.
3. To change the color cast, select an image in the Editor Panel and click the paint-palate button.
4. To change the cropping, click the crop box icon and adjust the crop box that appears in the viewer.
5. To add a voice over, drag the arrow to the point in the sequence where you would like to start. Click the microphone button to record.
Create a Stop Motion Video with Microsoft Photo’s Video Editor
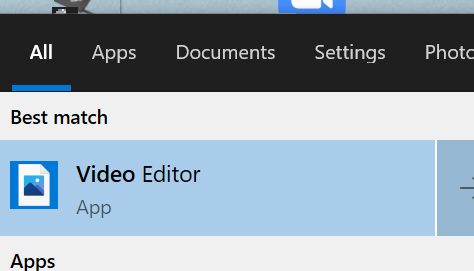
1. Windows 10 machines come with a video editor as a part of the photos app. To access it, go to the search box on bottom left of the desktop and type in Video Editor then click on the app to open.
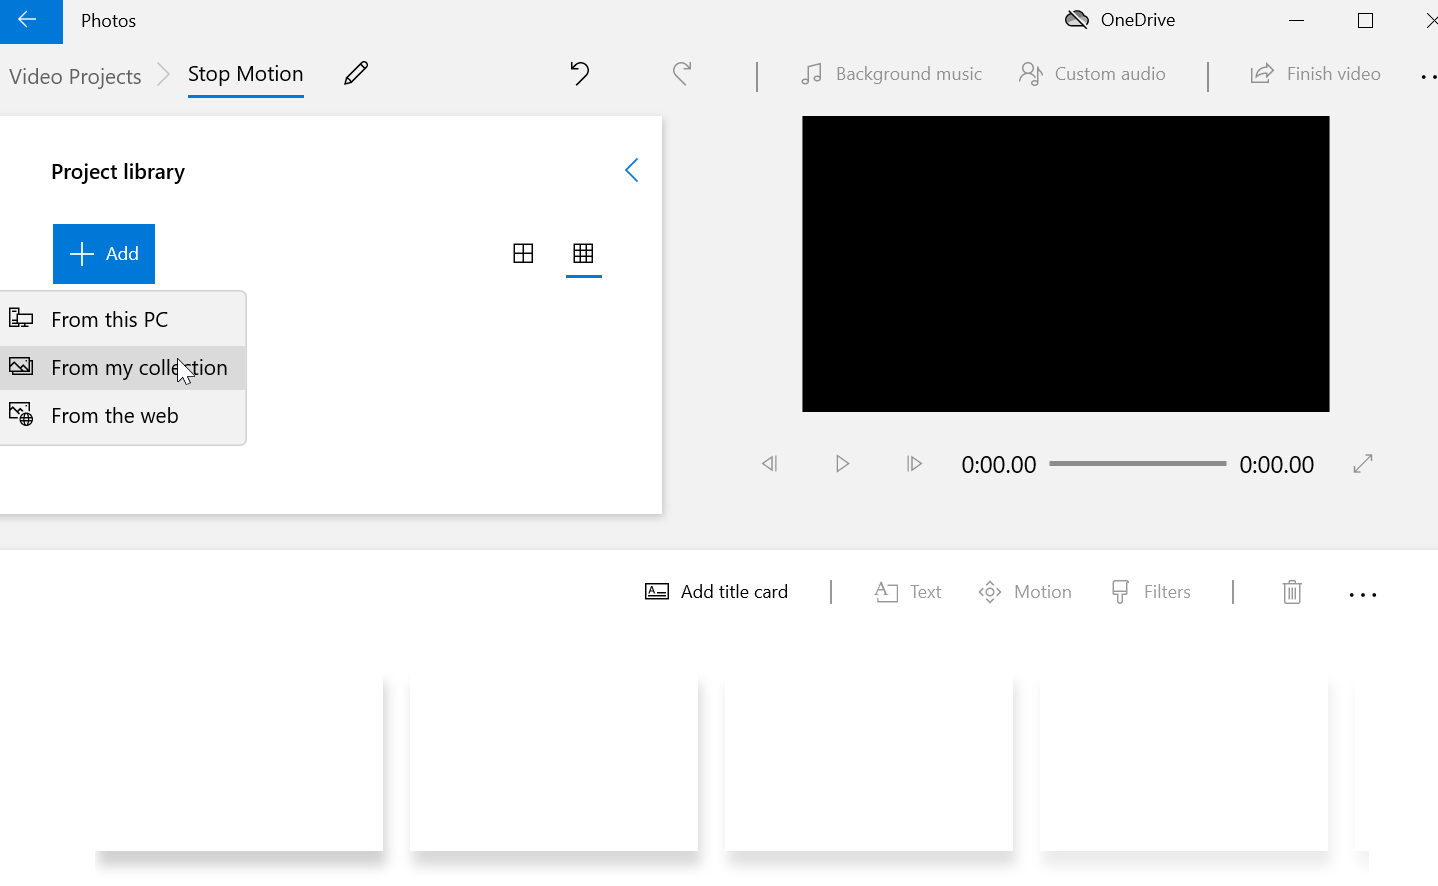
2. Click the New Video Project icon.

3. On the left menu click Add and select From this PC to select your images.
4. You can click Play in the viewer to run the sequences.
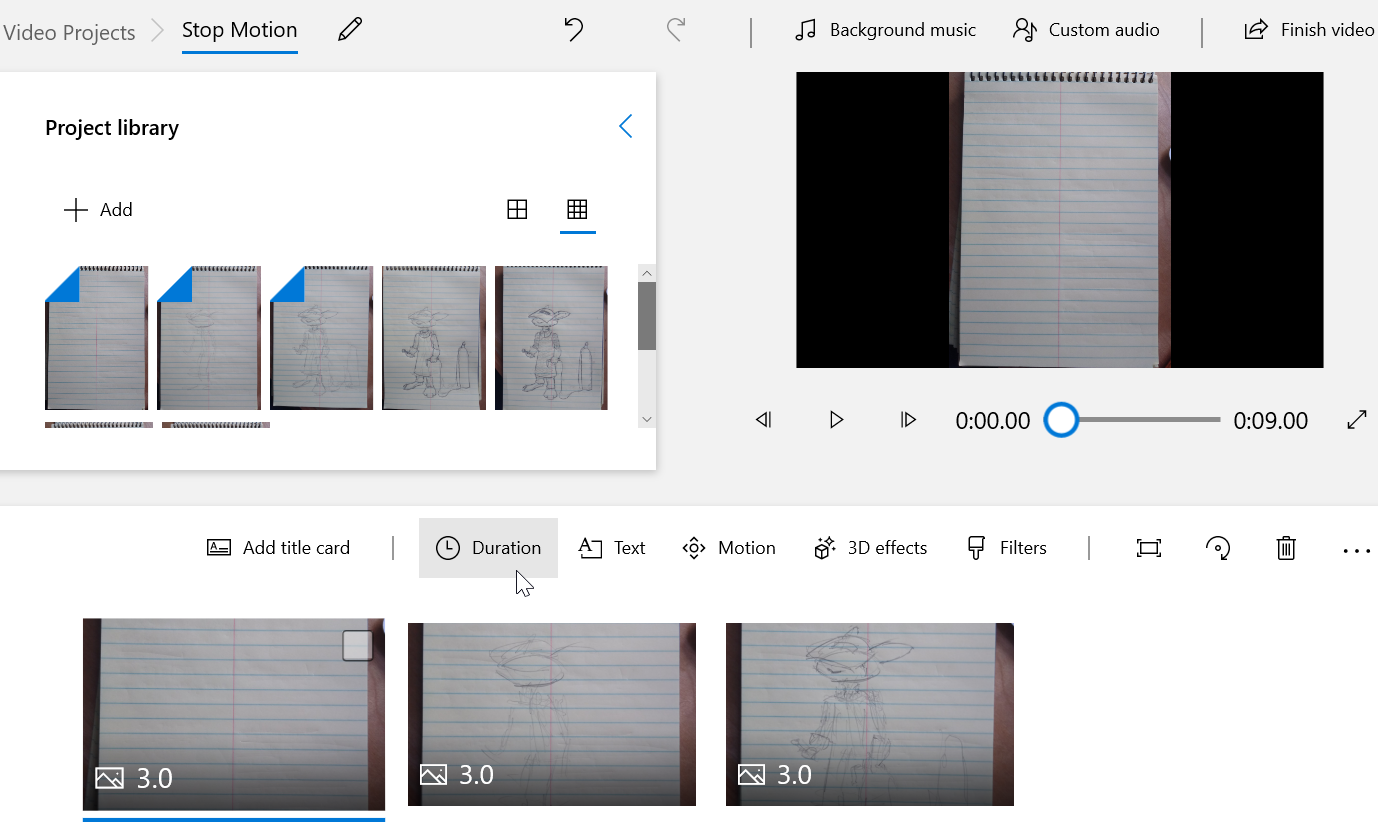
5. Select a drawing and pull it down into the editor panel below. Video Editor will create a sequence from the drawing that will run for three seconds. Pull in the next drawing and Video Editor will add another sequence behind the first.
6. You can shorten a sequence by selecting it and then clicking Duration. Use the drop-down menu to select how much shorter you want the sequence. To change the duration of multiple frames, select the first frame and then shift-click the last frame in a group of frames and then click Duration.
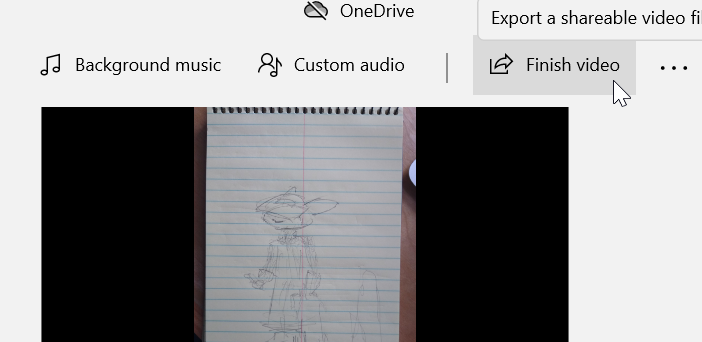
7. When your animation is ready click Finish Video at the top right.
8. Select Medium 720p for your video quality and click Export.
Adding Audio
9. You can add audio as well. First click Custom Audio at the top right. In the pop-up window, drag your audio files into the column at the right.
10. Each audio file will be placed on the video timeline. You can move or shorten it by clicking on the arrows that appear on either side.
11. When you have finished editing your audio click Done.