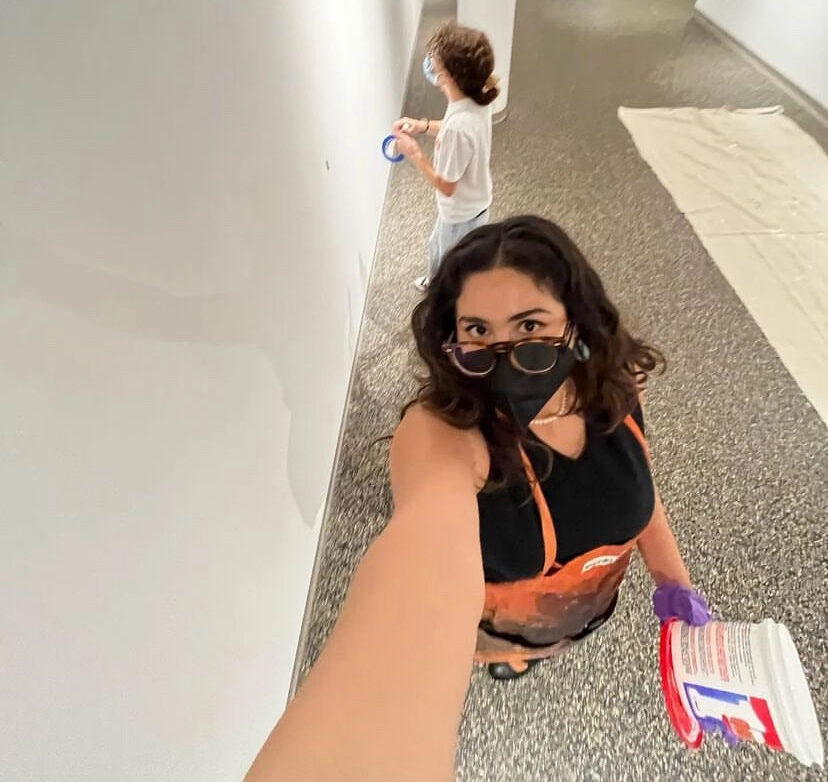
Student Gallery Assistants maintain the walls and display fixtures of the Jannotta and Oresman Galleries. They assist with the installation and de-installation of artwork and take professional photos of installed gallery shows. They assist with publicity by creating posters and contributing to social media, and do other gallery-adjacent things in the Imaging Center.
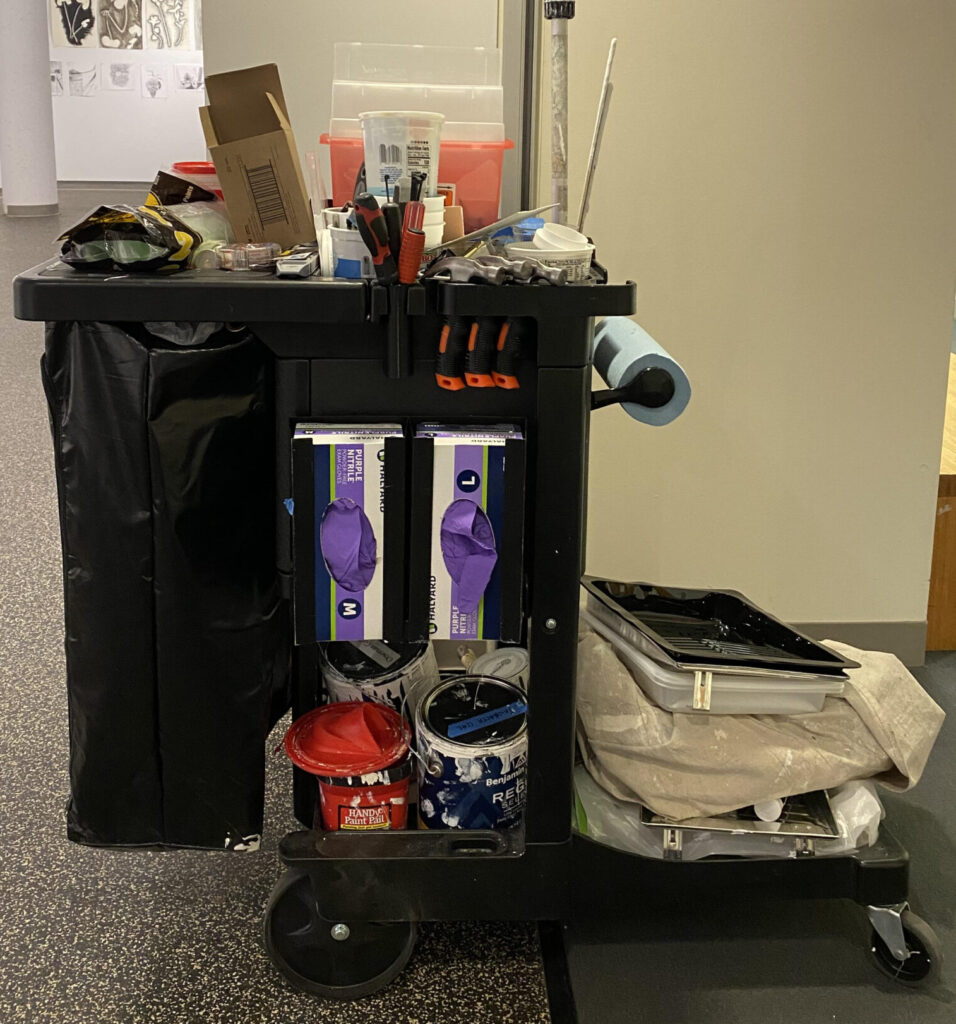
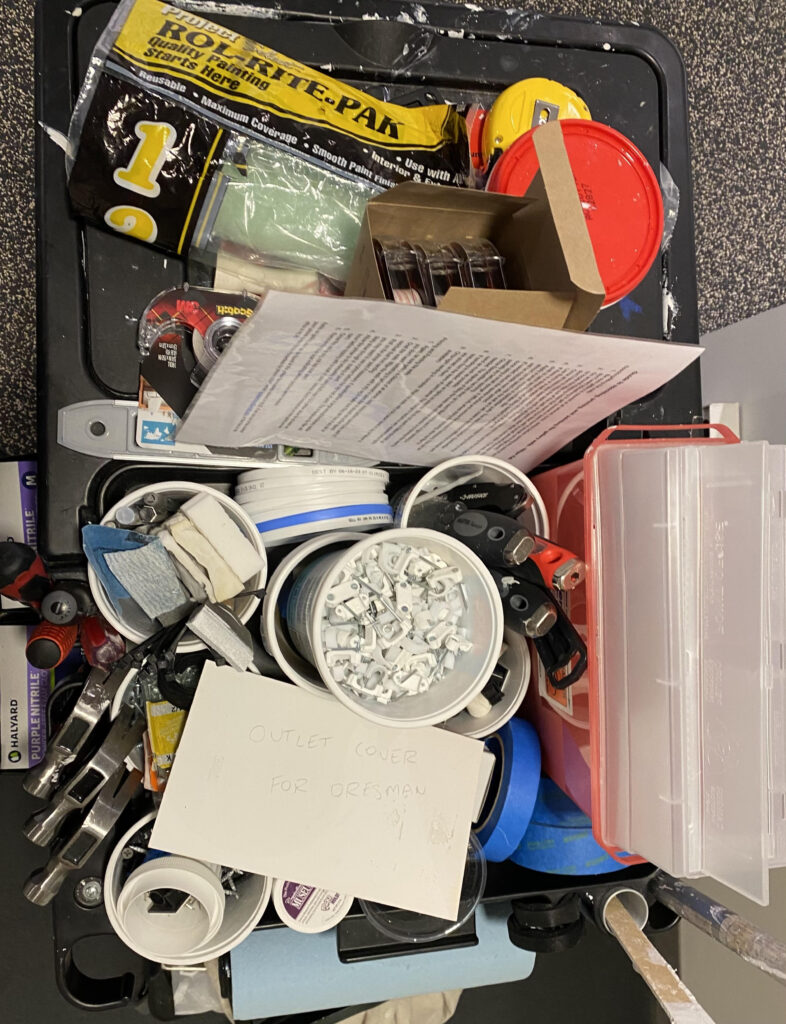
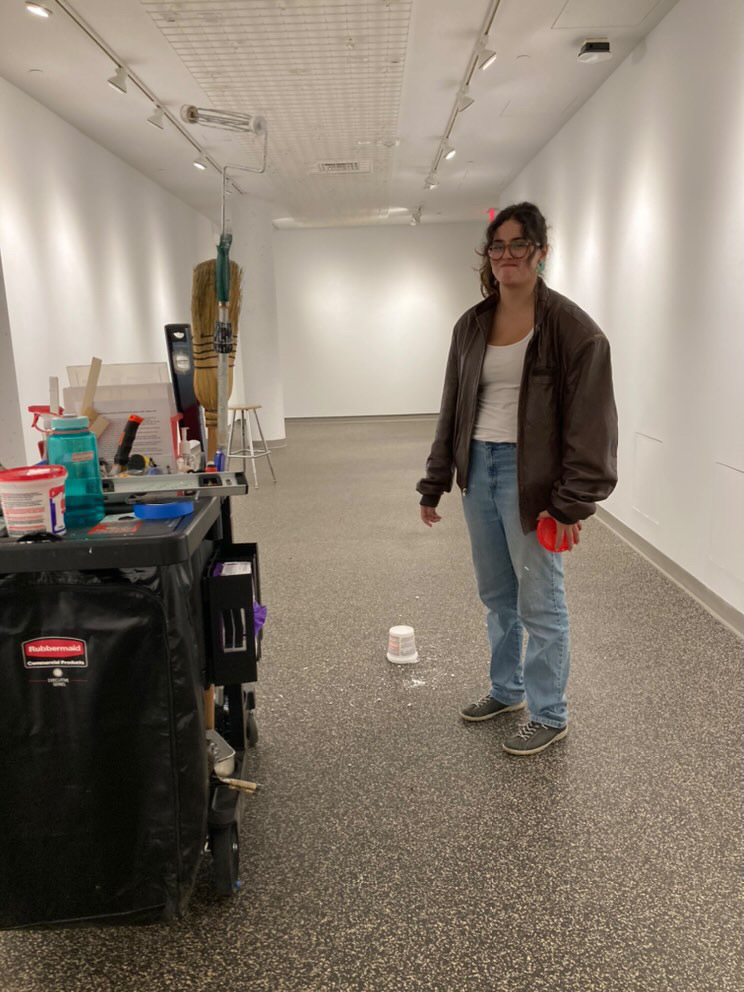
The gallery cart is stocked with everything a gallery worker could need. It has paint rollers, drop cloths, paints for both galleries, various tools and implements for hanging artwork, and a box for the disposal of sharp objects. The gallery cart is located in the locked closet in HL18 but may be kept in one of the galleries during installation and de-installation. The gallery cart is available to all artists during installation periods, and will likely need to be reorganized after each one.
Guide to spackling, priming, and painting the gallery walls in Hillyer Hall
Note: When doing gallery wall work, please wear clothes you don’t mind getting dirty. Paint will NOT wash out!
Spackling/filling the walls:
- Be sure the gallery is cleared of all artwork, tools, and debris.
- Mark any holes that need to be filled with small pieces of blue tape.
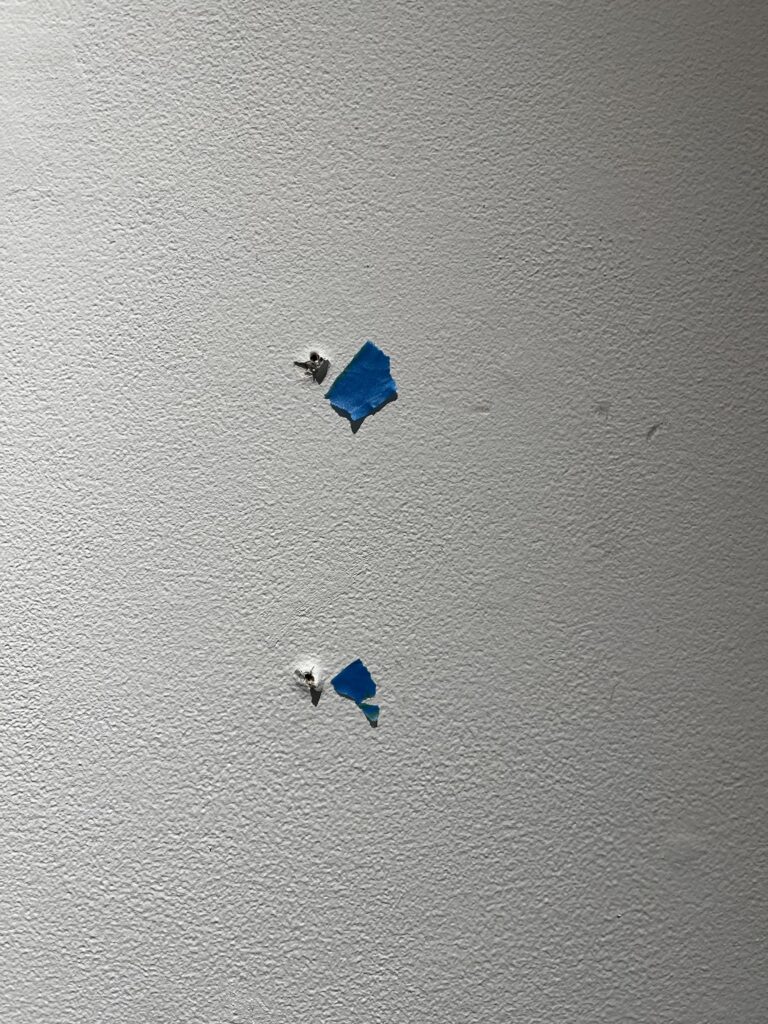
Mark holes that need to be filled using blue painters’ tape. Holes may not be as obvious as these ones. - Once all holes have been located and marked, push in the holes using the dimple tool. Pushing the hole slightly inward will make it easier to fill the hole with spackle without ending up with a raised bump.
- Use a putty knife to take a scoop of spackle from the large spackle container and put it in a yogurt cup or similar small container. Clean off the rim of the large container if necessary and close it tightly so it doesn’t dry out. You can always refill your small container later if needed.
- If there is a dense amount of filling needed in one area, lay down a drop cloth to catch anything that falls. This is a good practice; however, unlike paint drips which will become permanent, crumbs of spackle can typically be swept up if they do end up on the floor.
- Apply a small amount of spackle to the hole to be filled (the less the better). Spackle should not be caked onto the wall as it will create a noticeable difference in texture and will be noticeable even after painting.
Apply spackle to walls, not floor - Once the spackle has fully dried, check to see if it needs to be sanded flat or if additional texture needs to be added to match the surrounding wall.
- If sanding is needed, sand only as much as necessary. We do not want to flatten the texture of a large area of paint. The change in texture is very apparent once the gallery track lights are shined on the walls. To minimize this effect, first wipe the walls with a dry paper towel to remove dust generated by sanding, then use a sponge and paint to create texture on the sanded area.
- Wipe any existing spackle off of putty knives. Once there isn’t much spackle left they can be washed off in the sink with a green scrub sponge.
Priming and painting the walls:
- Again, be sure the gallery is cleared of all artwork, tools, and debris before opening any paint.
- Dust the walls with a dry rag to make sure they are free of any dirt or dust. If necessary, use a wet Magic Eraser to clean up any residual charcoal or paint marks.
- PUT A DROP CLOTH ON THE FLOOR UNDER THE AREA YOU ARE ABOUT TO PAINT.
- If spackling is extremely visible, or if there are dark marks you are not able to clean off the wall, you may need to use a layer of primer before painting. If you do:
- Put a plastic liner in a metal paint tray and PLACE THE TRAY ON THE DROP CLOTH.
- SET THE PRIMER CAN ON THE DROP CLOTH AND OPEN IT. Stir the primer with a stir stick if necessary.
- Pour a small amount of primer into the plastic-lined tray.
- SET THE PRIMER CAN ON THE DROP CLOTH AND CLOSE IT. You can always pour more later if necessary.
- Roll the primer onto the wall where needed.
- Allow the primer to dry for an adequate amount of time as per the container’s instructions.
- Once the primer is dry (or if no primer is needed), paint the areas you spackled, like so:
- Put a plastic liner in a metal paint tray and PLACE THE TRAY ON THE DROP CLOTH.
- Make sure you are using the correct paint for the gallery, which should be labeled on the top of the paint can. SET THE PAINT CAN ON THE DROP CLOTH AND OPEN IT. The paint may need to be stirred using a stir stick.
- Pour a small amount of paint into the plastic-lined tray.
- SET THE PAINT CAN ON THE DROP CLOTH AND CLOSE IT. You can always pour more later if necessary.
- Use a paint roller to roll on paint in the places where patching occurred. If need be, use the paint roller or a piece of sponge to create additional texture to even out the wall.

Do not eat the paint
- Once the paint is dry, remove the blue tape indicating where patches were needed.
- Throw away gloves, plastic paint liner, and paint roller in the flammable bins in the basement or 2nd or 1st-floor painting studios.
Refills on gallery paint can be found in the yellow flammables cabinet in HL02. If we are out of the correct paint or any other gallery cart materials, please contact Kevin Pomerleau by phone x3397, email: kpomerleau@smith.edu, or find him in his office in HL08.