Adding Images to PowerPoint
Like most Office products, when you open software you will be asked if you want to create a new presentation.
- Select Blank Presentation and the new presentation will open in app.
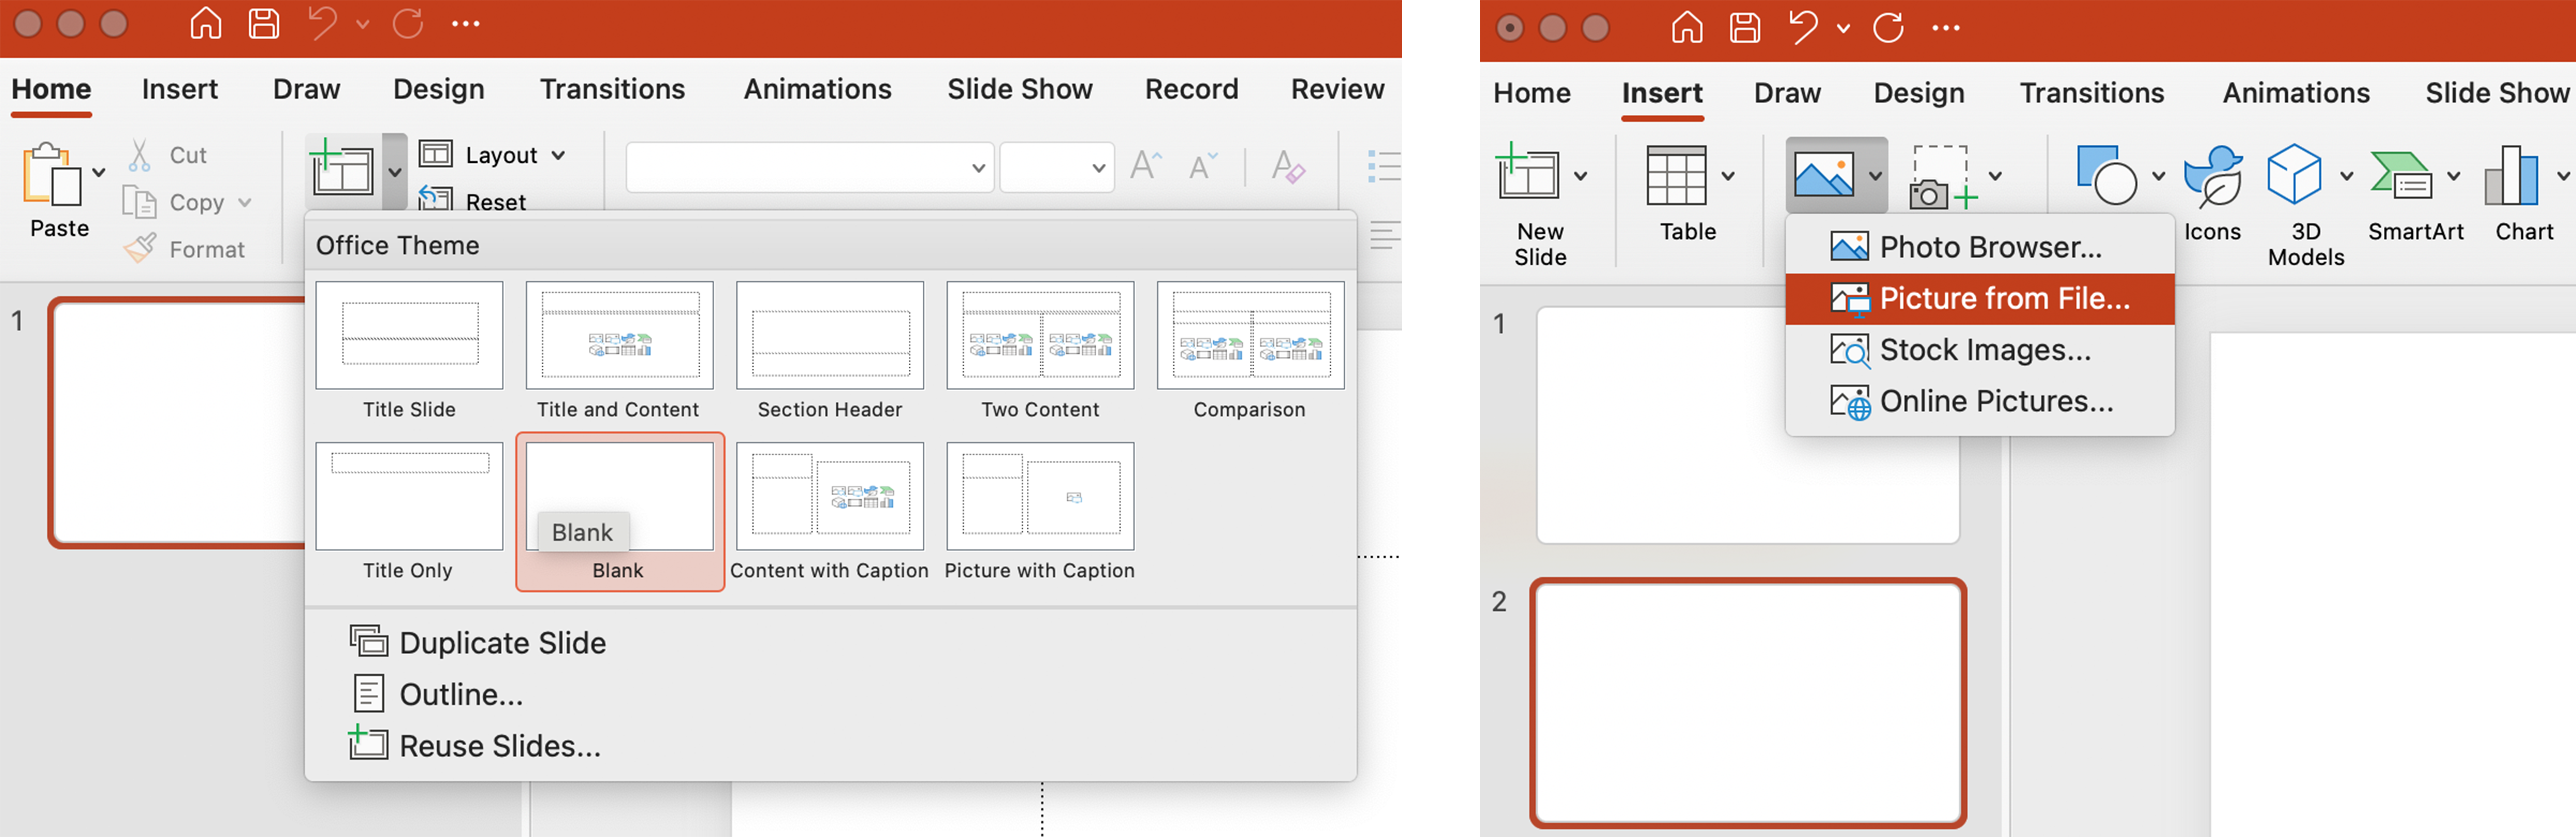
- Under the Home tab, click the New tab.
- Select a Blank slide.
- Under the Insert tab, select Picture from File. Choose the image from your files and click Insert.
Using the Photo Album Feature (Windows)
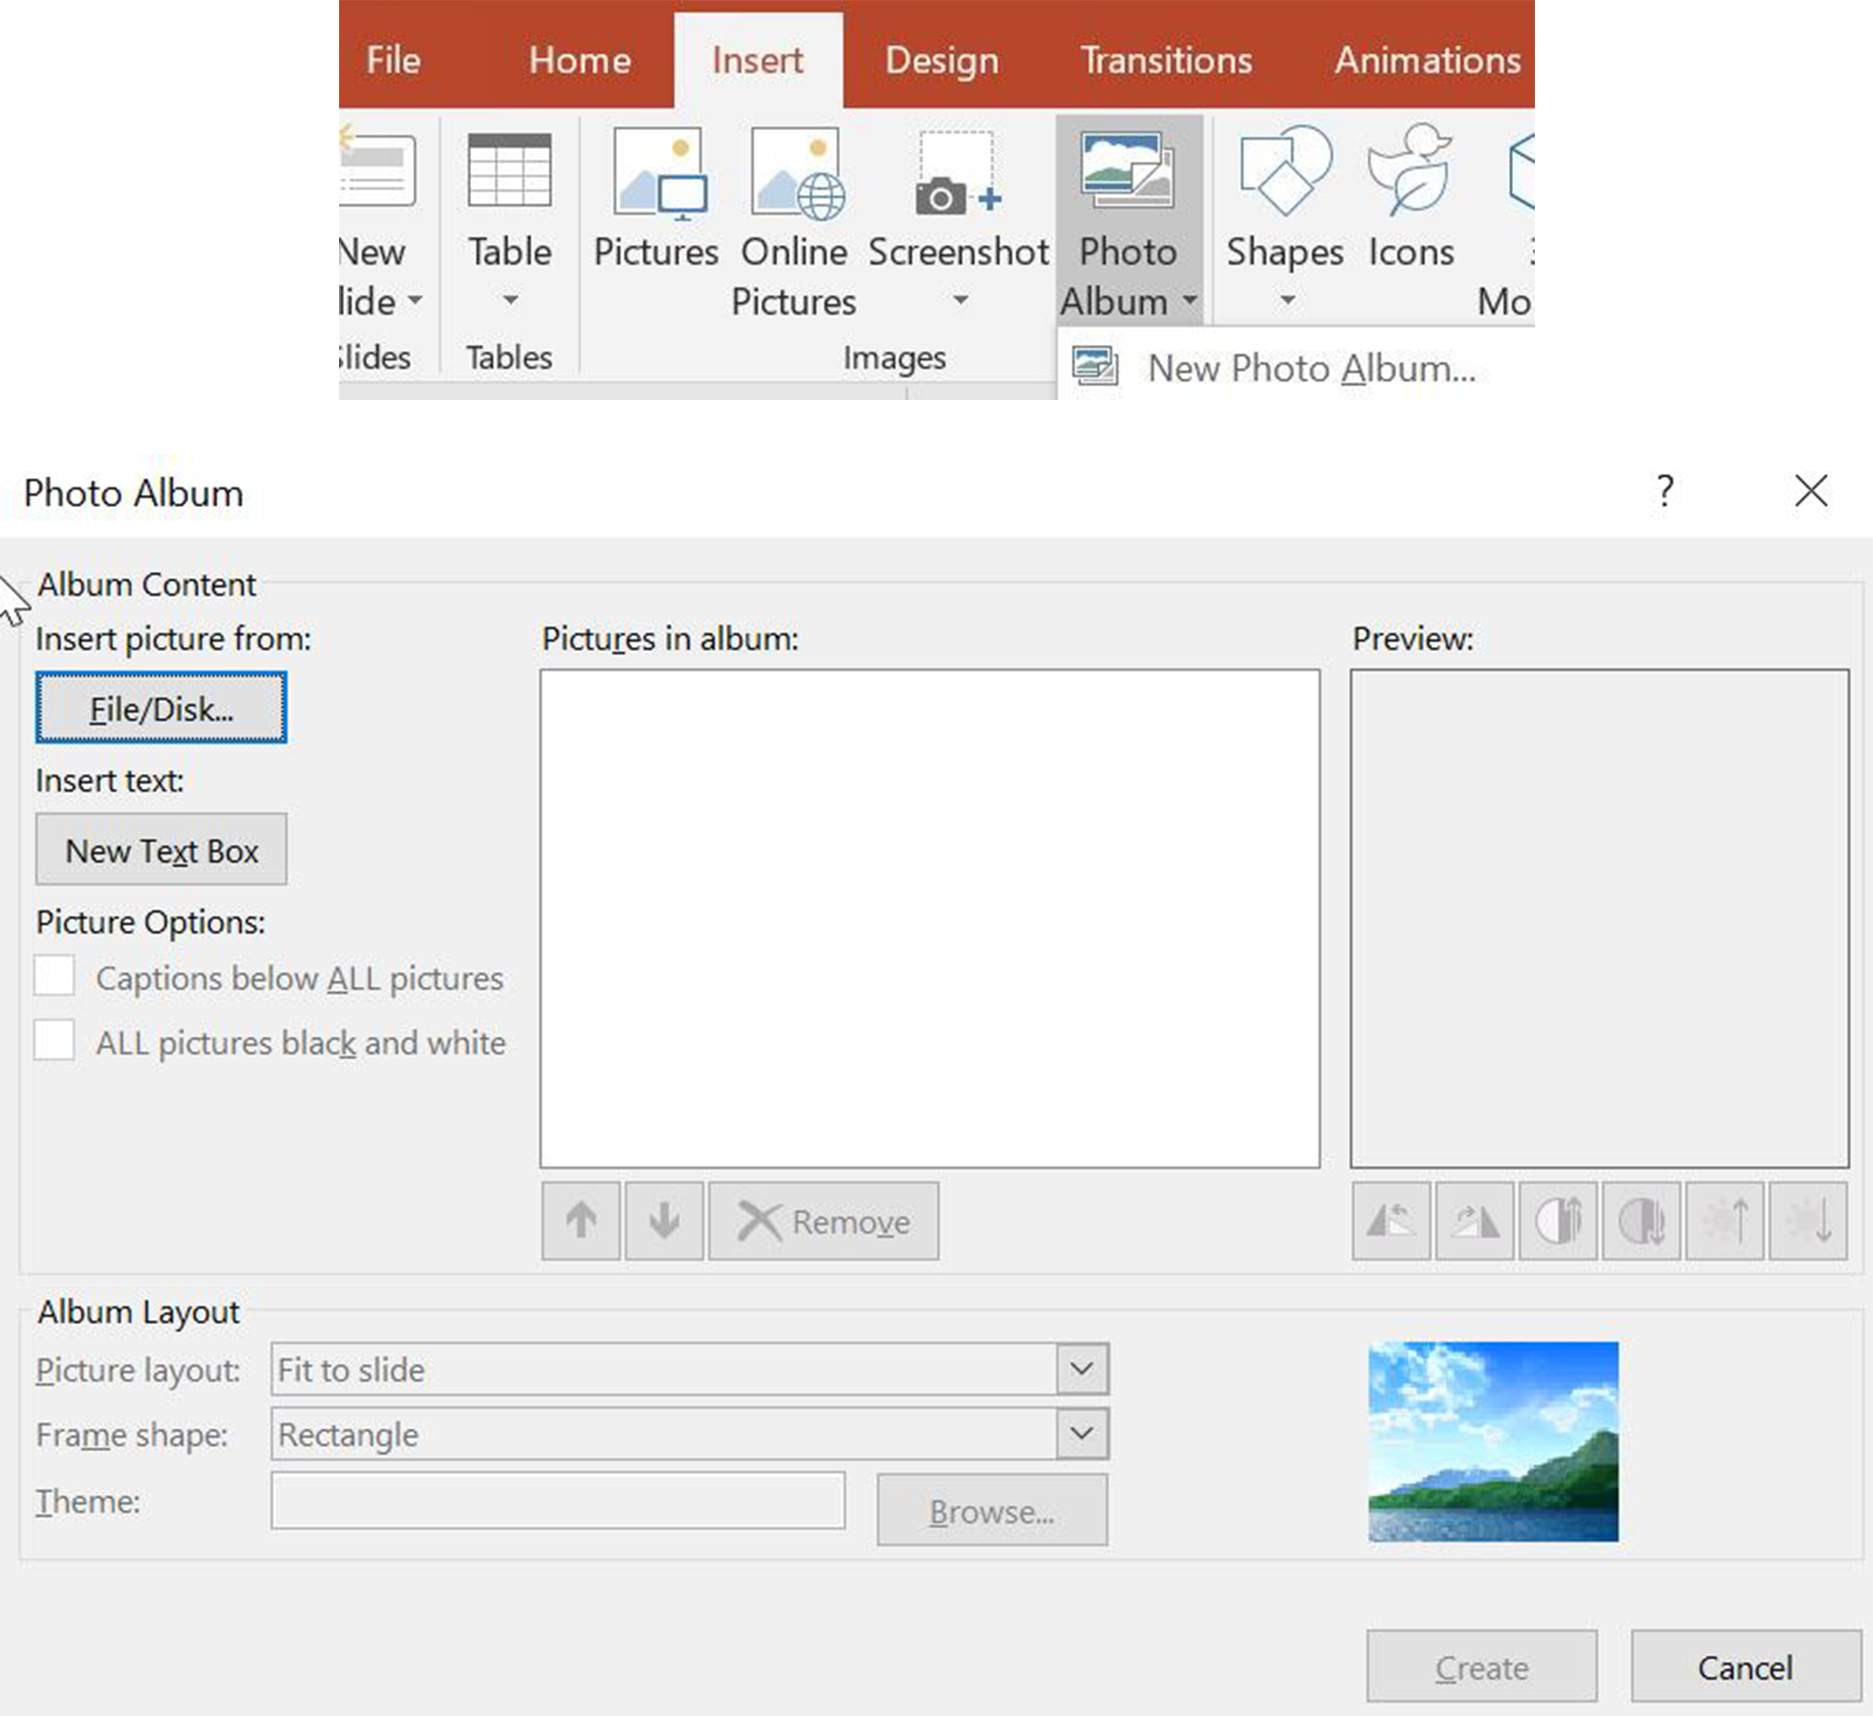
The Windows version of Office has a Photo Album feature that allows you to import multiple images at once, putting each image on its own slide.
- Under the Insert Tab, Select Photo Album.
- Click the File/Disk button to choose where you pull your images.
- Click Create.
- A list of images will appear. Select images you want to use.
- Click Create.
Inserting Citations for Your Images
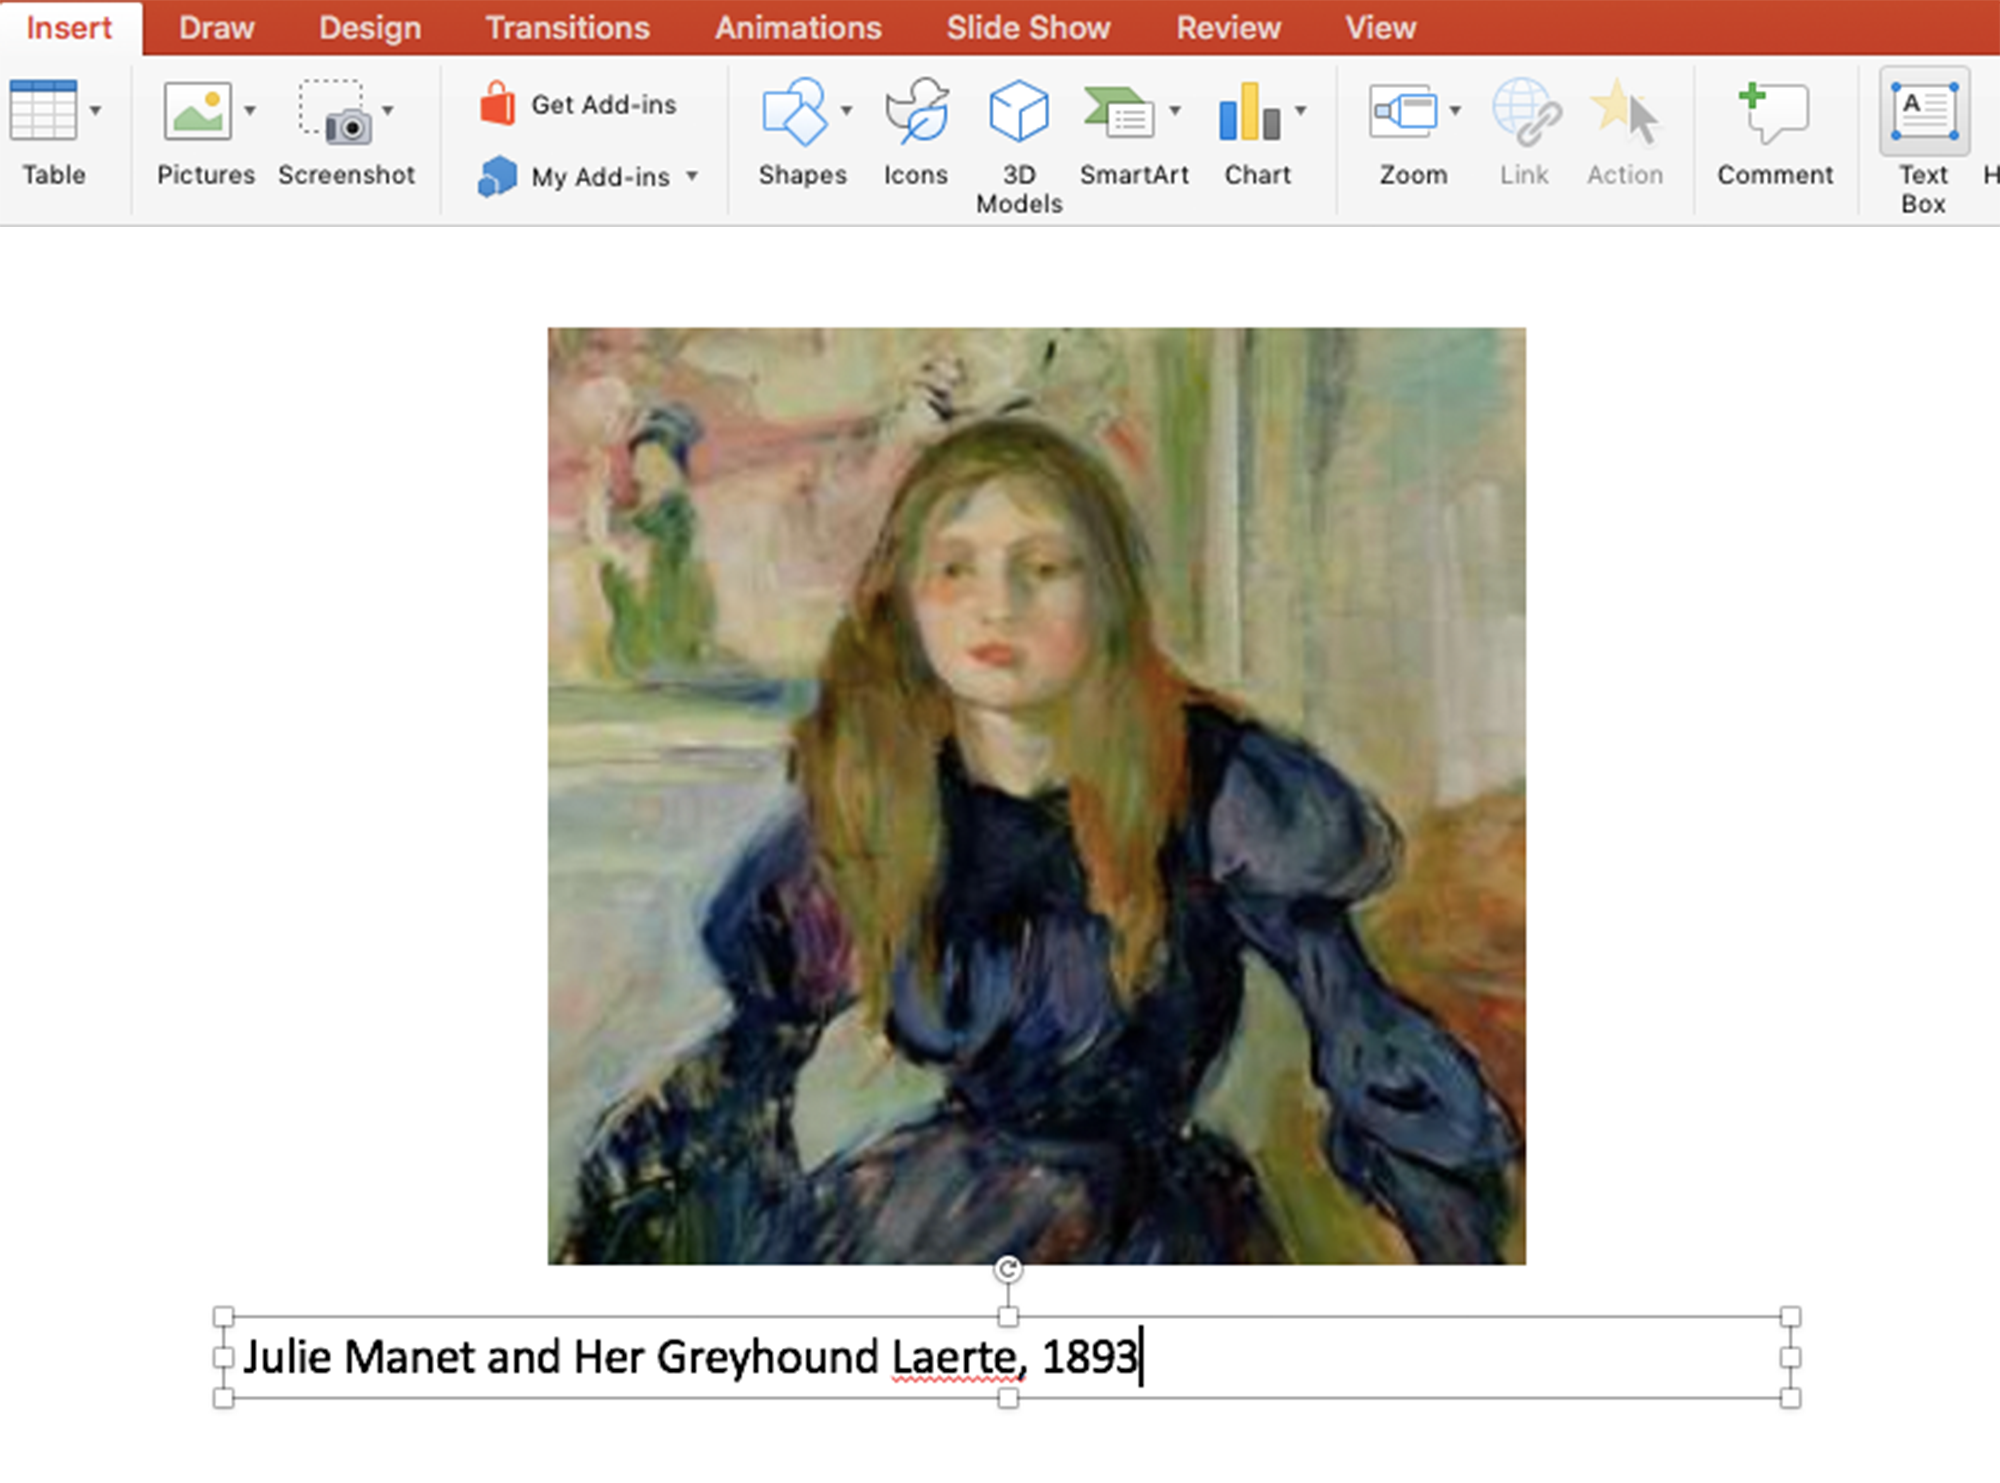
- To add text to your slides, click Text Box under the Insert tab.
- Click where you would like the text box placed. Use the dots at the corners to adjust the size.
- Click inside the box to add text.
Changing Your Slide Background
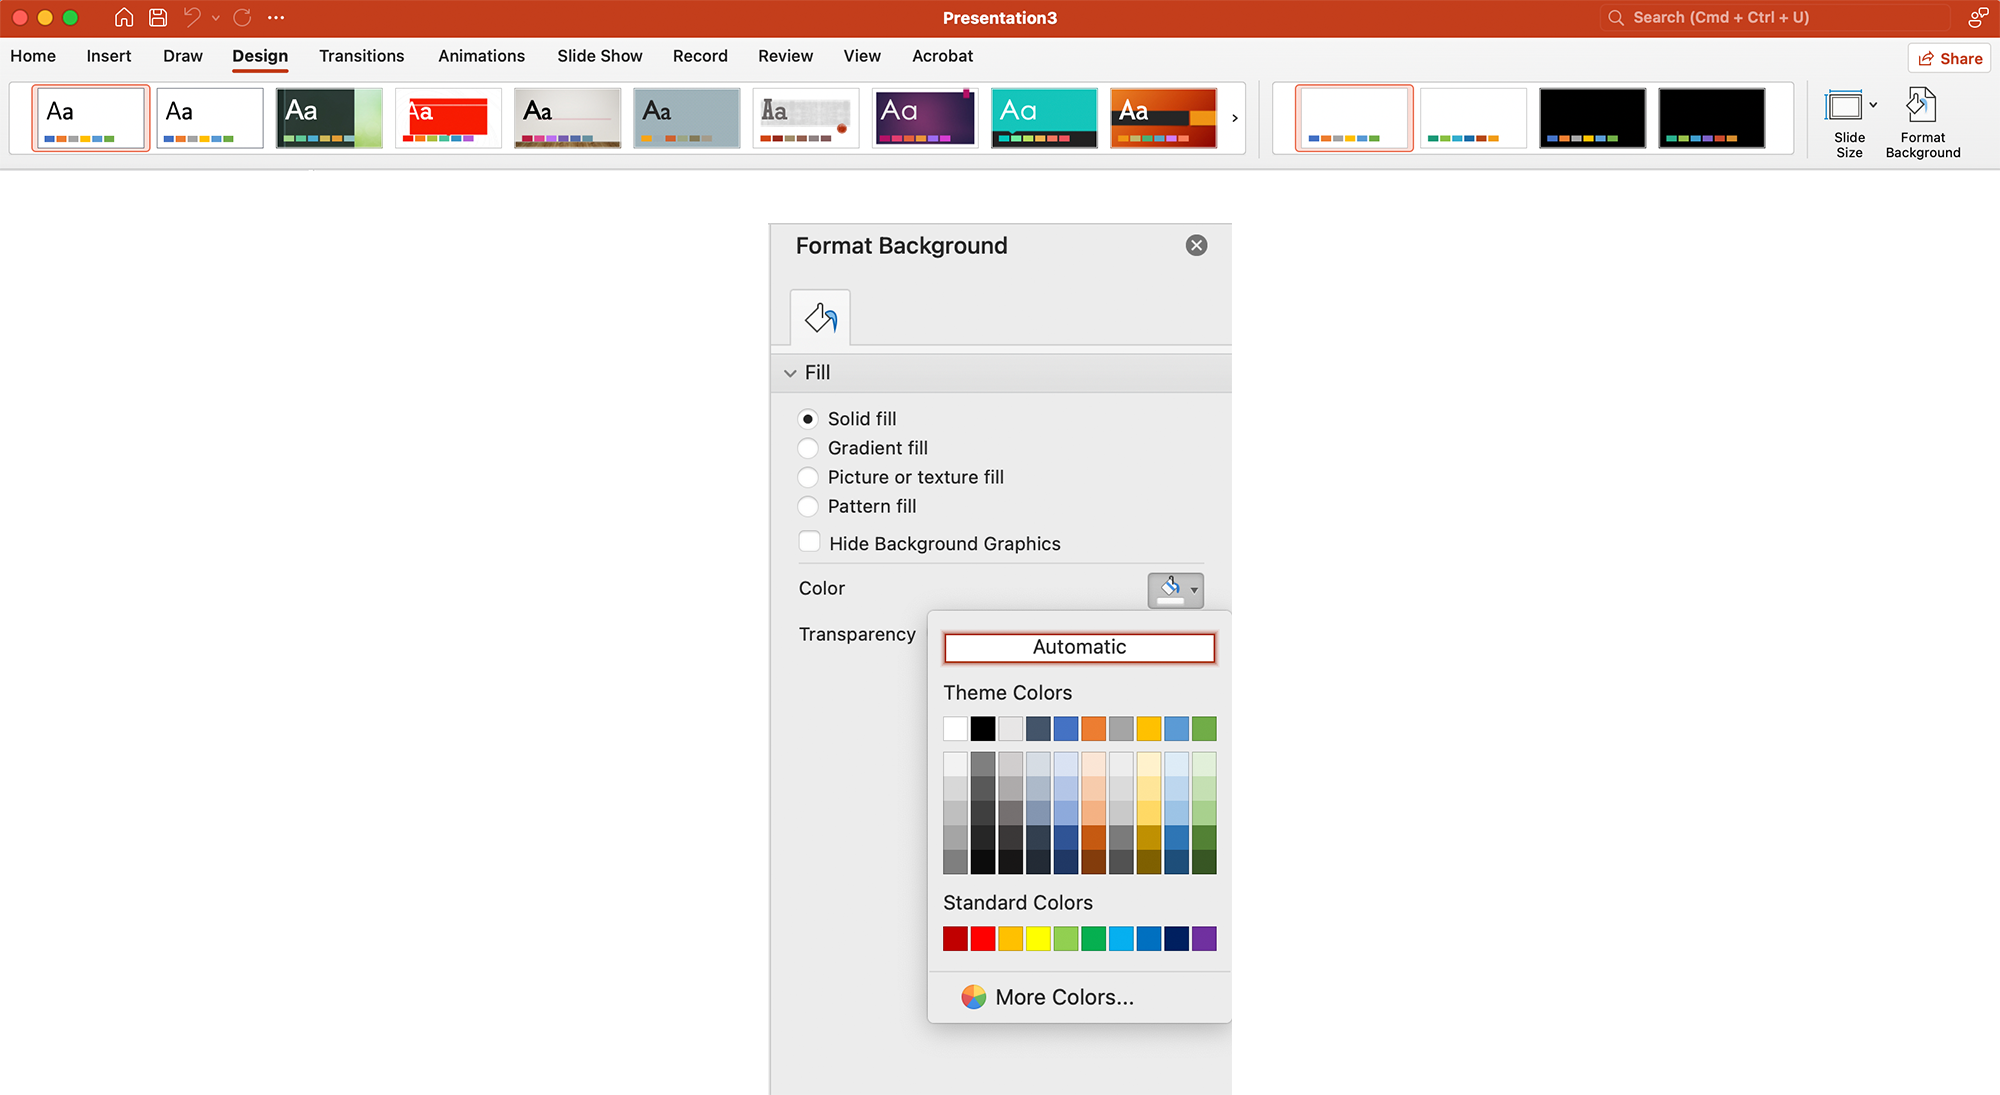
- To change the background of your slide, click the Design tab.
- Next, click Format Background.
- In the new pop-up window, check the Solid Fill bubble.
- Under Color, click the paint bucket button and select a color.
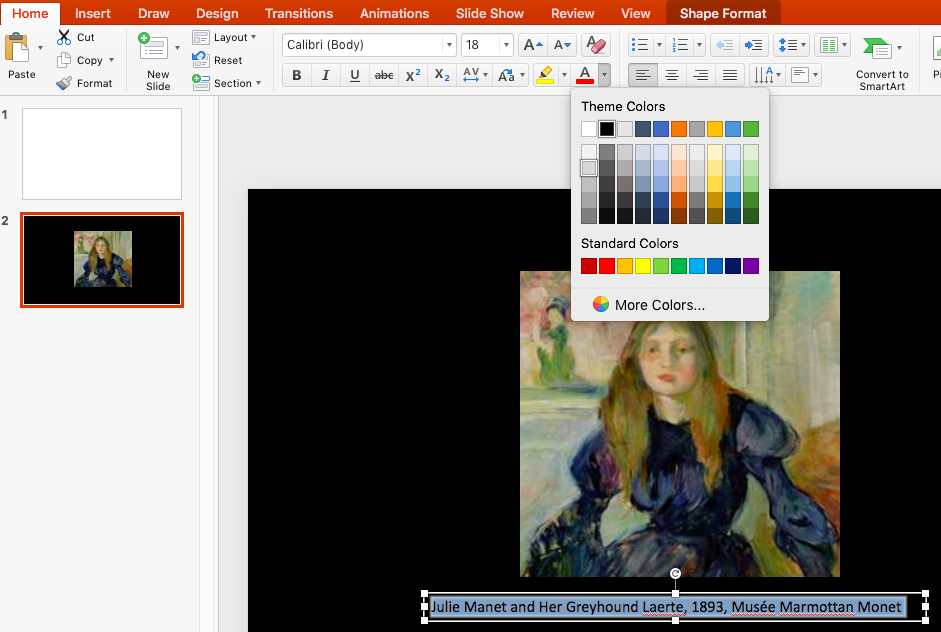
Altering Text Color
- To alter the text in a text box, click the Home tab.
- Use the buttons in the ribbon to change the color, font, and other text attributes.
- Next, highlight the text you would like to change.
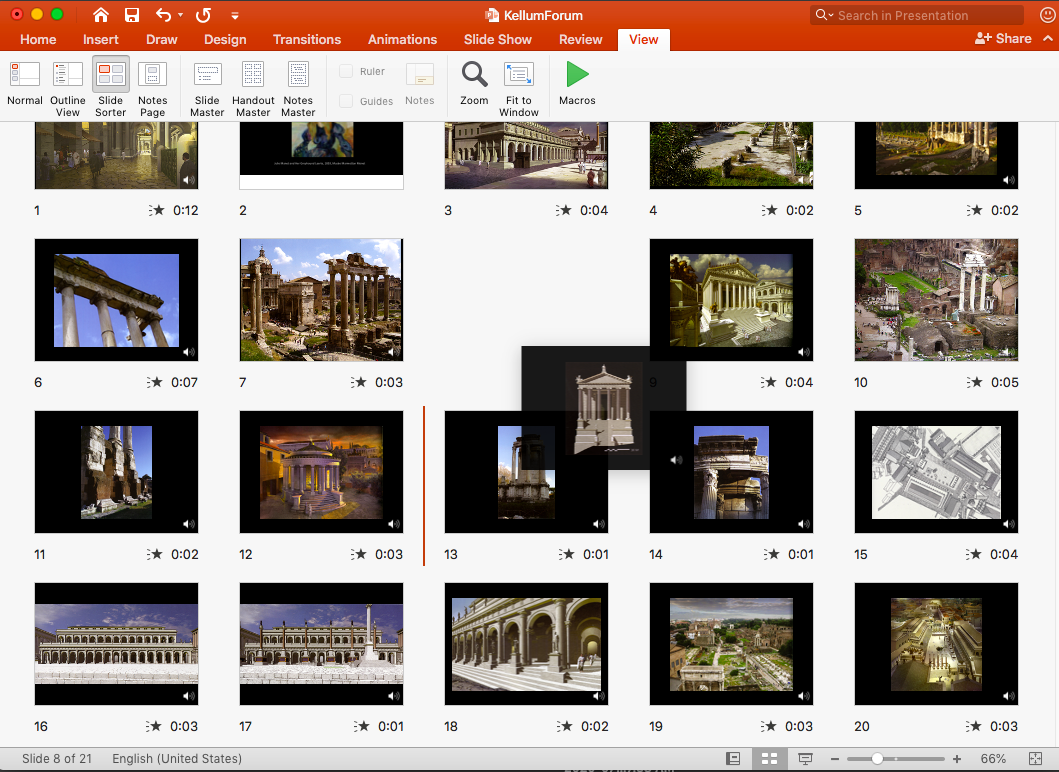
Sorting Slides
Once you have put together a presentation, you can continue to alter and edit it for continued use. In the Normal view, you can move, delete, duplicate, and add slides.
- Use the scroll bar to find the PowerPoint slide you want to edit.
- Under the View tab, click the Slide Sorter view.
- You can now view all the slides in your presentation. You can also move, delete, duplicate and add slides from this view.
- Use the slider at the bottom of the page to adjust the size of the slides.
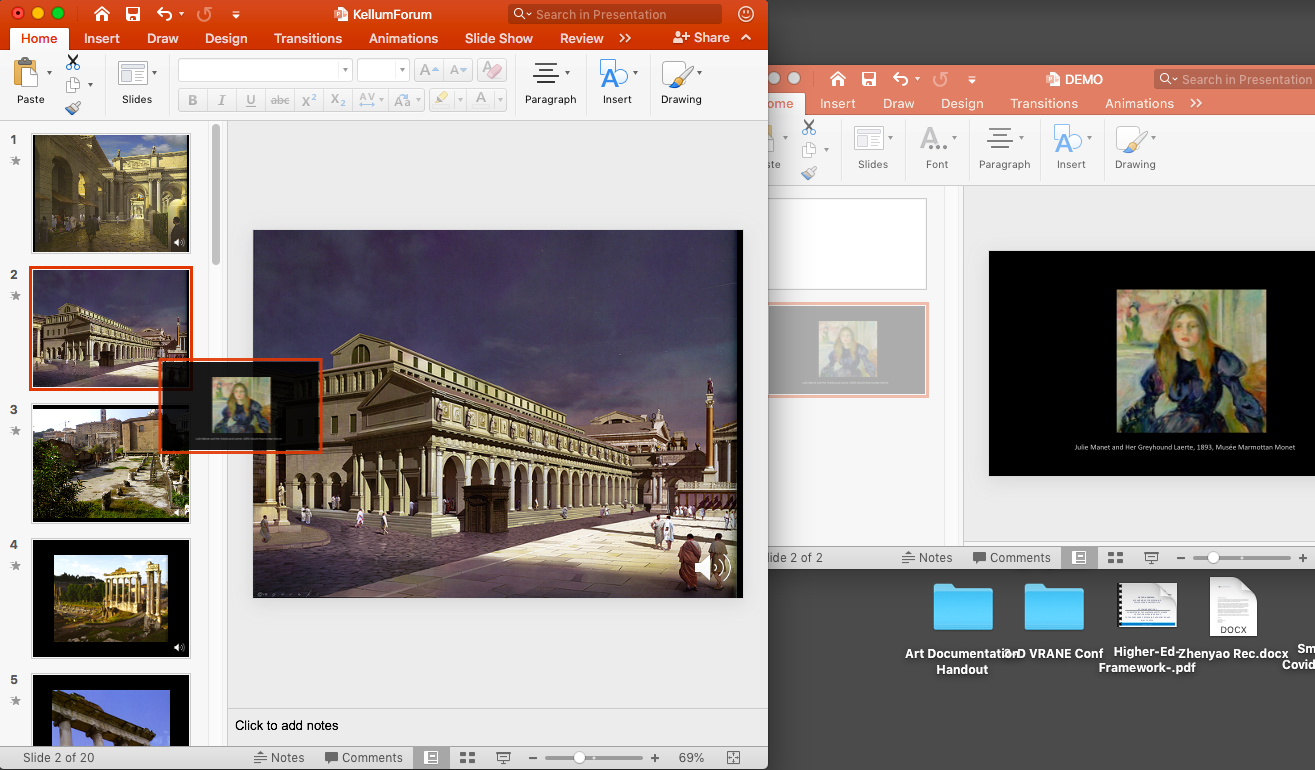
- You can even move slides between slideshows. To do this, open both slideshows.
- Click on the slide you want to move and drag it to the position you would like it to occupy in the other slideshow.
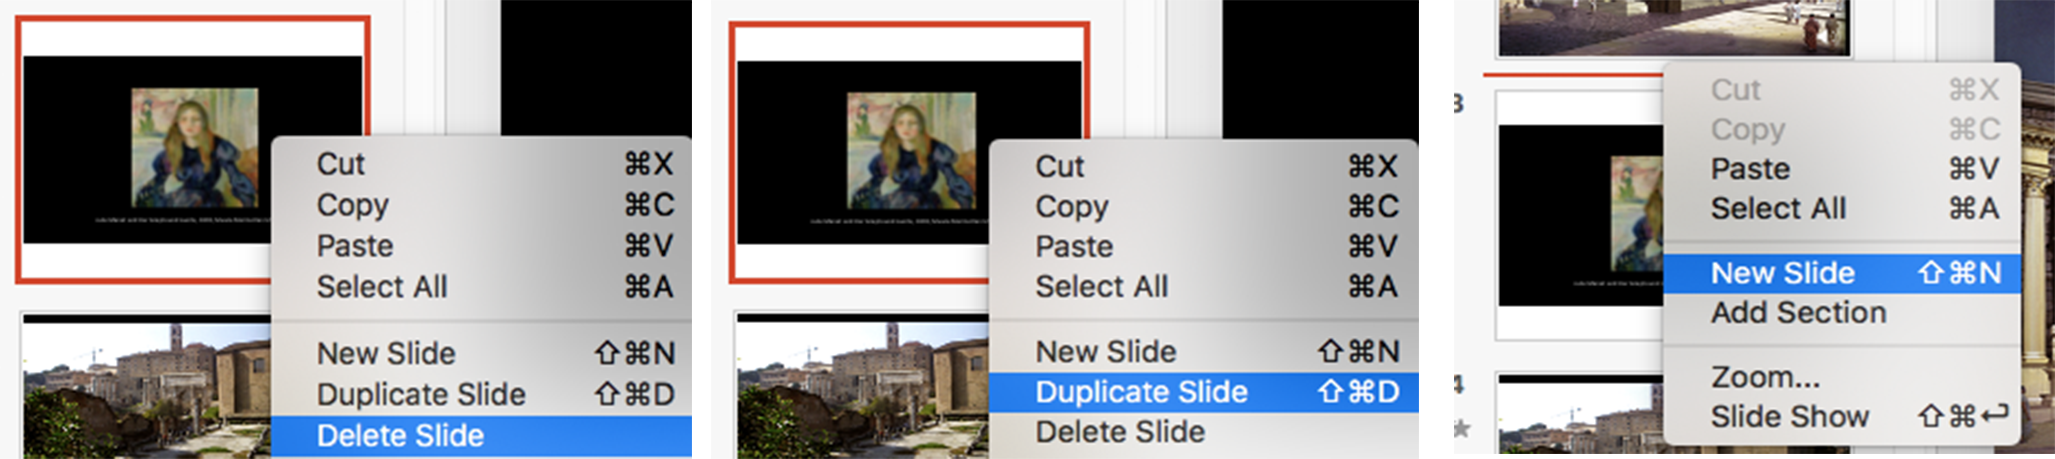
Duplicating, Deleting, and Inserting New Slides
- To duplicate a slide, right-click (or in Mac OS, control click) on the slide and select Duplicate Slide.
- To delete a slide, right-click (or in Mac OS, control click) on the slide and select Delete Slide.
- To insert a new slide, right-click (or in Mac OS, control click) in between two slides and select New Slide.
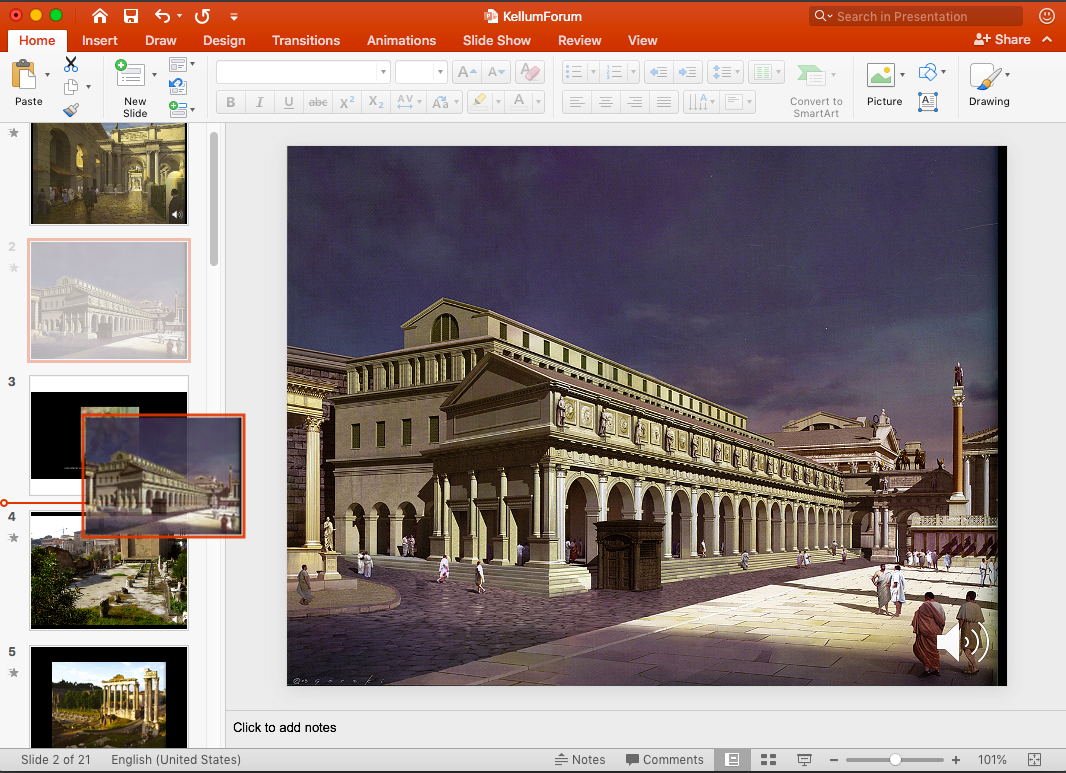
Adding Audio to Your PowerPoint Presentation
Recording
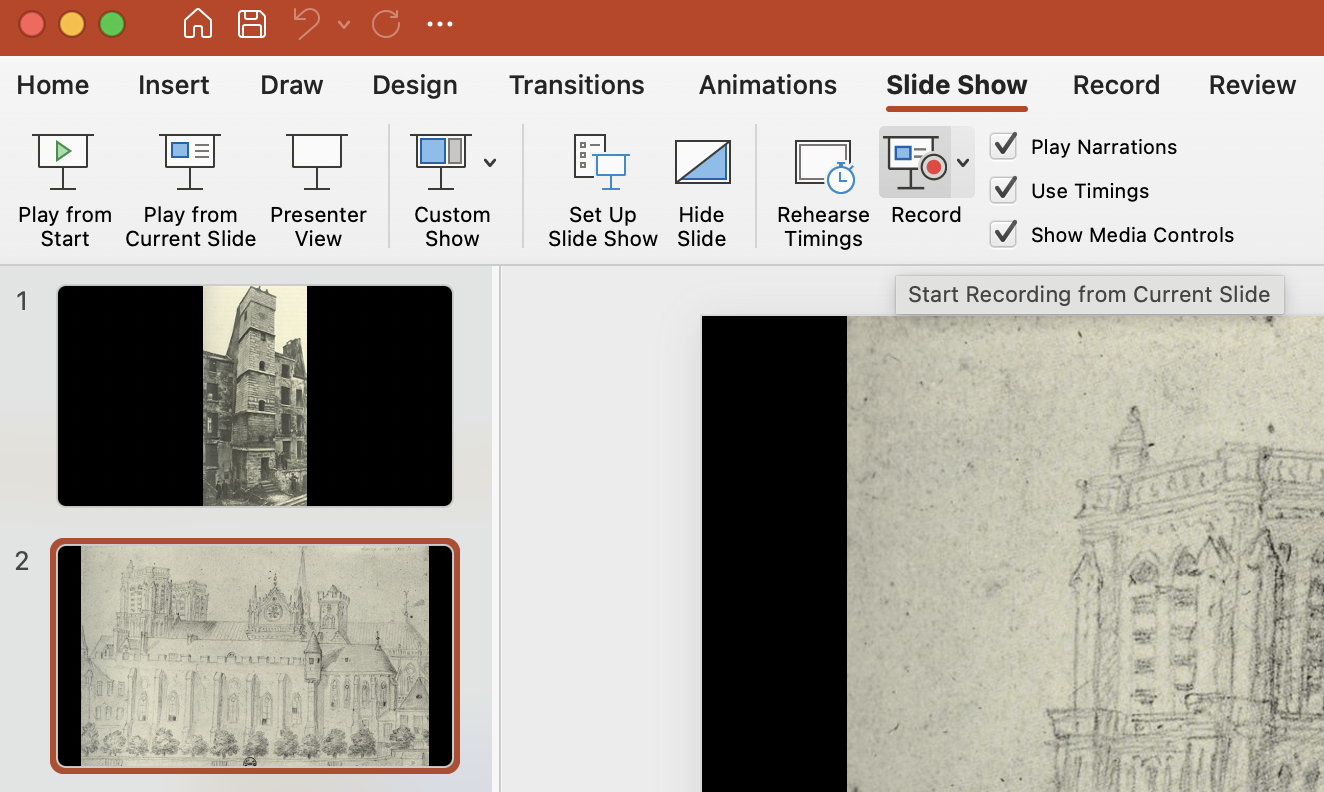
- Open your presentation and click on the Slide Show tab. Next, click Record Slide Show.
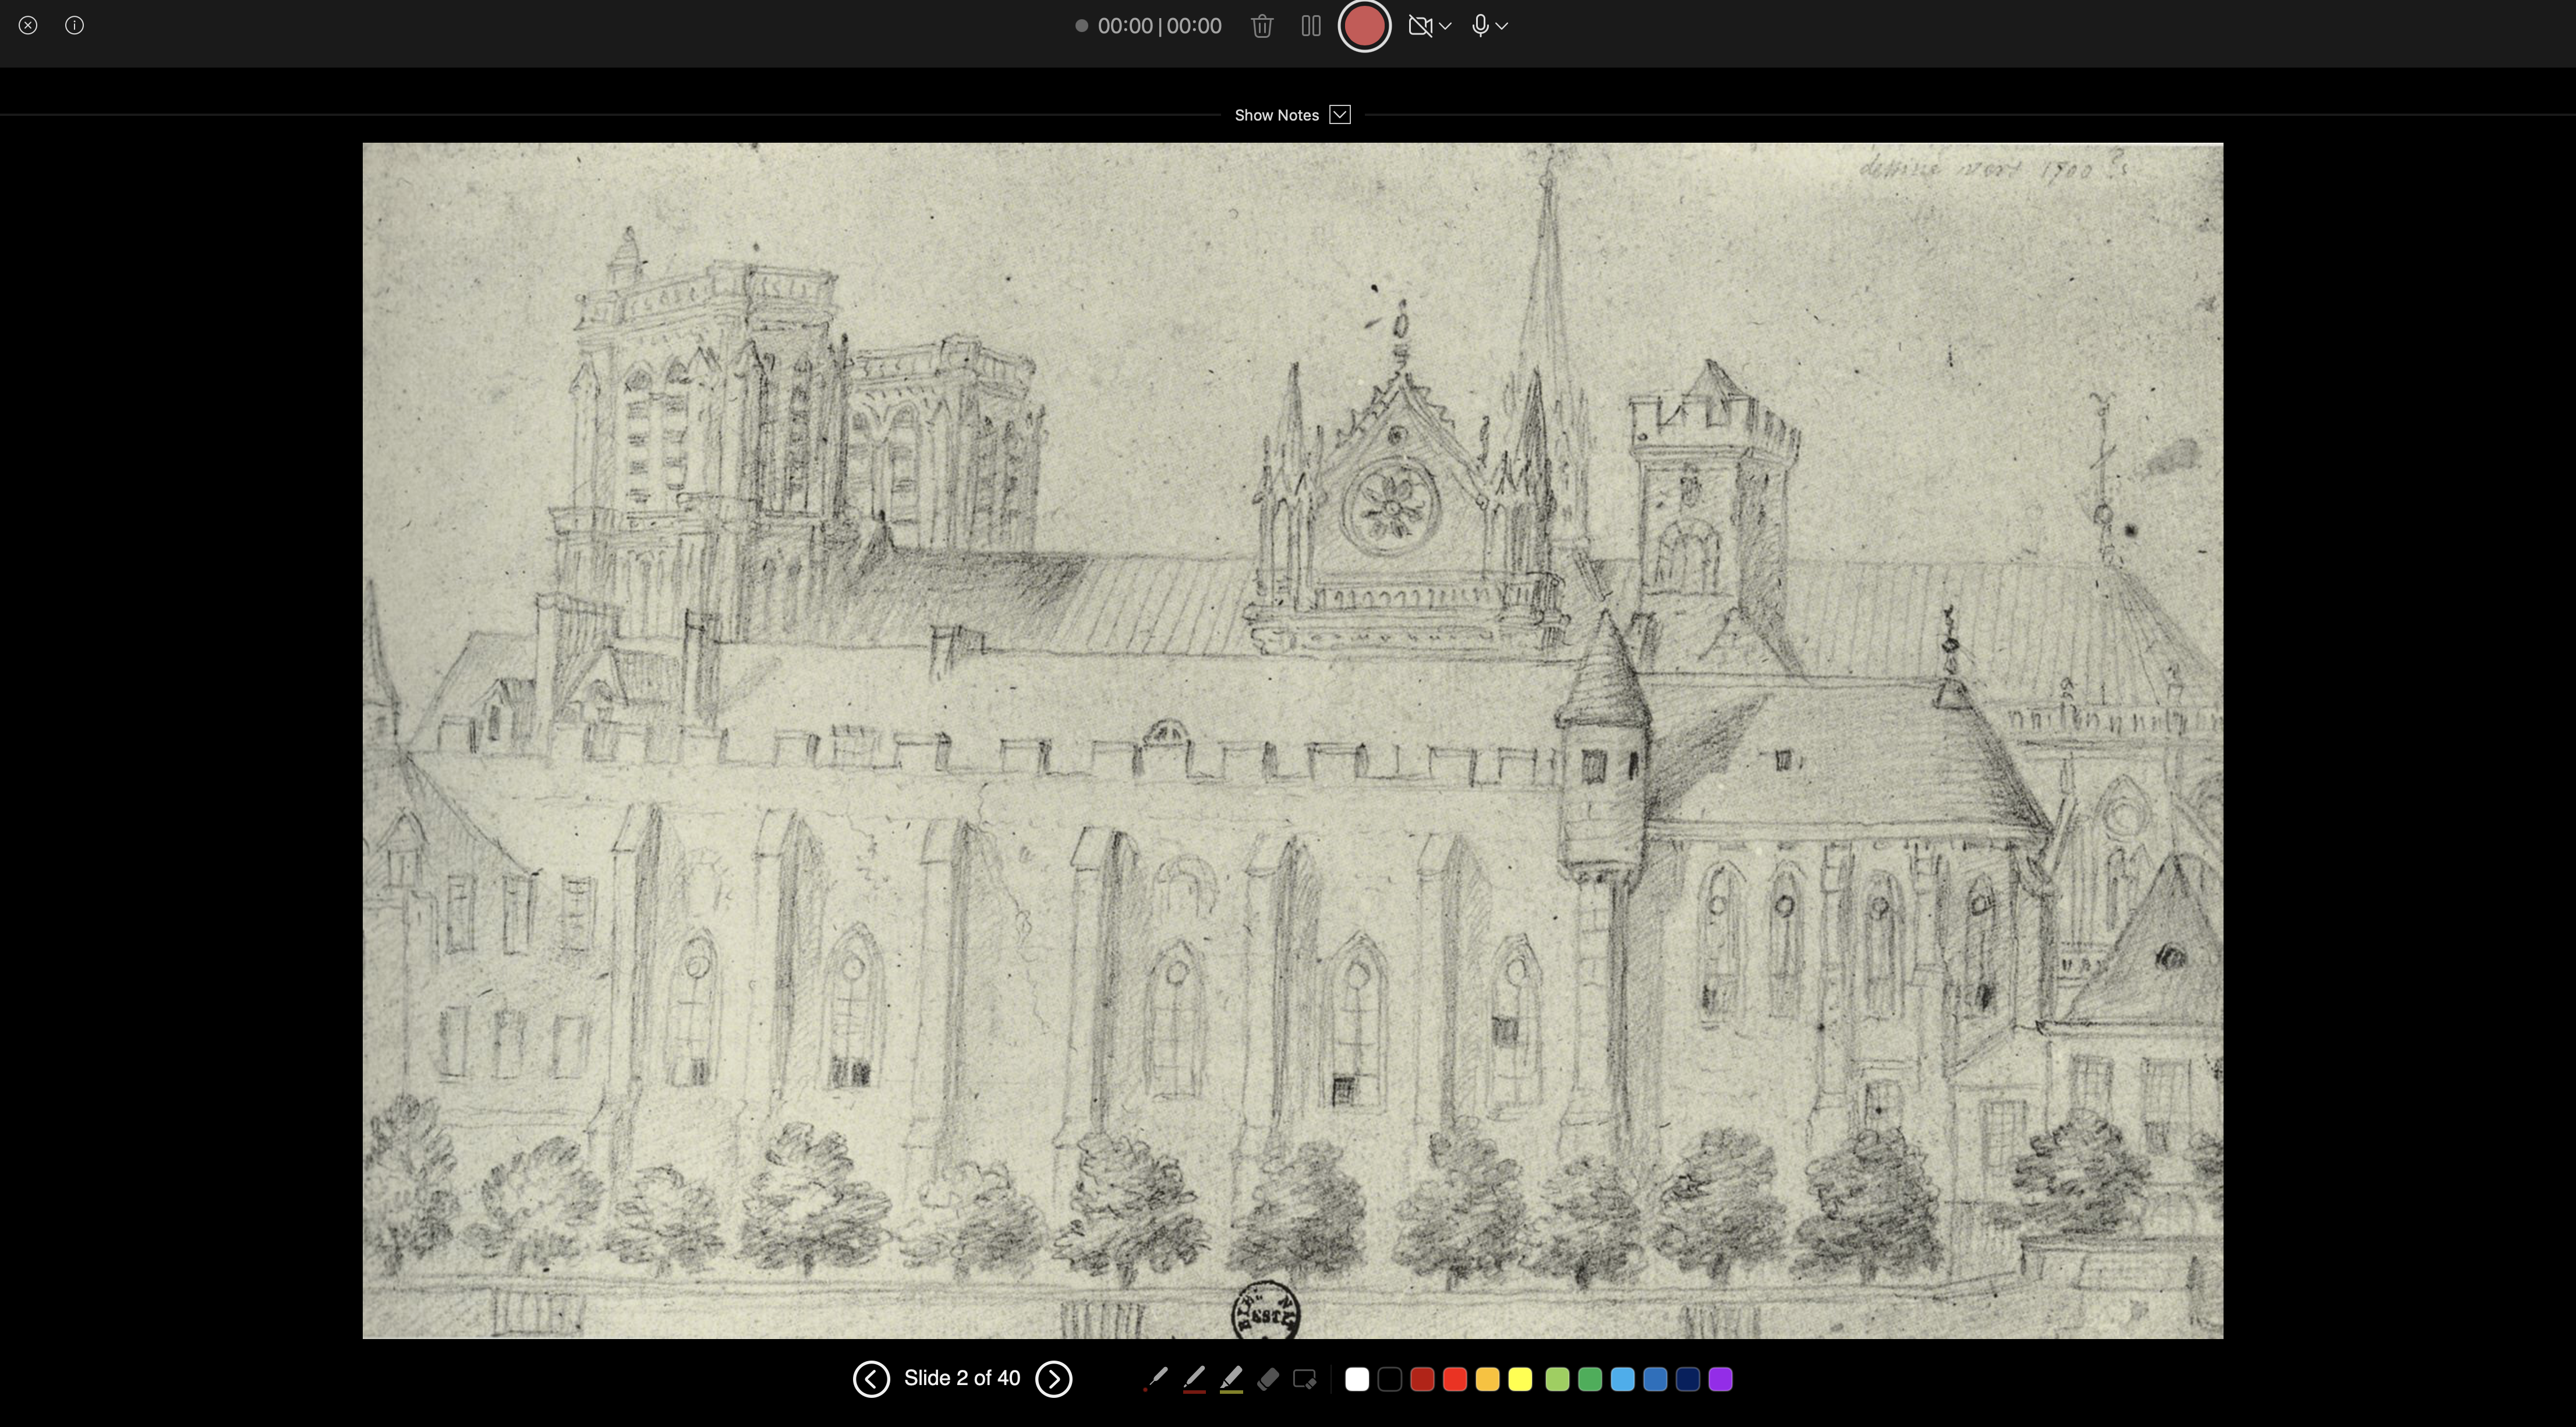
- You will be taken to the record page. You can end the session by clicking the X button in the upper left corner.
- You can advance to the next slide by clicking the arrows at the bottom of the screen or using the arrow keys on your keyboard.
- Use the large red button at the top of the page to start recording. You can use the pause icon to pause your recording and click the red button again to finish.
- If you need to re-record, click the trash can icon to delete your recording for that slide.
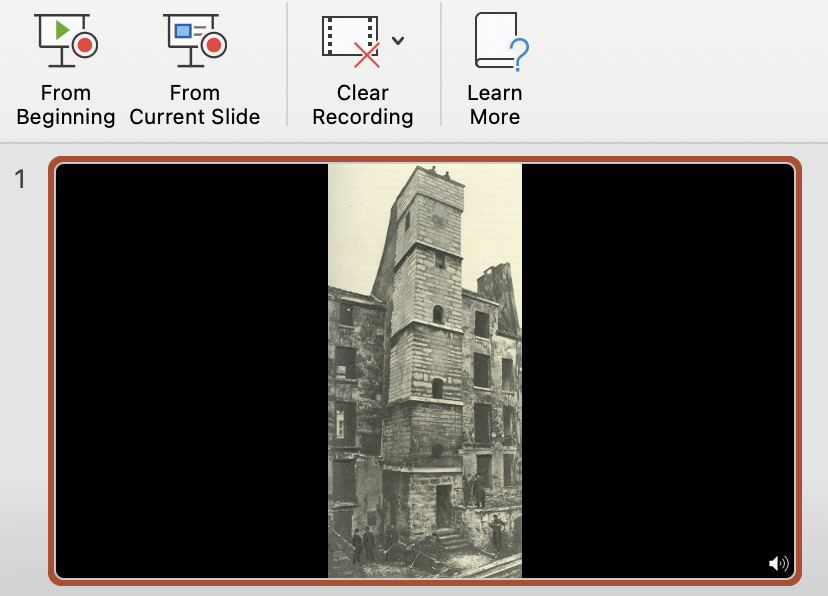
- Once you finish your recording, audio icons will appear in the corner of all slides with recorded audio. You can click these to listen to your recording.
Saving and Exporting
- To save the presentation as a video, go to File > Export and select MP4 as the file type.
- If you are using PowerPoint 2016 for Mac, saving to video is NOT an option. In this case you can save your presentation as usual, then open it in Keynote.
- In Keynote, select File > Export To > Movie.
- In the Export Your Presentation window use the following settings: Go to next slide after: 0 seconds, Go to Next Build after: 0 seconds, Resolution: 1080p.
- Click Next and then click Export. A MP4 video file will be saved to your computer.
Inserting Online Video into Your Recorded PowerPoint Slide Show
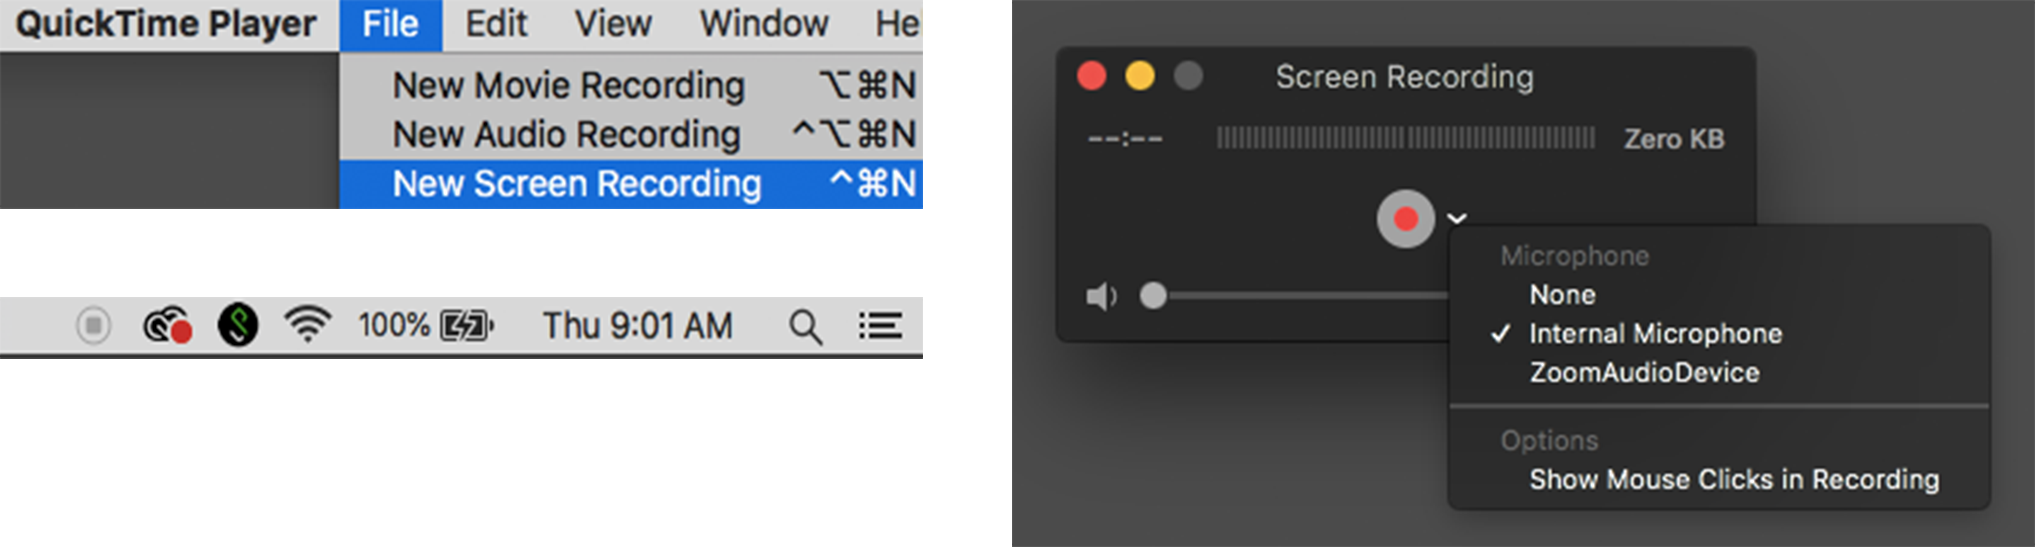
- Open QuickTime and select File > New Screen Recording.
- The Stop Recording button will appear at the top right of your screen.
- The Screen Recording window will open. Click the arrow next to the red record button the select your audio source.
- Click the red button to record. As it records, play your online video.
- In the pop-up window, title your file and click Save.
After you have recorded the audio for your PowerPoint presentation, re-enter the presentation in Normal View. Click in-between the slides, on the part of your presentation where you’d like video embedded.
- Next, click Insert > New Slide. Click on your new slide to edit.
- Click Insert > Video > Movie from File. Select the file you just recorded or downloaded.

Once embedded, you can export your presentation as an mp4. When the slide with the video comes up, it will automatically play. Audio of your recording will resume on the following slide.