By setting a custom white balance on your camera, rather than using auto white balance, you can ensure that the color cast of your images is accurate and consistent from one photo to the next without needing to edit each one individually. This is a great thing to do if you are taking photos of different objects under the same lighting conditions (such as documenting artwork in a gallery).
If you are working in sunlight, shade, or one of the other lighting situations for which there is a preset white balance option, you may choose to use that option instead of creating a custom white balance. This will ensure that all photos match each other but may result in a slightly less accurate white balance overall.
This tutorial uses a Canon Rebel T8i. If you are using a different model of Canon camera the button and menu locations may be slightly different, but the general process is the same.
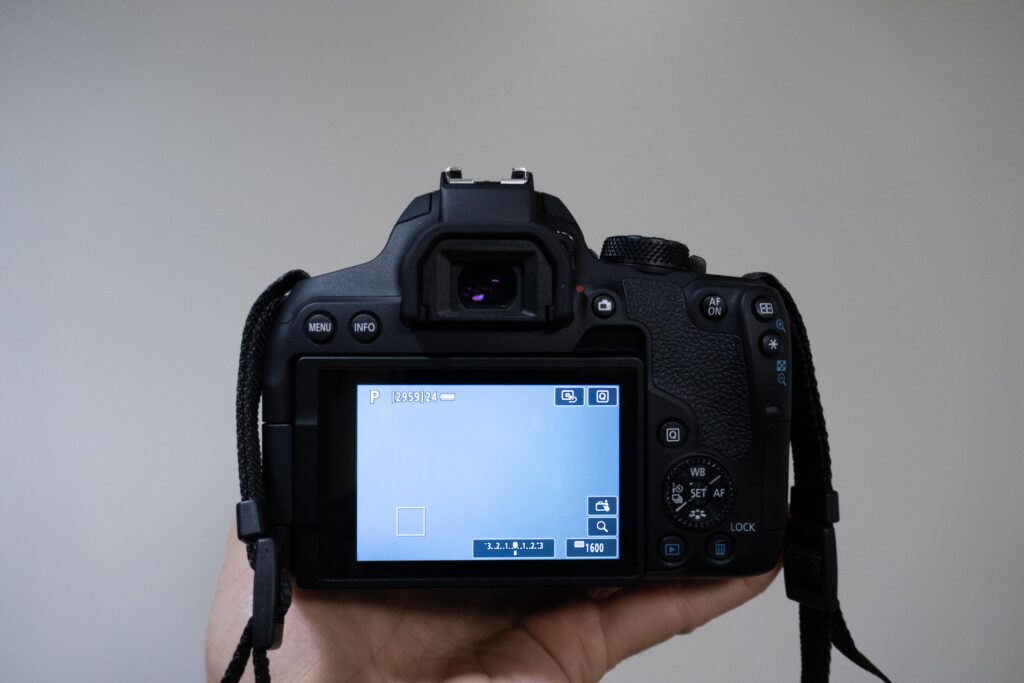
To start, make sure your camera is on and set to “P” (Program).

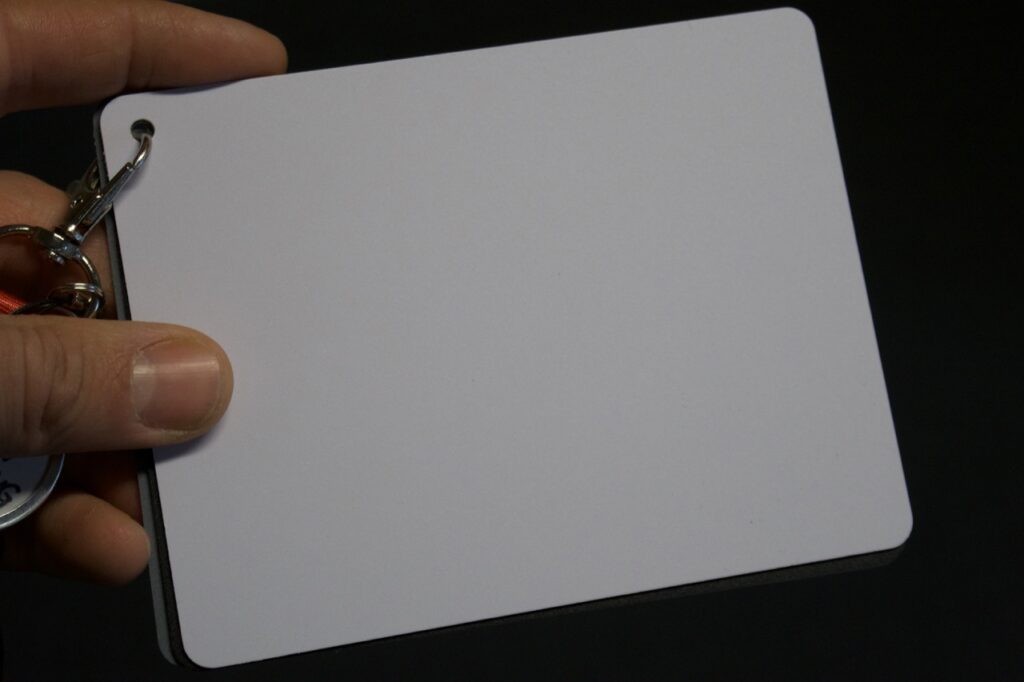
Next, take a photo of a white or gray surface under the lighting conditions in which you’ll be shooting. In a gallery, a neutral white wall is perfect, but if the walls are a different color this won’t work. You can also use a neutral white or gray card from the Imaging Center. If using a white or gray card try to fill the image frame with the card as much as possible.
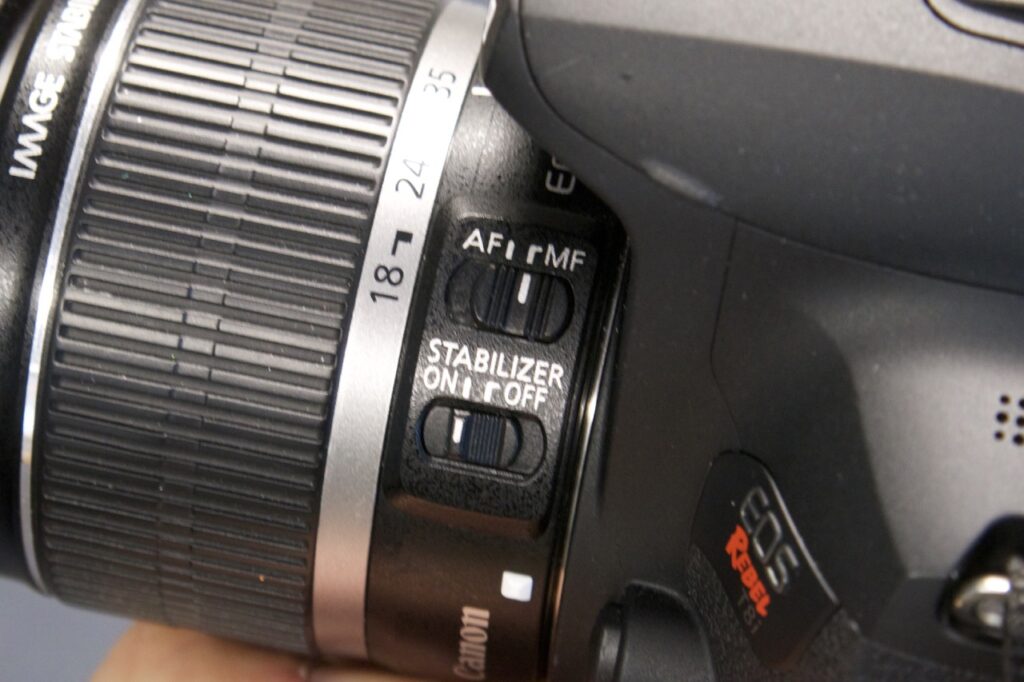
Note that if you’re pointing the camera at a blank section of wall the autofocus system may not be able to find focus and may prevent you from pressing the shutter button. If that’s the case simply switch into manual focus (“MF”) mode, which is typically done via a switch on the side of the lens.
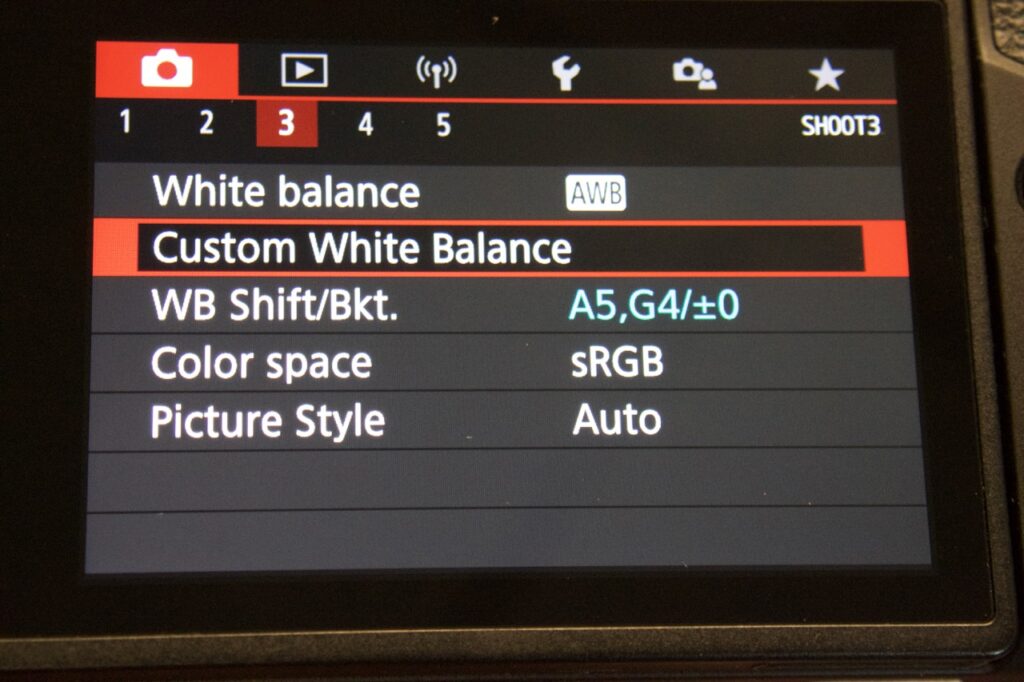
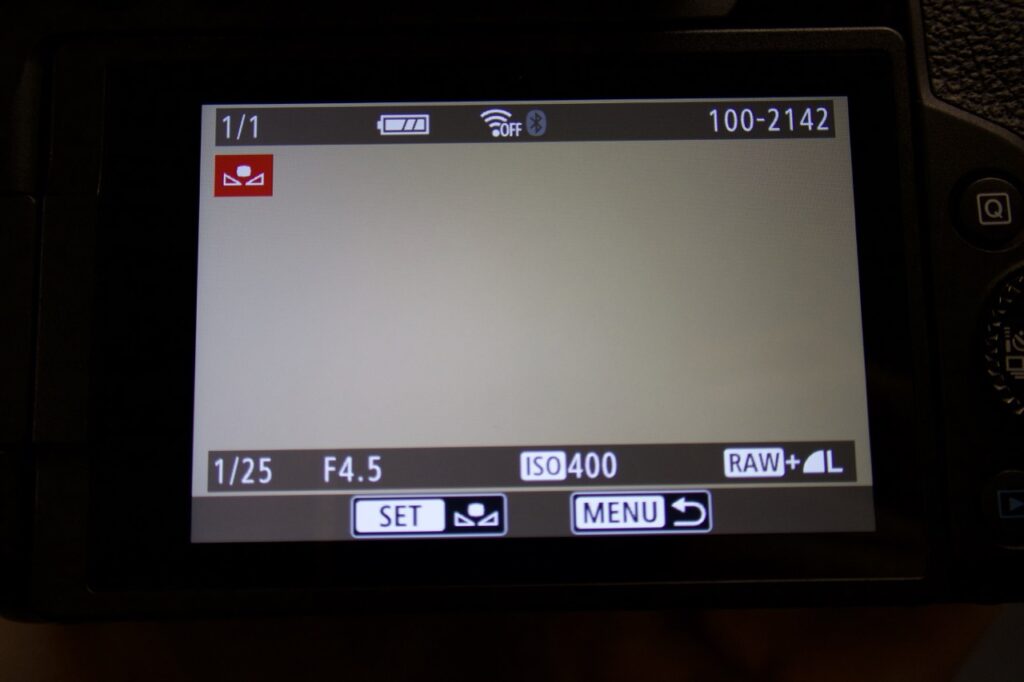
Now, press the menu button on the back of the camera, then find the Custom White Balance menu and select it.
Browse through the photos and select the one you just took. It will probably be displayed first by default. Select it by pressing “Set,” then confirm.

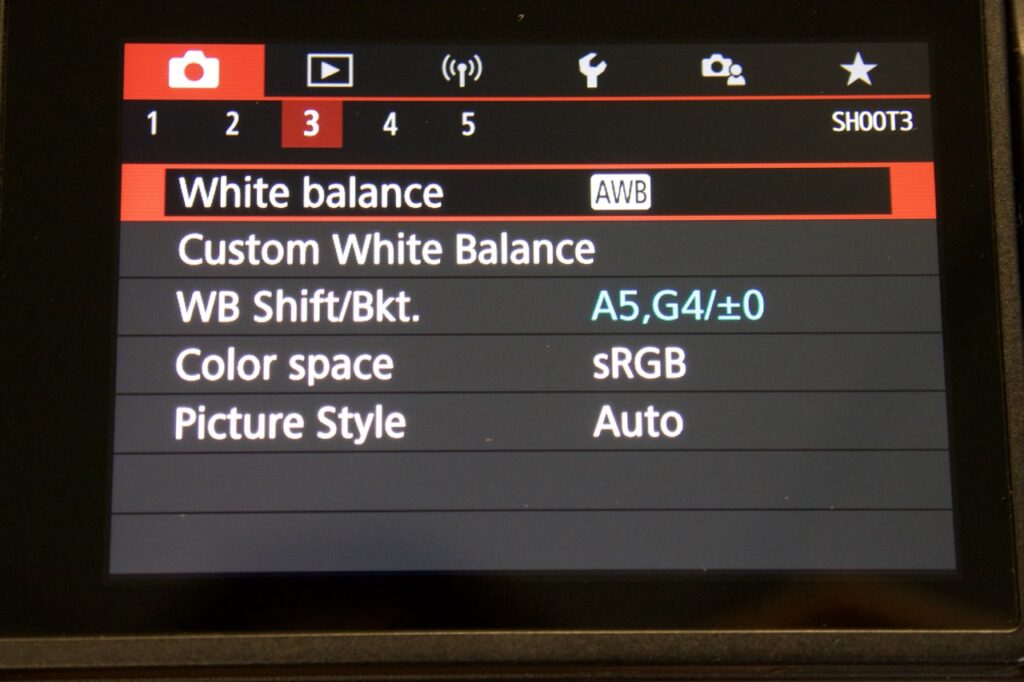
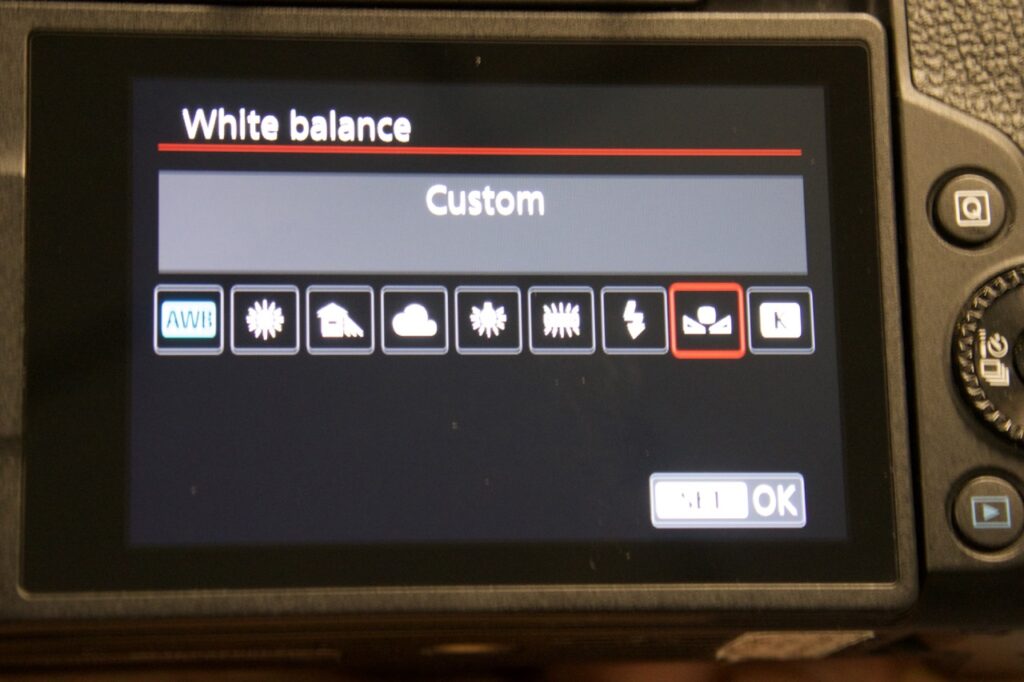
Now your custom white balance has been set, but there is one more step. You need to tell the camera to actually use this white balance setting when you’re taking pictures. To do this, select the “White balance” menu item (or press the “WB” button on the back of the camera when you are in shooting mode). Set the white balance to “Custom” and click “Set” to confirm.
And you’re done!! You can now continue shooting, knowing that your pictures will all have the same white balance and that it will be perfectly matched to the color of the light in your space.