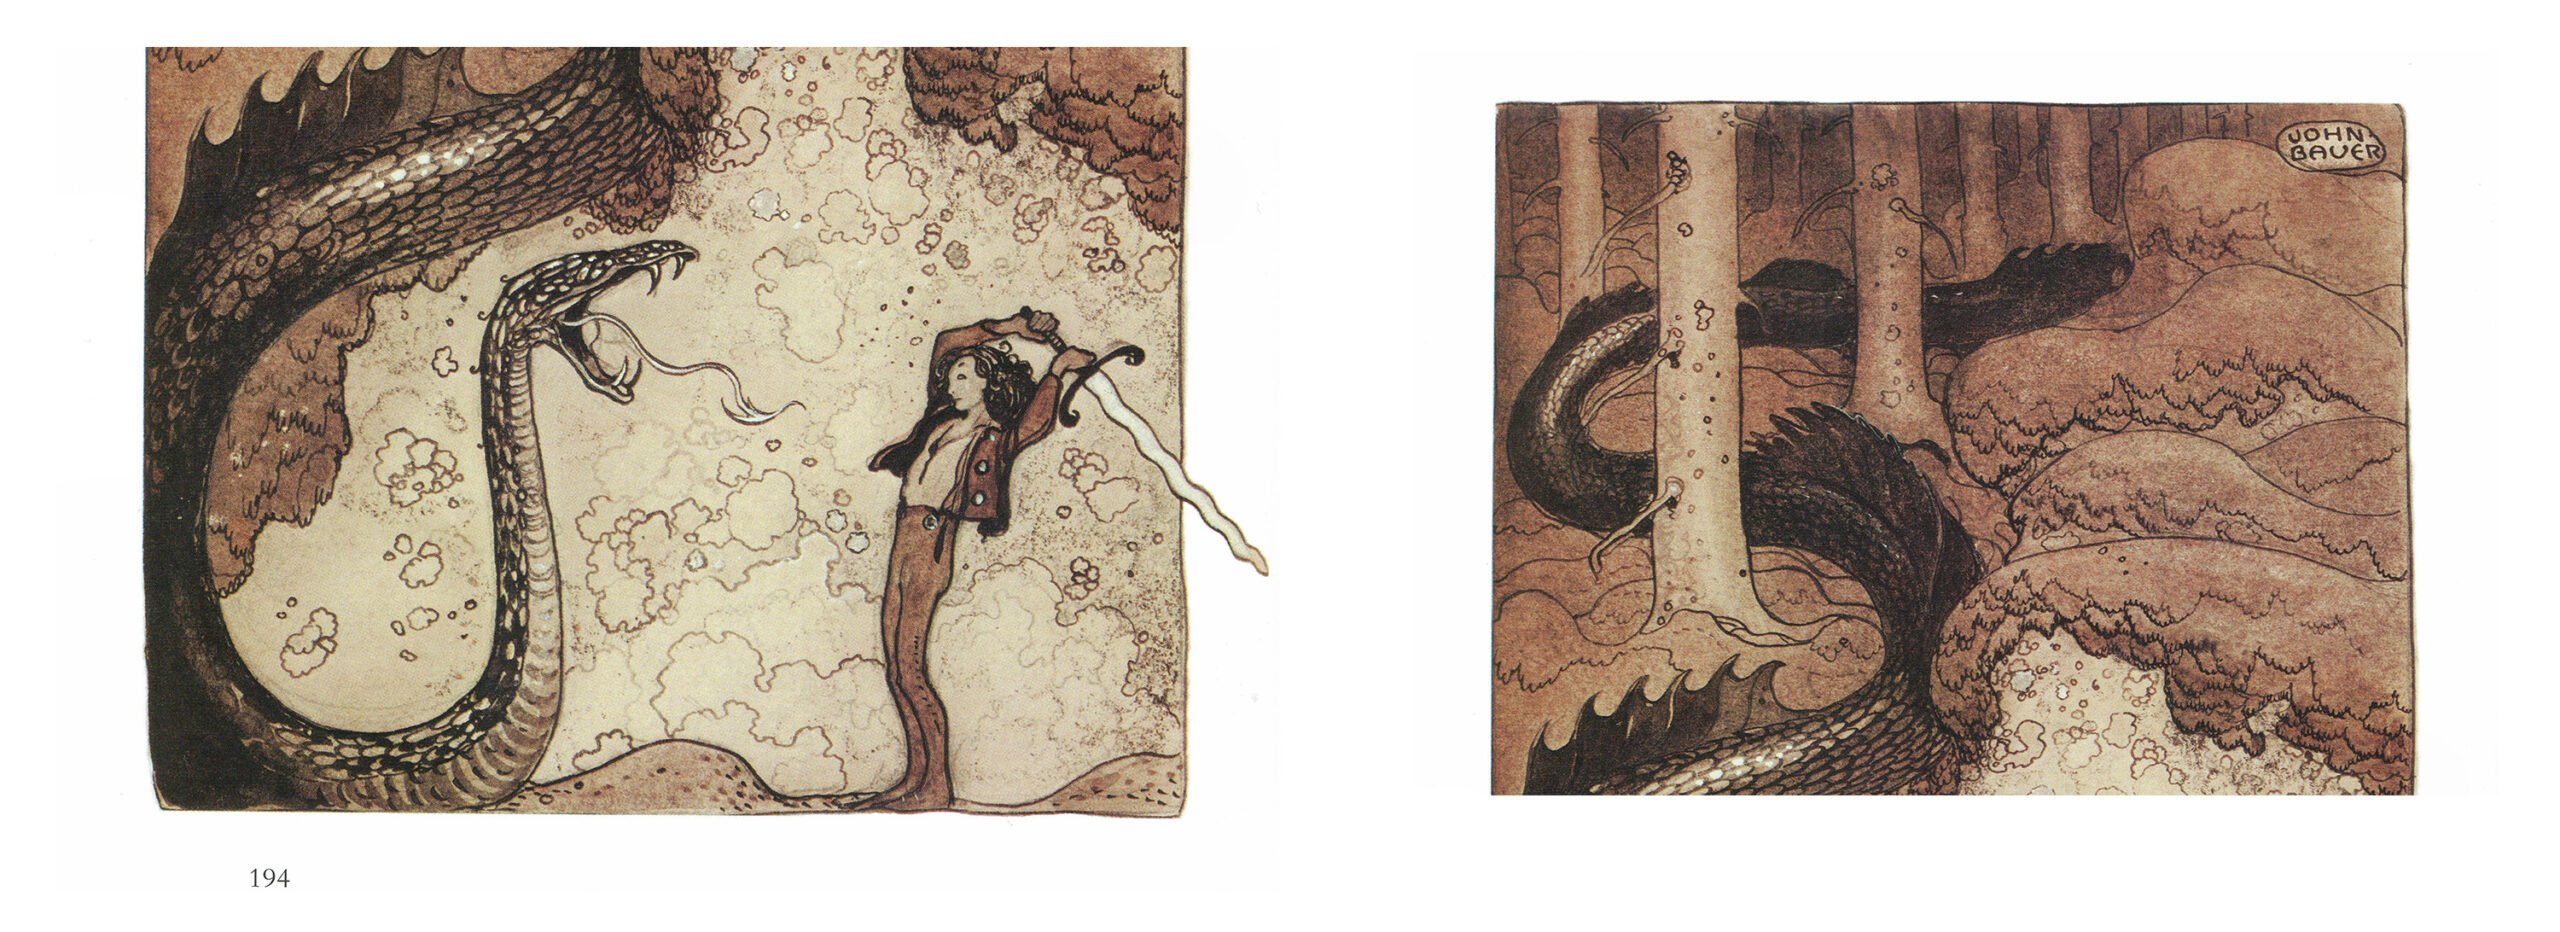
If the scanner bed isn’t large enough for your work, you may have to scan multiple images and stitch them together using Photoshop’s Photomerge feature.
First, begin by creating multiple scans of you work. Make sure all parts of the image are scanned and that there are overlapping portions of the image in each scan, so that Photoshop knows which scan goes where.
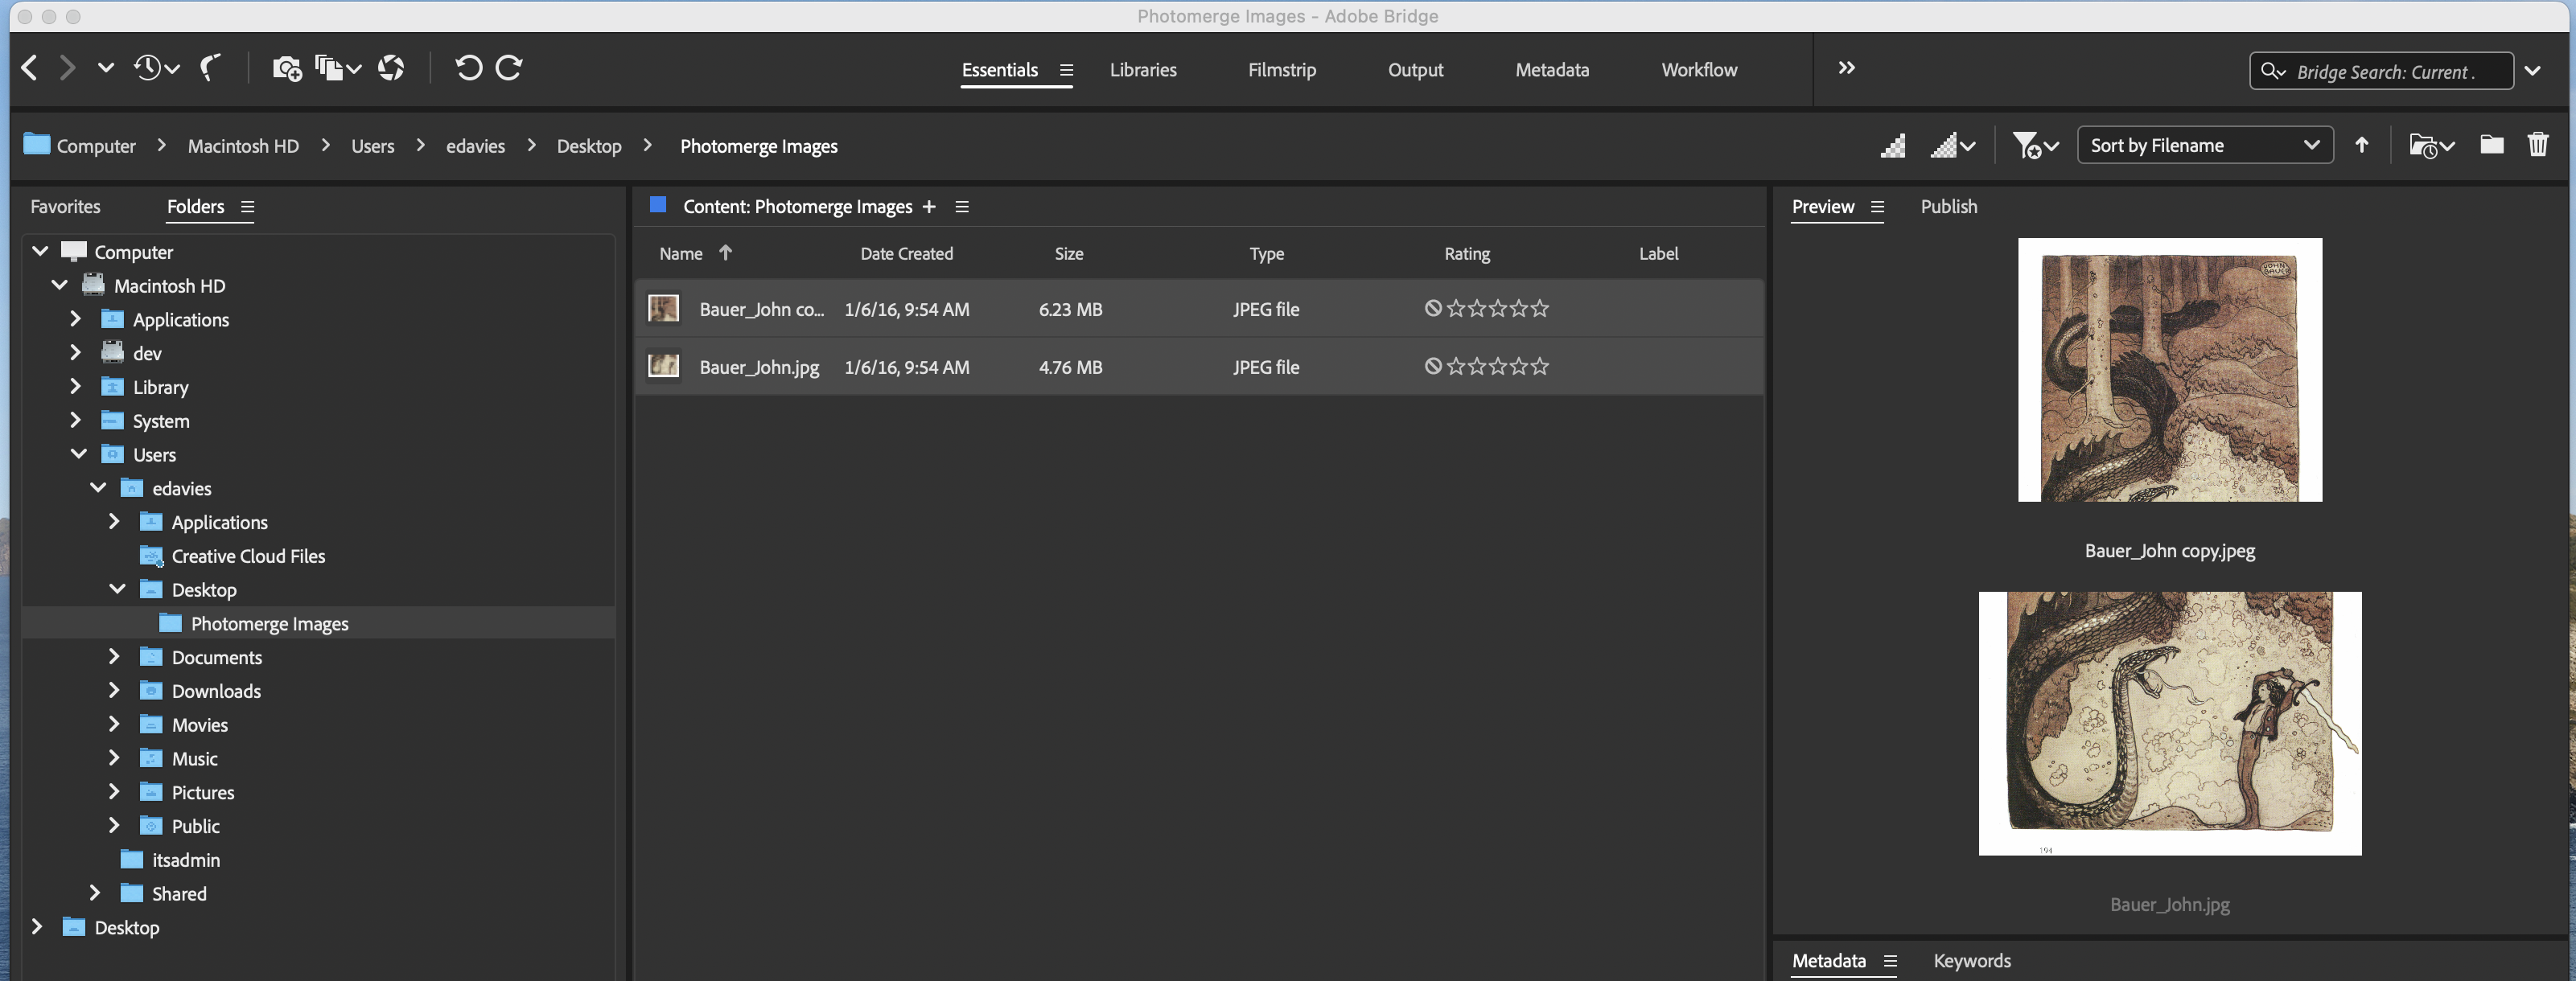
Once you have all your scans ready, begin by opening Adobe Bridge.
Within the main Bridge window, navigate to the location of your scans on your computer (either on your desktop or a designated folder).
Select all the images you’d like to merge by clicking on the first image and then using Shift + Click to click on the last image.
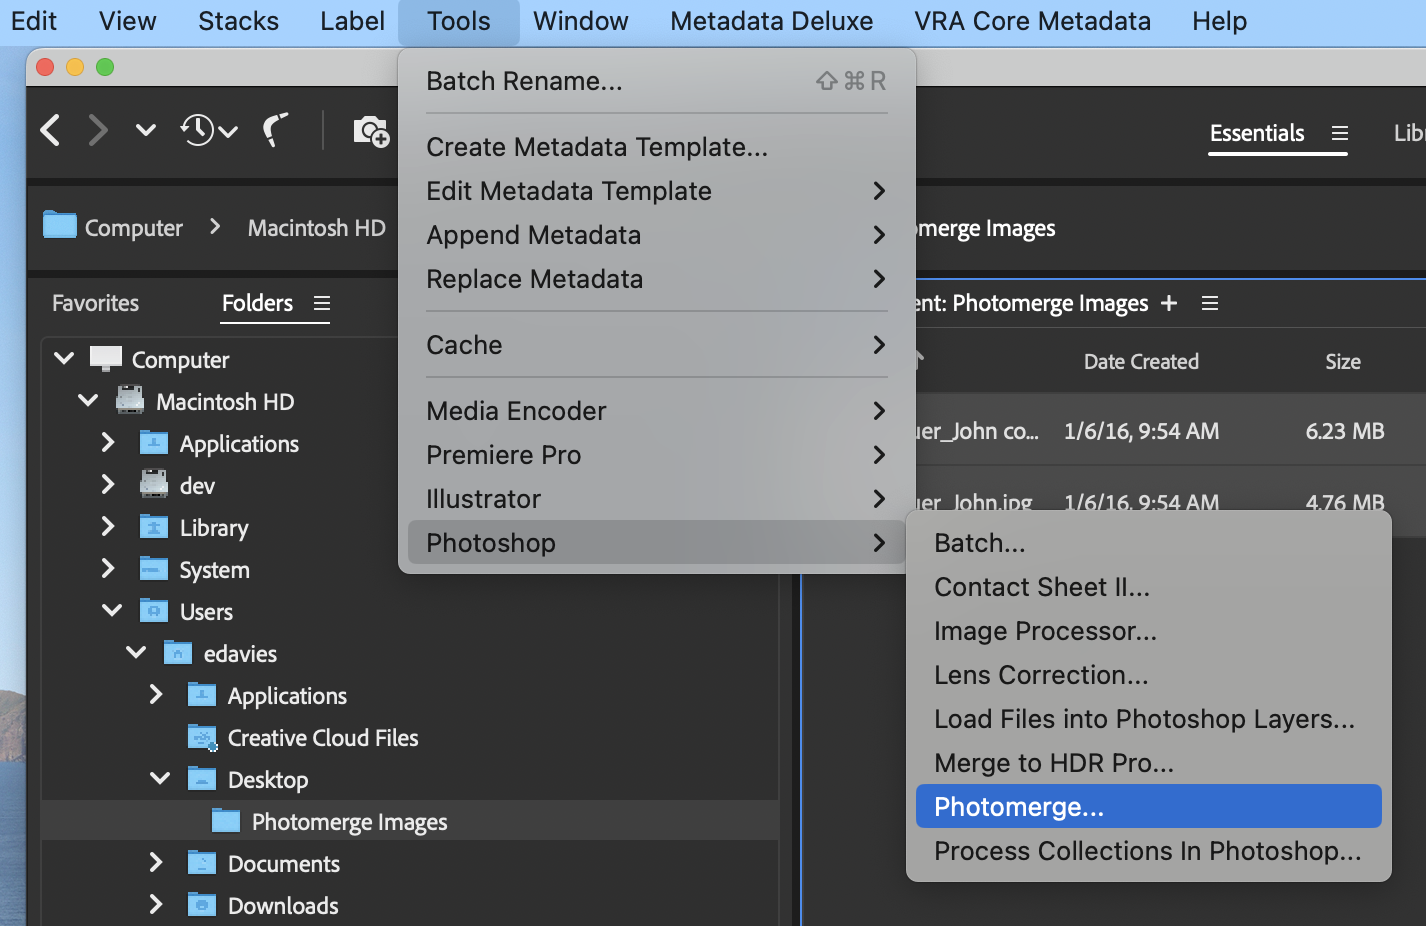
Next, navigate to the top of the screen and select Tools > Photoshop > Photomerge.
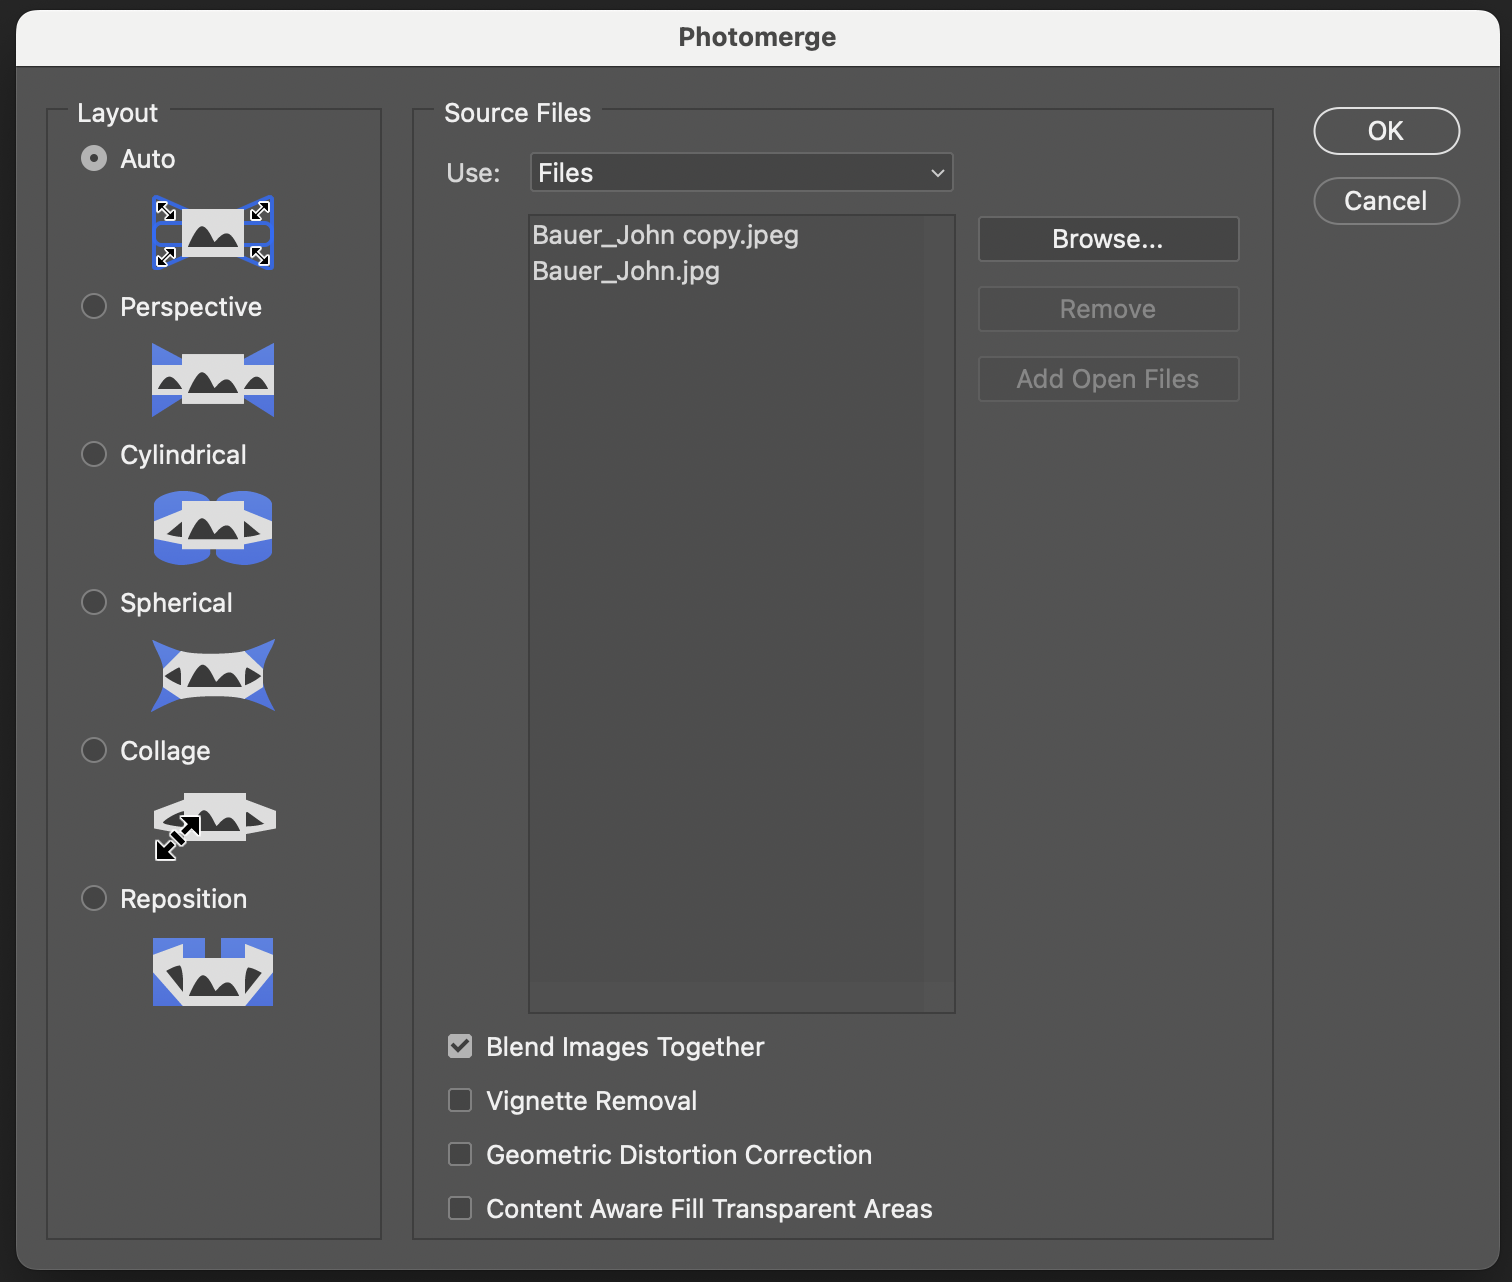
Photoshop will open and you’ll see the Photomerge menu pop up with various settings. You don’t need to worry about any of these, just click OK.
Photoshop will take a few moments before loading the combined image. If there are any missing parts or irregularities in the image, this may mean that more original scans of missing areas are needed.
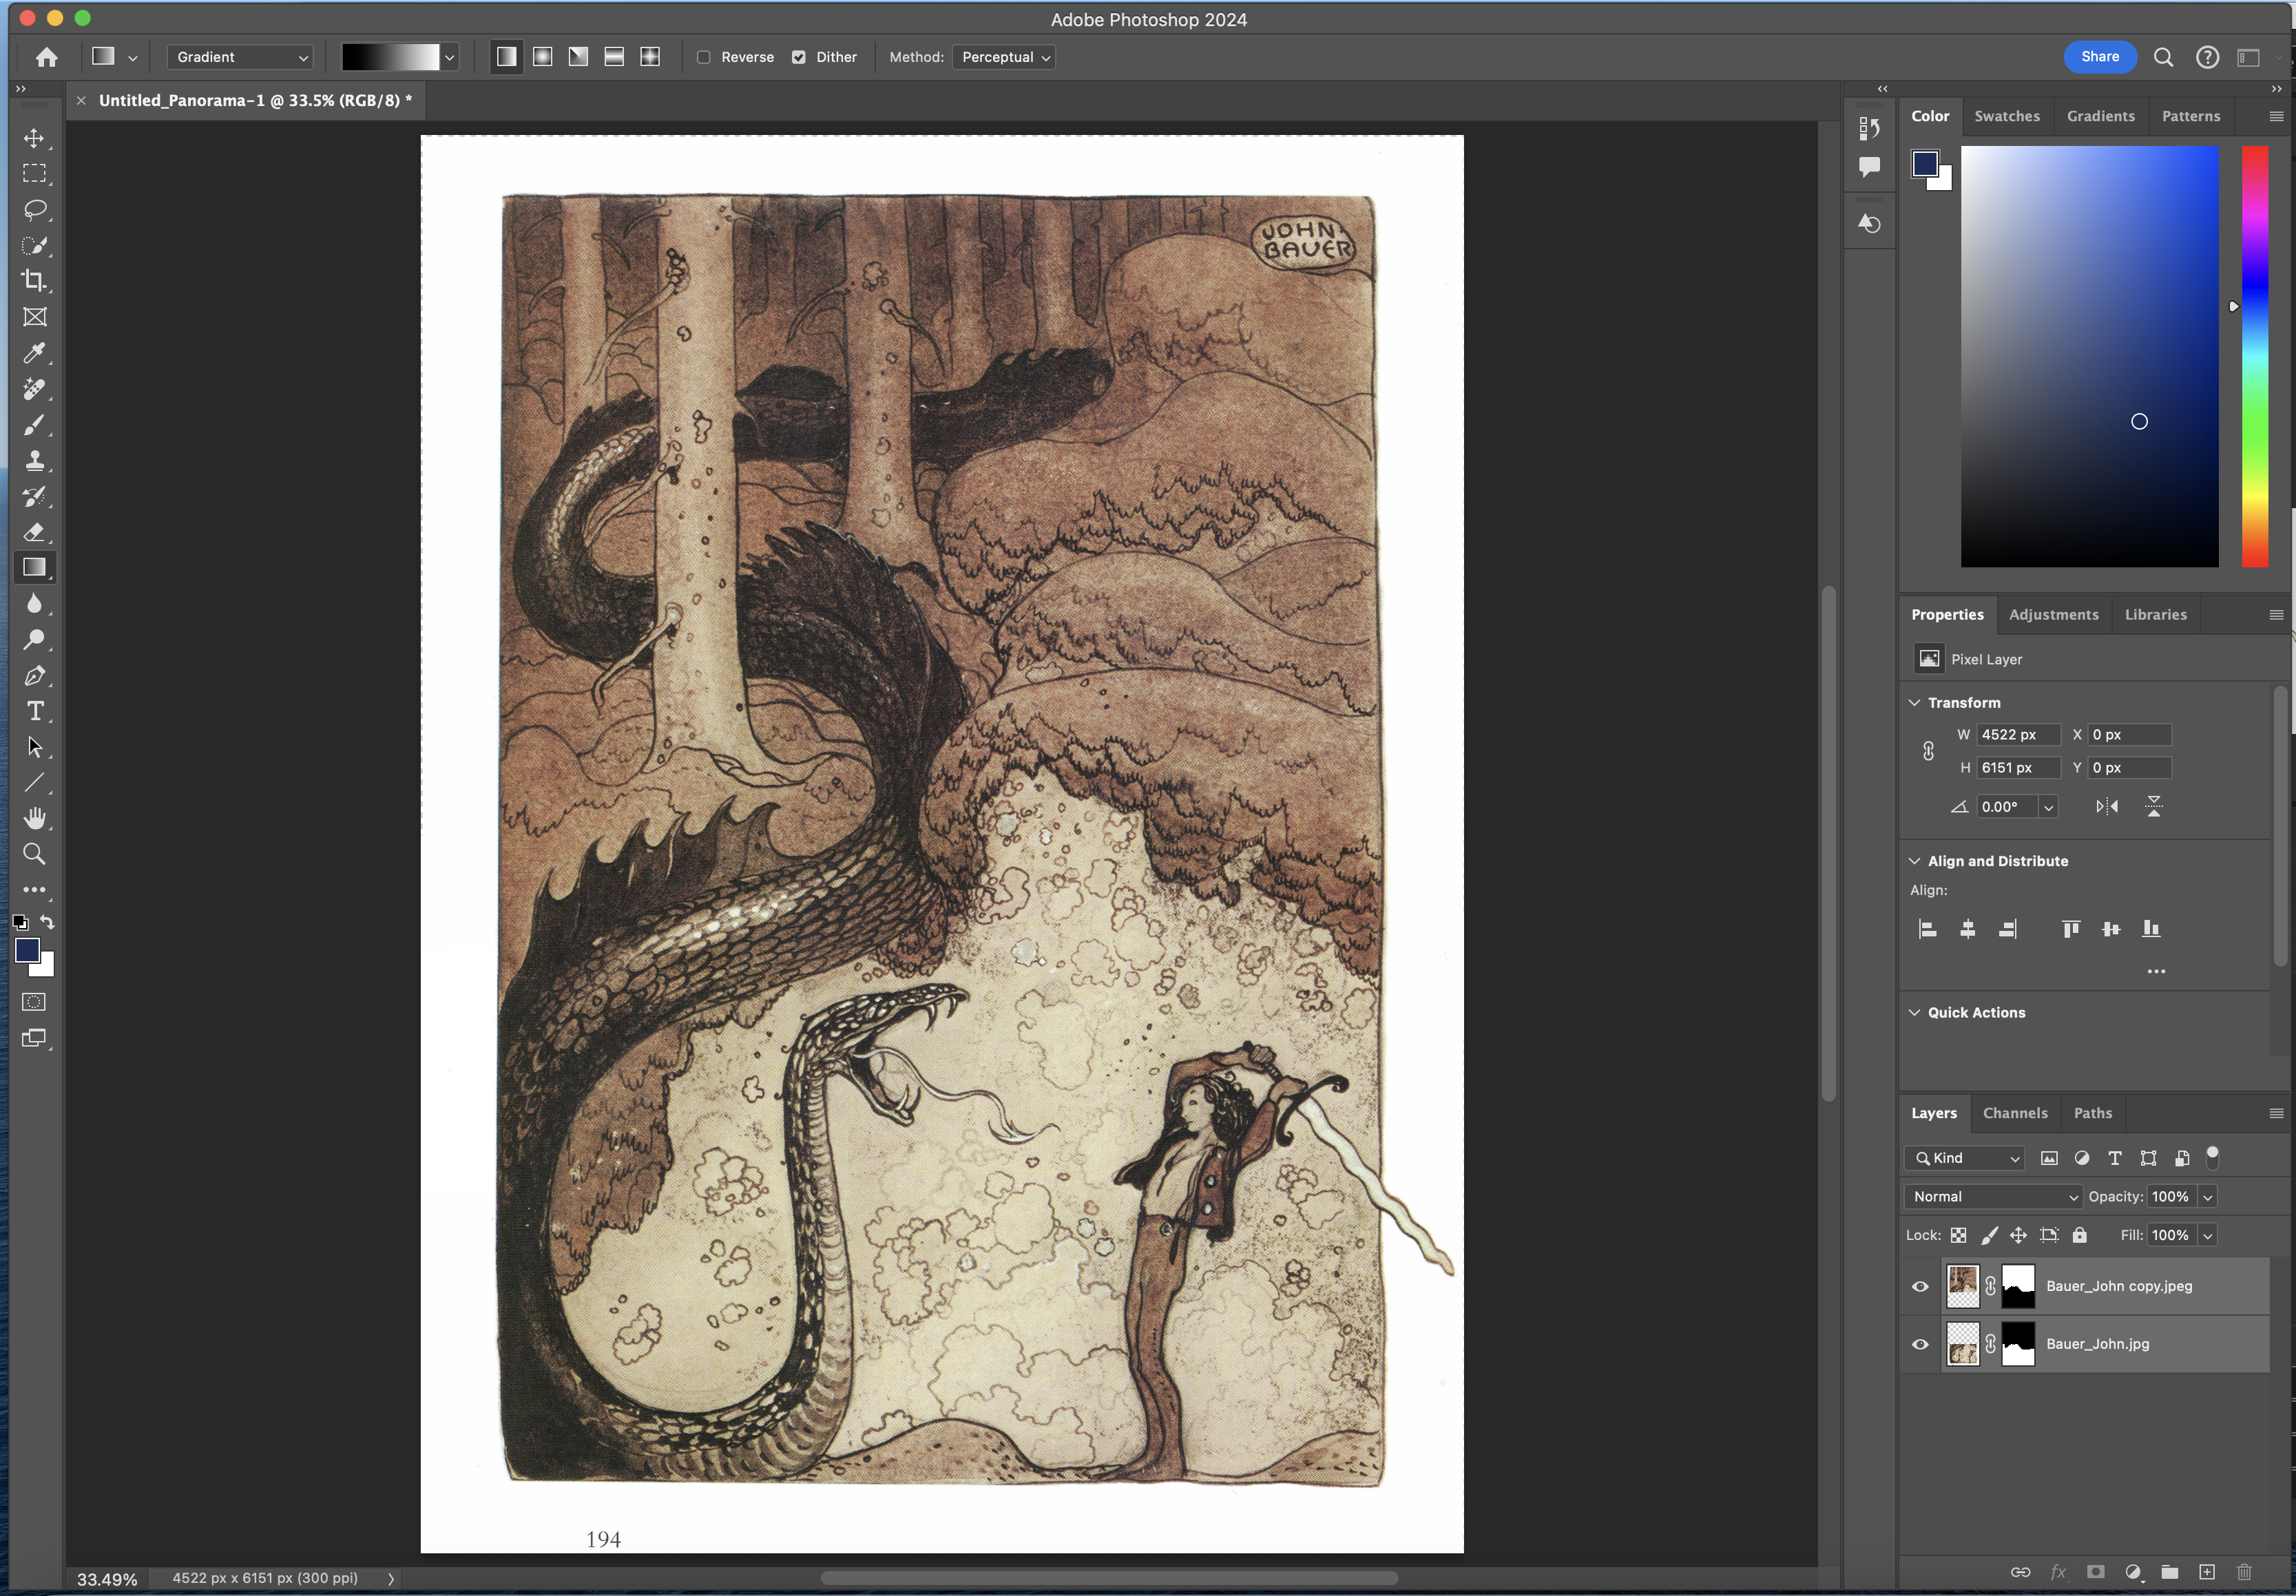
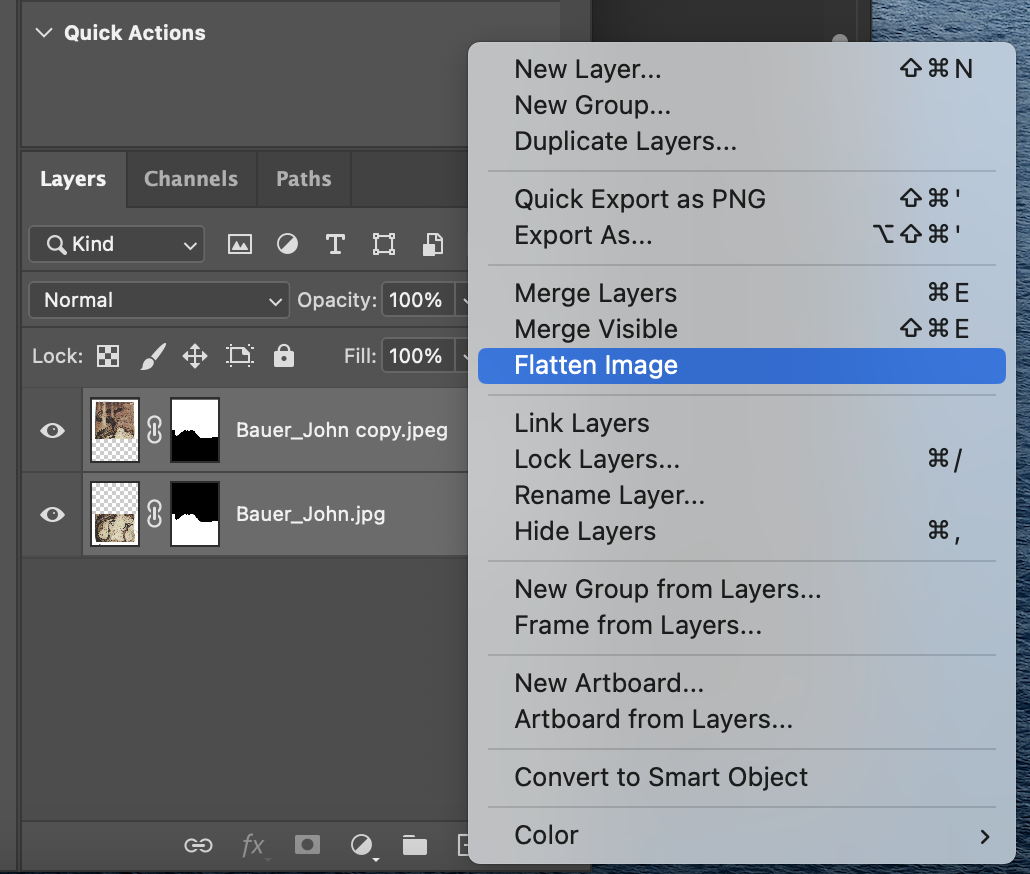
Once the image has loaded, right-click on one of the layers in the layers section and click flatten image. This will merge all of the separate layers into one image.
From there you can use Photoshop to crop the edges of your final image or perform any photo editing before you save.