Launch the Silverfast 9 software from the desktop or applications folder (If you have an older version of Silverfast, such as Silverfast 8, these instructions will still apply).
The welcome screen will open. Check that the correct scanner is visible in the scanner drop-down menu. Then, click start.

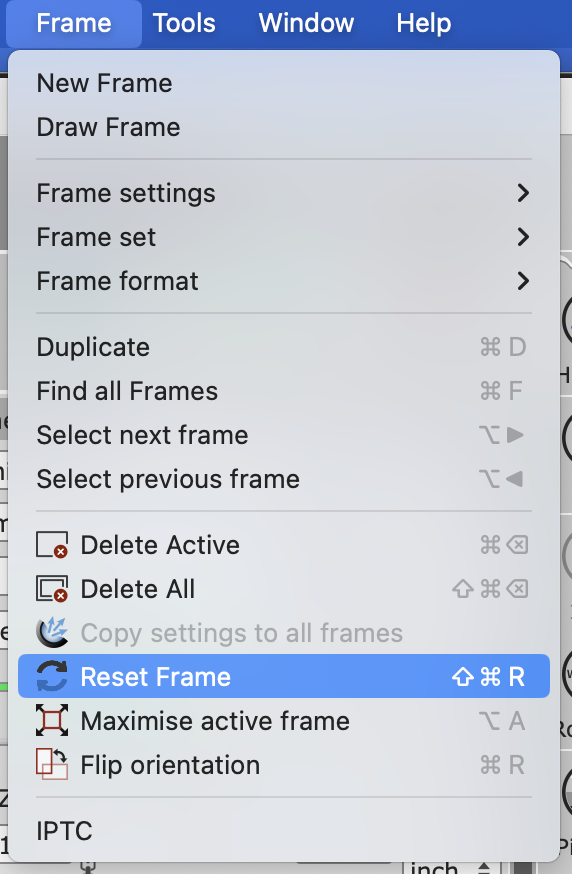
Using the toolbar at the top of the screen, select Frame > Reset Frame. This will reset Silverfast’s previous settings to the default.
Choose Reflective, Transparency, or Wide Transparency
- Reflective is used for non-transparent materials such as prints
- Transparency is used for transparent materials such as slides, negatives, and film
- Wide Transparency is used when scanning negatives placed directly on the glass, without using a holder
If you are scanning transparent materials, remove the white cover over the transparency unit. If you are scanning negatives and slides, use the appropriate film carrier and insert the materials face-up.
![]()
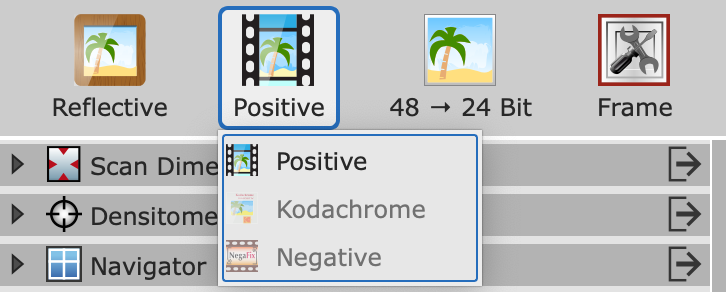
Choose Positive or Negative. Materials besides negative film and slides will use the positive setting.
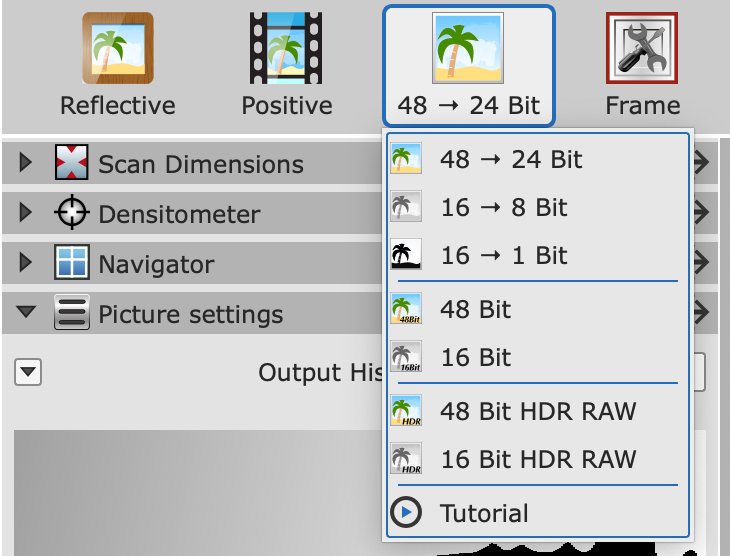
Select 48 -> 24 bit for color or 16 -> 8 bit for black-and-white or grayscale images
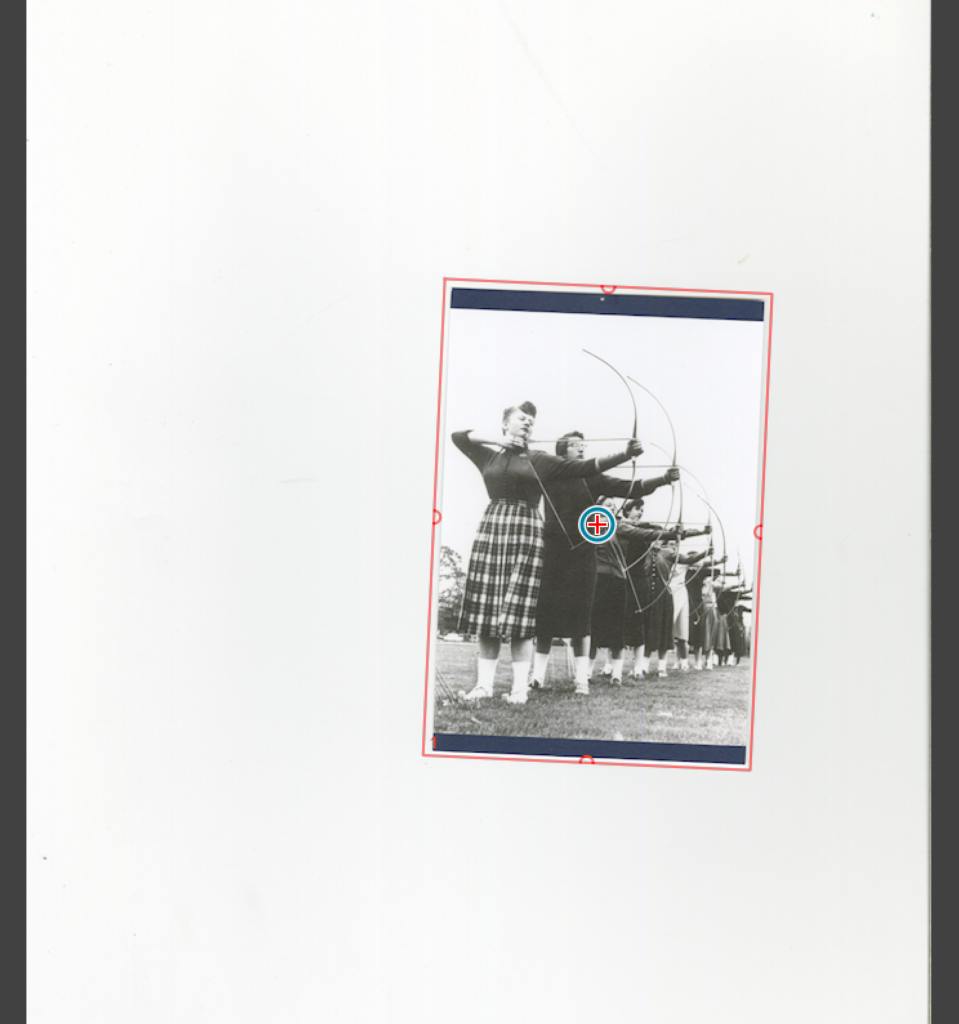
Click Prescan, this will show you a preview of the image you are going to scan.
Move the red selection box around the image or area you would like to scan. You can click the Frame button to duplicate this box to create multiple scanning frames. The duplicate frames will share the same settings as the original, so make sure you have your scan dimensions and picture settings where you want them for each frame before your final scan. Active frames will be highlighted red.
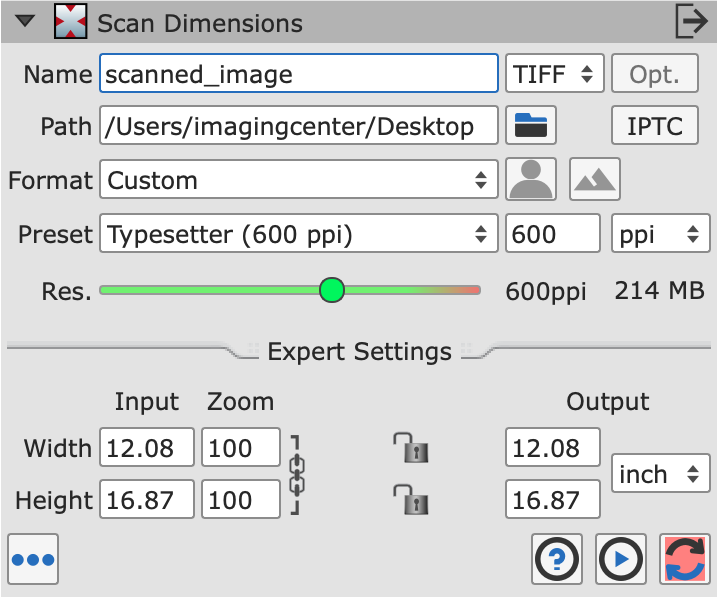
First, there are a number of settings under the scan dimensions section to set:
- Name: use this window to set the title of your scan
- Path: use this window to select where your scan will save by clicking the file icon
- Format: for most scans, use the custom setting
- Preset (Resolution): Use the drop-down menu or type in a number in the box to the right to choose the resolution. Typically this should be 300 or 600 ppi. Double that resolution for slides and negatives, so 1200 or 2400 ppi. Leave the resolution slider as it is.
- Canvas Width and Height: You can skip these settings for most scans
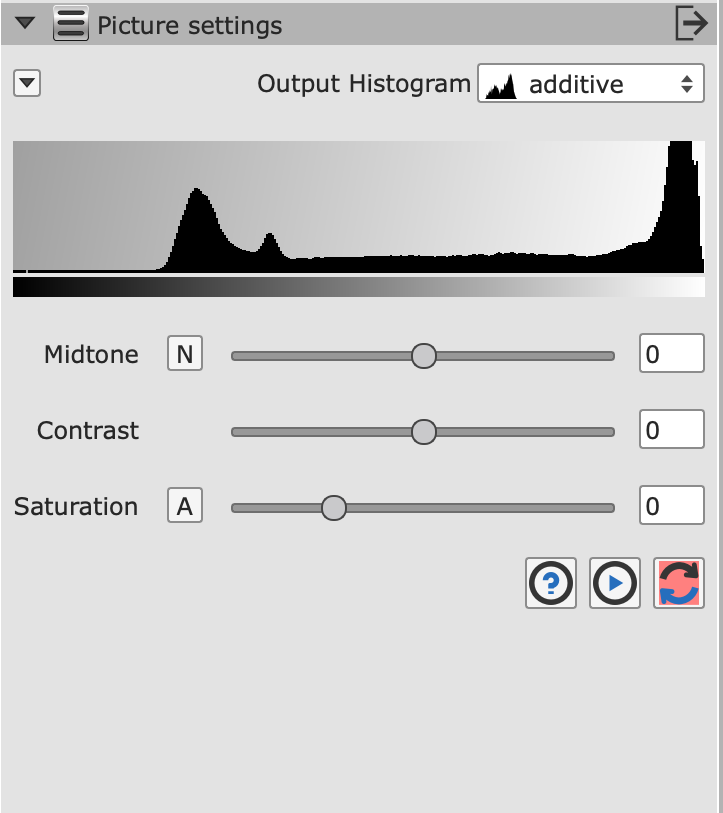
Next, navigate to the picture settings section, you can use the midtone, contrast, and saturation sliders to adjust your the final scan result. There should be space on either side of the curve in the histogram
Once you’re happy with your settings, press the Scan button in the upper menu to begin the final scan. Silverfast will begin scanning the image within the active frame. If you have multiple frames, click the Batch Scan button to scan them all at once.
The progress bar at the bottom left of the window will show you when your final scan is finished.

Scanning Large Images
If the item you’re scanning is larger than the scanner bed, you can use Photoshop’s Photomerge feature to merge multiple scans of the same image. For instructions on using Photomerge, see Using Photomerge When Scanning Large Images
Halftone Images: De-screening and Unsharp Masking
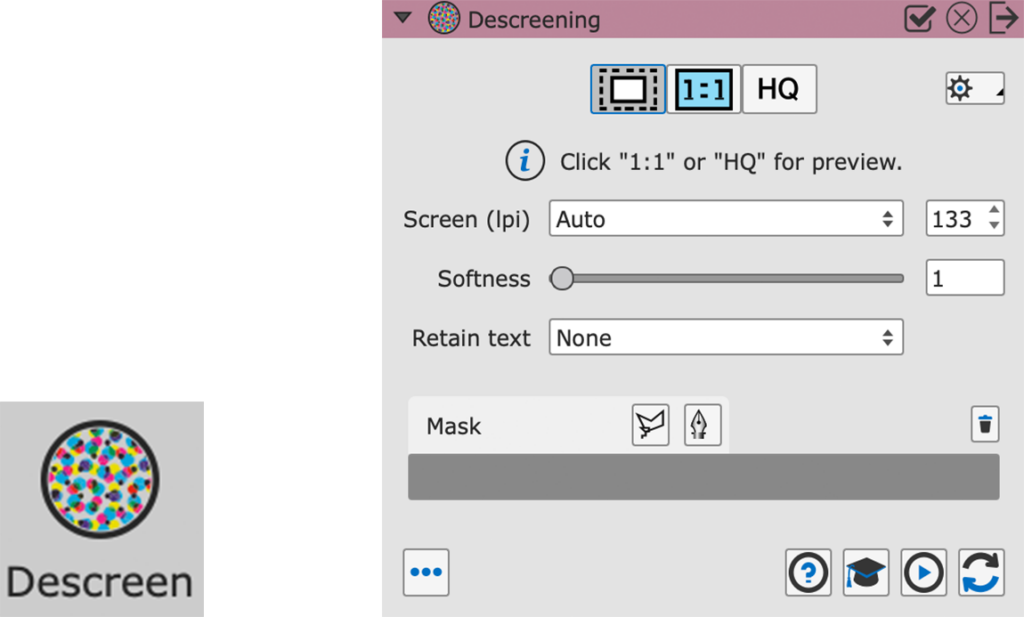
If you’re scanning a halftone image (typically printed images from older books or magazines) use the Descreening function to reduce the halftone dot pattern. Use this function after you complete the prescan but before you complete the final scan.
Click the Descreen button, this will open the Descreening Menu:
- Under Screen (lpi), choose the relevant option – choose Newspaper, Magazine, or Art Print.
- Under Retain Text, choose Light, Medium, Strong, None, or Custom.
- Expert settings under the graduation cap icon allow for additional adjustment.
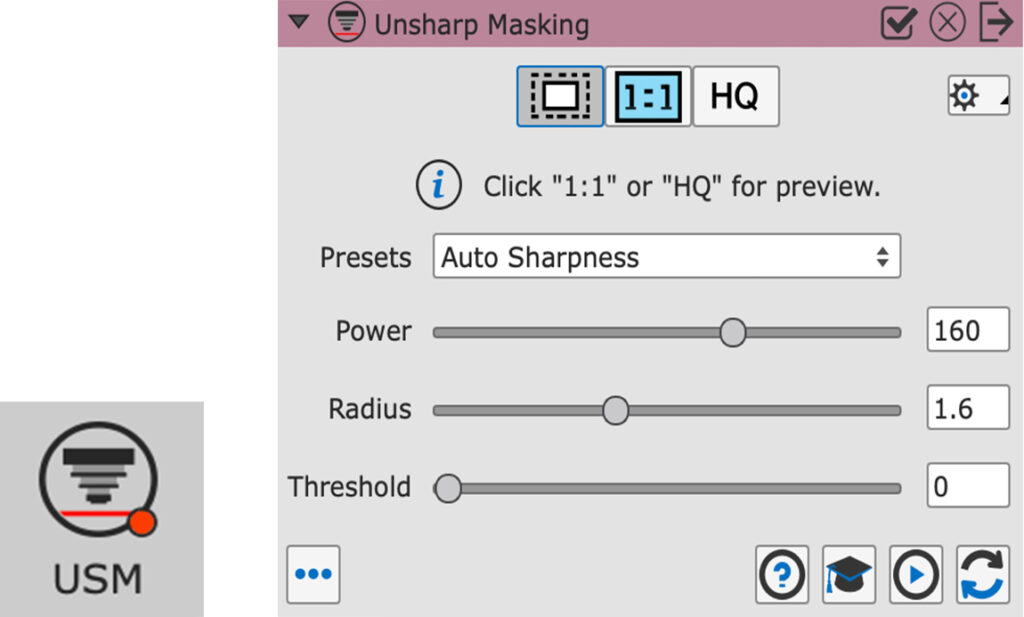
If you are descreening, you may also want to add an unsharp mask. Click the USM button to open the Unsharp Mask Menu:
- Click the 1:1 button to zoom in on your preview and see the sharpening filter.
- Use the presets and slider settings to adjust the power and radius of the filter.