Preparing to Print
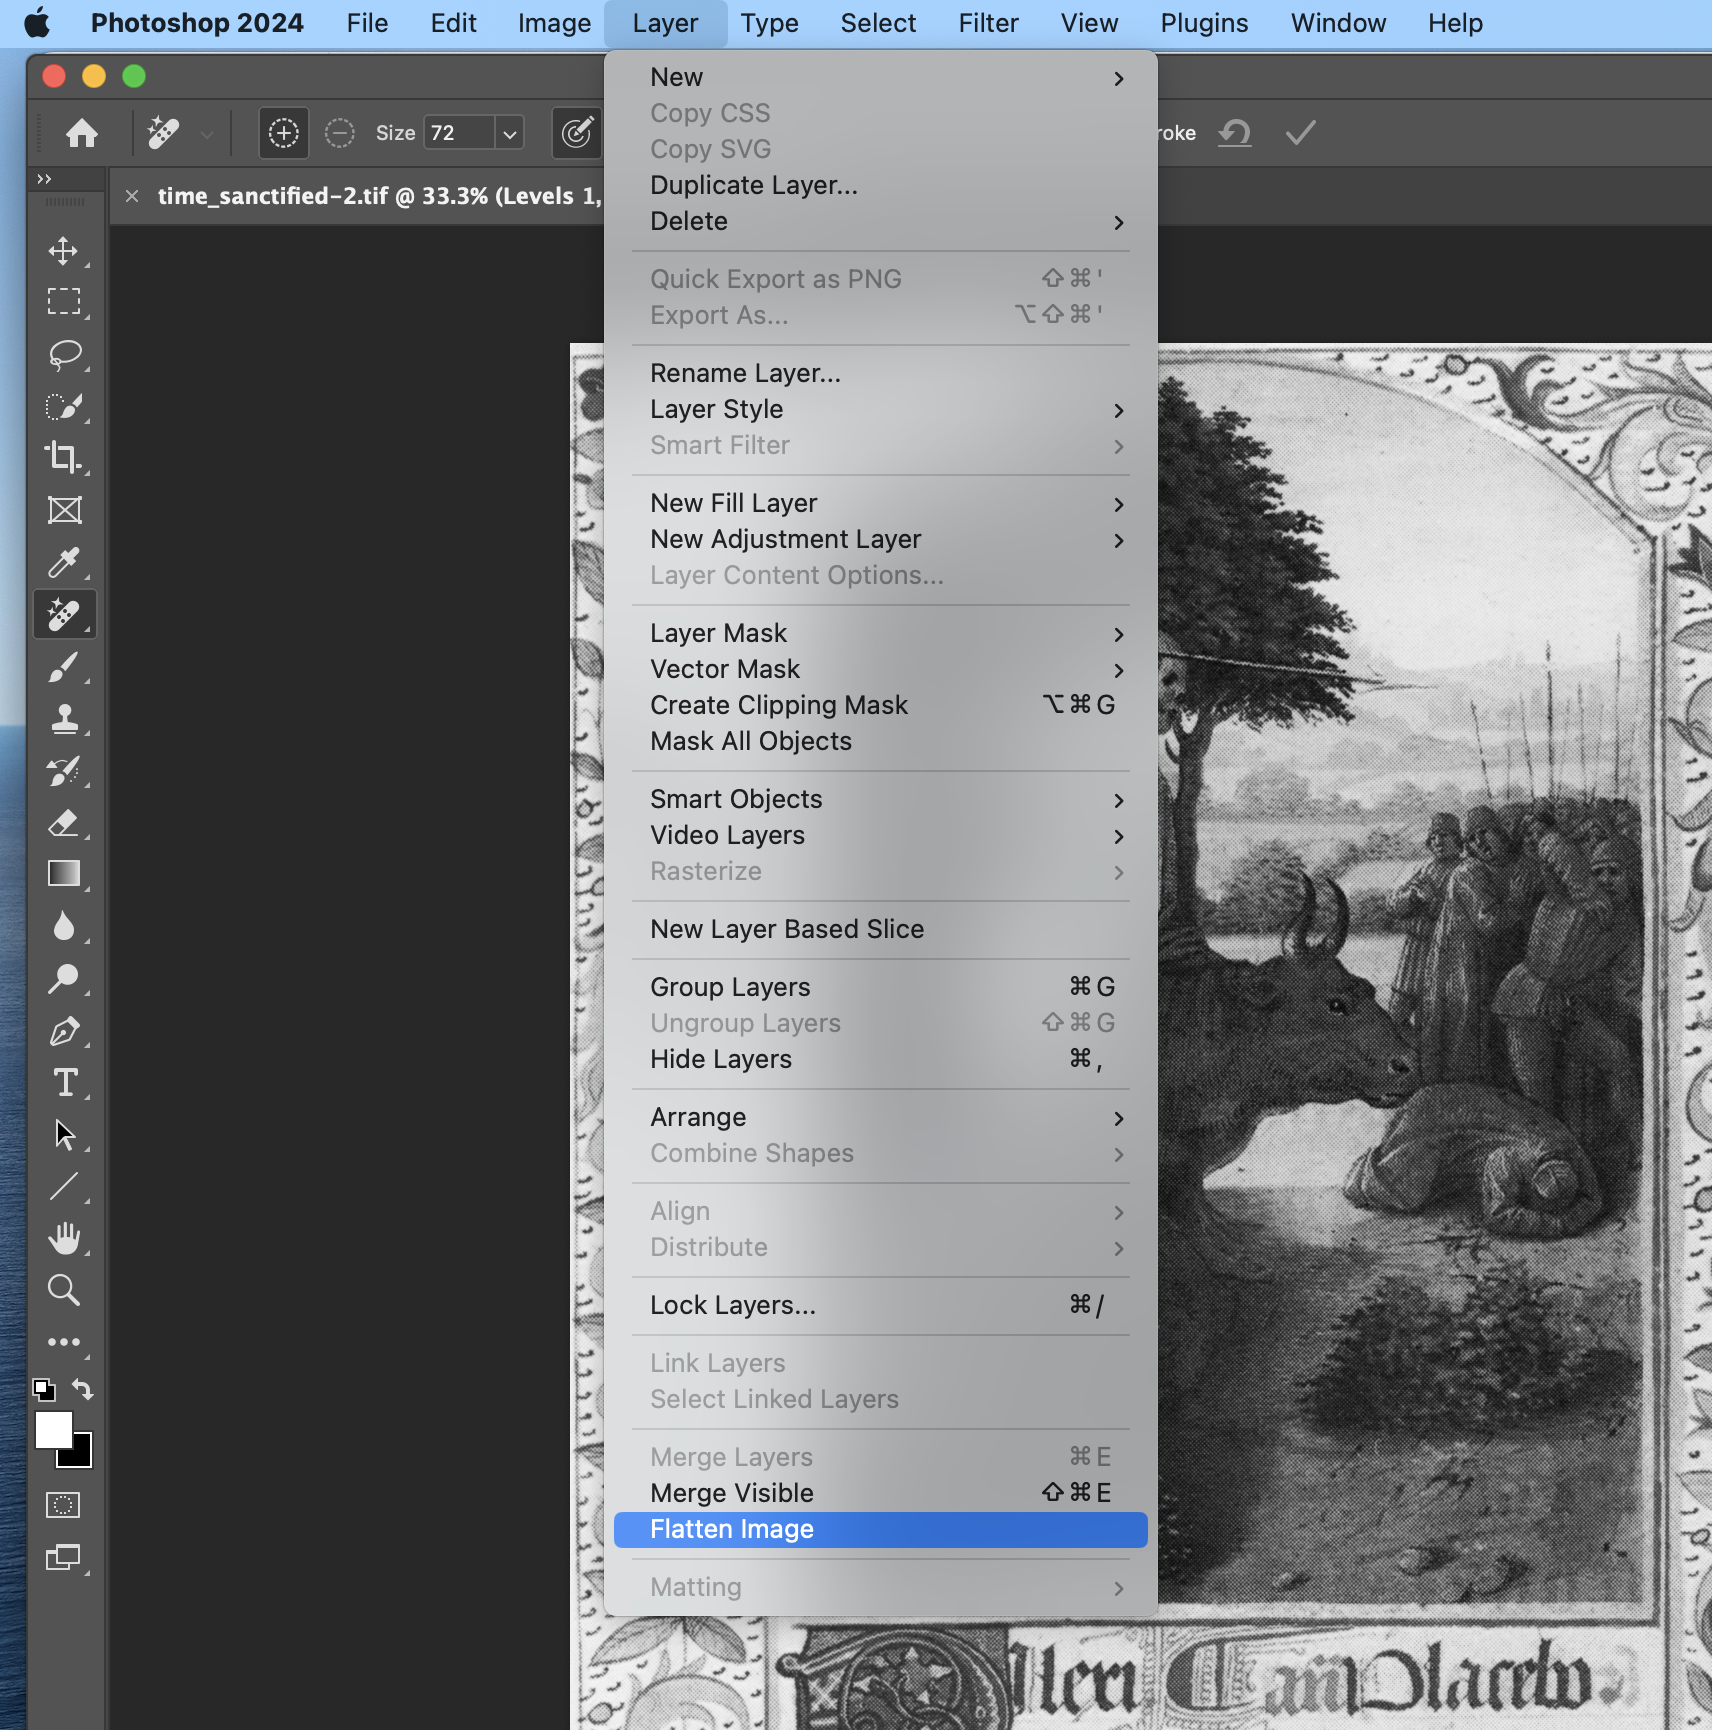
Open your image in Photoshop. If you have multiple layers you’ll want to merge them before printing. To do this, select the Layer Menu then click Flatten Image.
Before resizing your image to print, make sure you save a copy of the original file to your computer.
Resizing Your Image
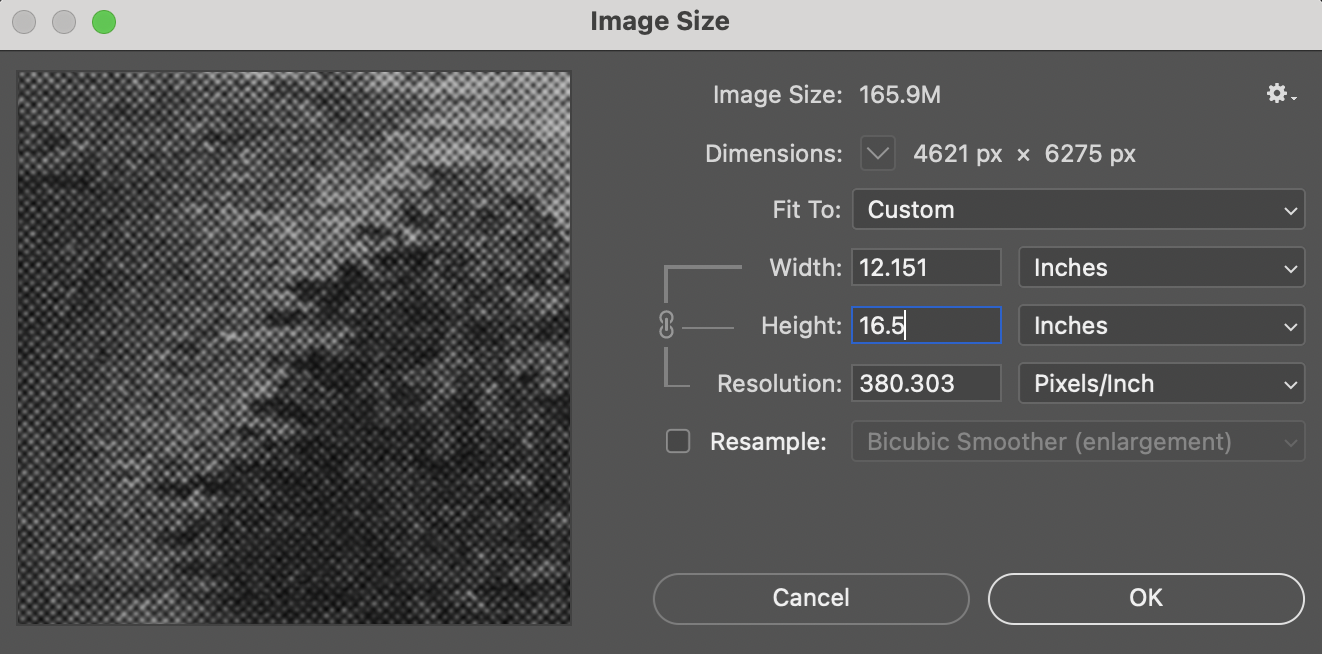
You can skip this step If you want your image to fill the page, go to the Image drop-down menu then click on Image Size. Than, choose Fit To: Custom
Laser printers need at least a half a margin white space to properly print. So, make the width and the height of the image at least 1/2 of an inch less than the total width of the paper. For example, when printing on a tabloid-size sheet (11 x 17 in) set the longest edge to 16.5 inches or under.
Note on Sizing Up
Avoid this if possible. You always want to size your image down instead of sizing a small image up. You can blow an image up to a larger size by checking Photoshop’s Resample option but your print will lose quality, so use this feature with caution.
Printing
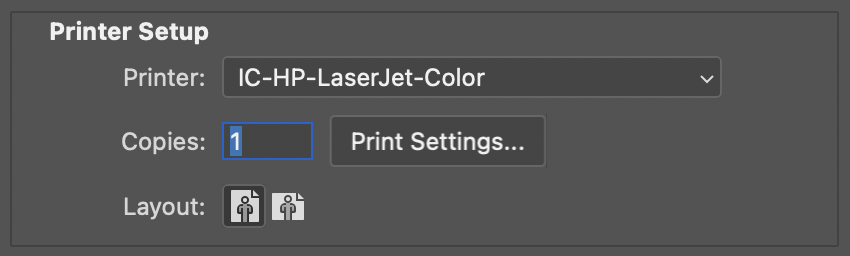
Click File > Print and select the IC HP LaserJet Color. Under the Printer Setup section, click the Print Settings… button
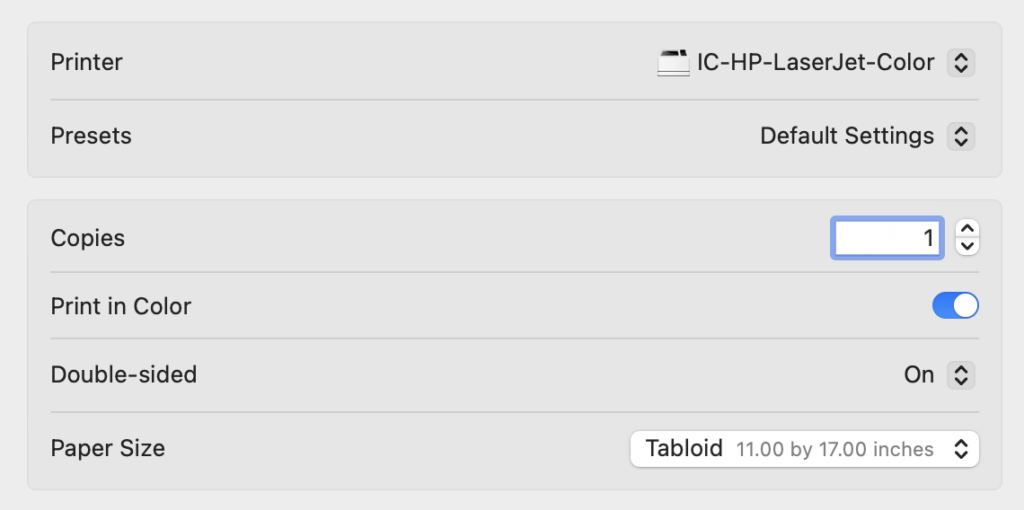
Choose the correct paper size and number of copies
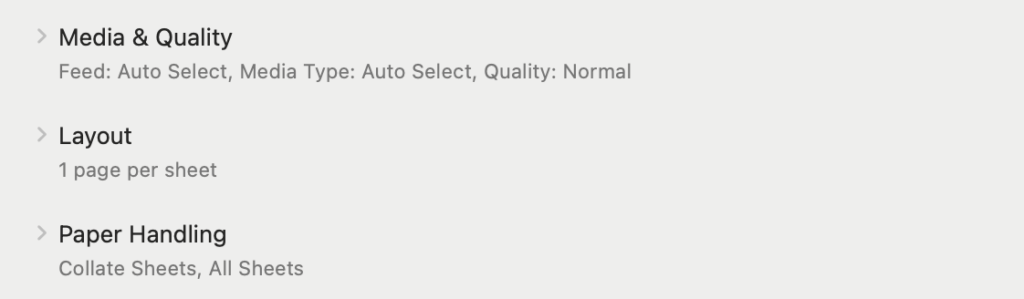
Use the Media & Quality, Layout, and Paper Handling drop-down menus for more advanced settings. Once you’ve finished choosing your settings, click the Save button to close the pop-up window.
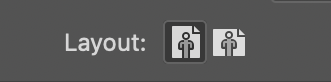
Once you’re back on the Photoshop Print Settings window, use the layout button to toggle between landscape and portrait.
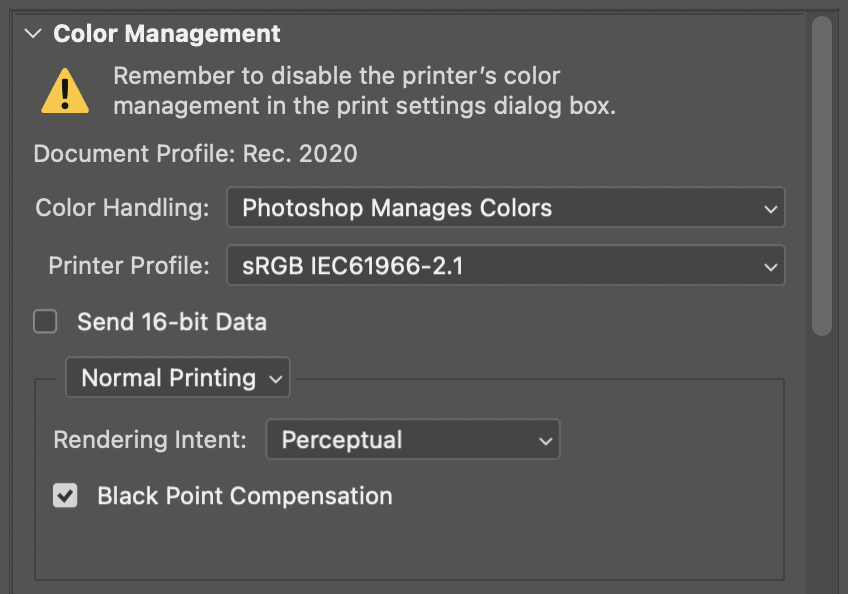
Change Color Handling from Printer Manages Colors to Photoshop Manages Colors. For Rendering Intent, choose Perceptual and check the Black Point Comparison Box.
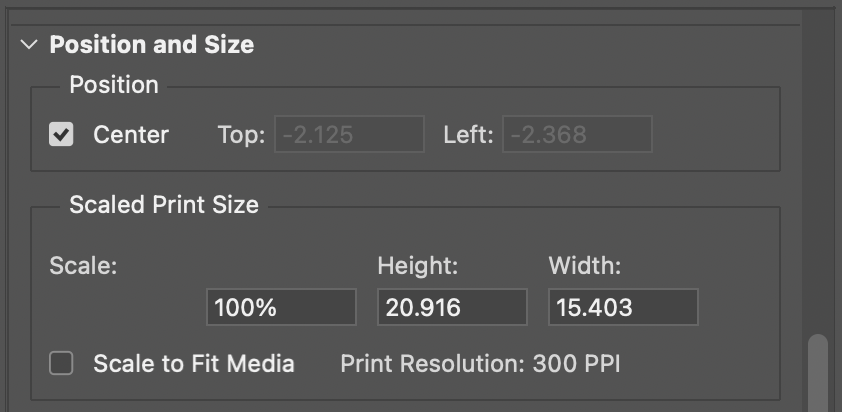
Under the Position and Size section, make sure that the Scale is %100 and the Scale to Fit Media box is unchecked. Always resize your image using the resize function in Photoshop instead of using this setting.
Click Print! If you get a warning that “Some Clipping Will Occur,” Click Proceed.