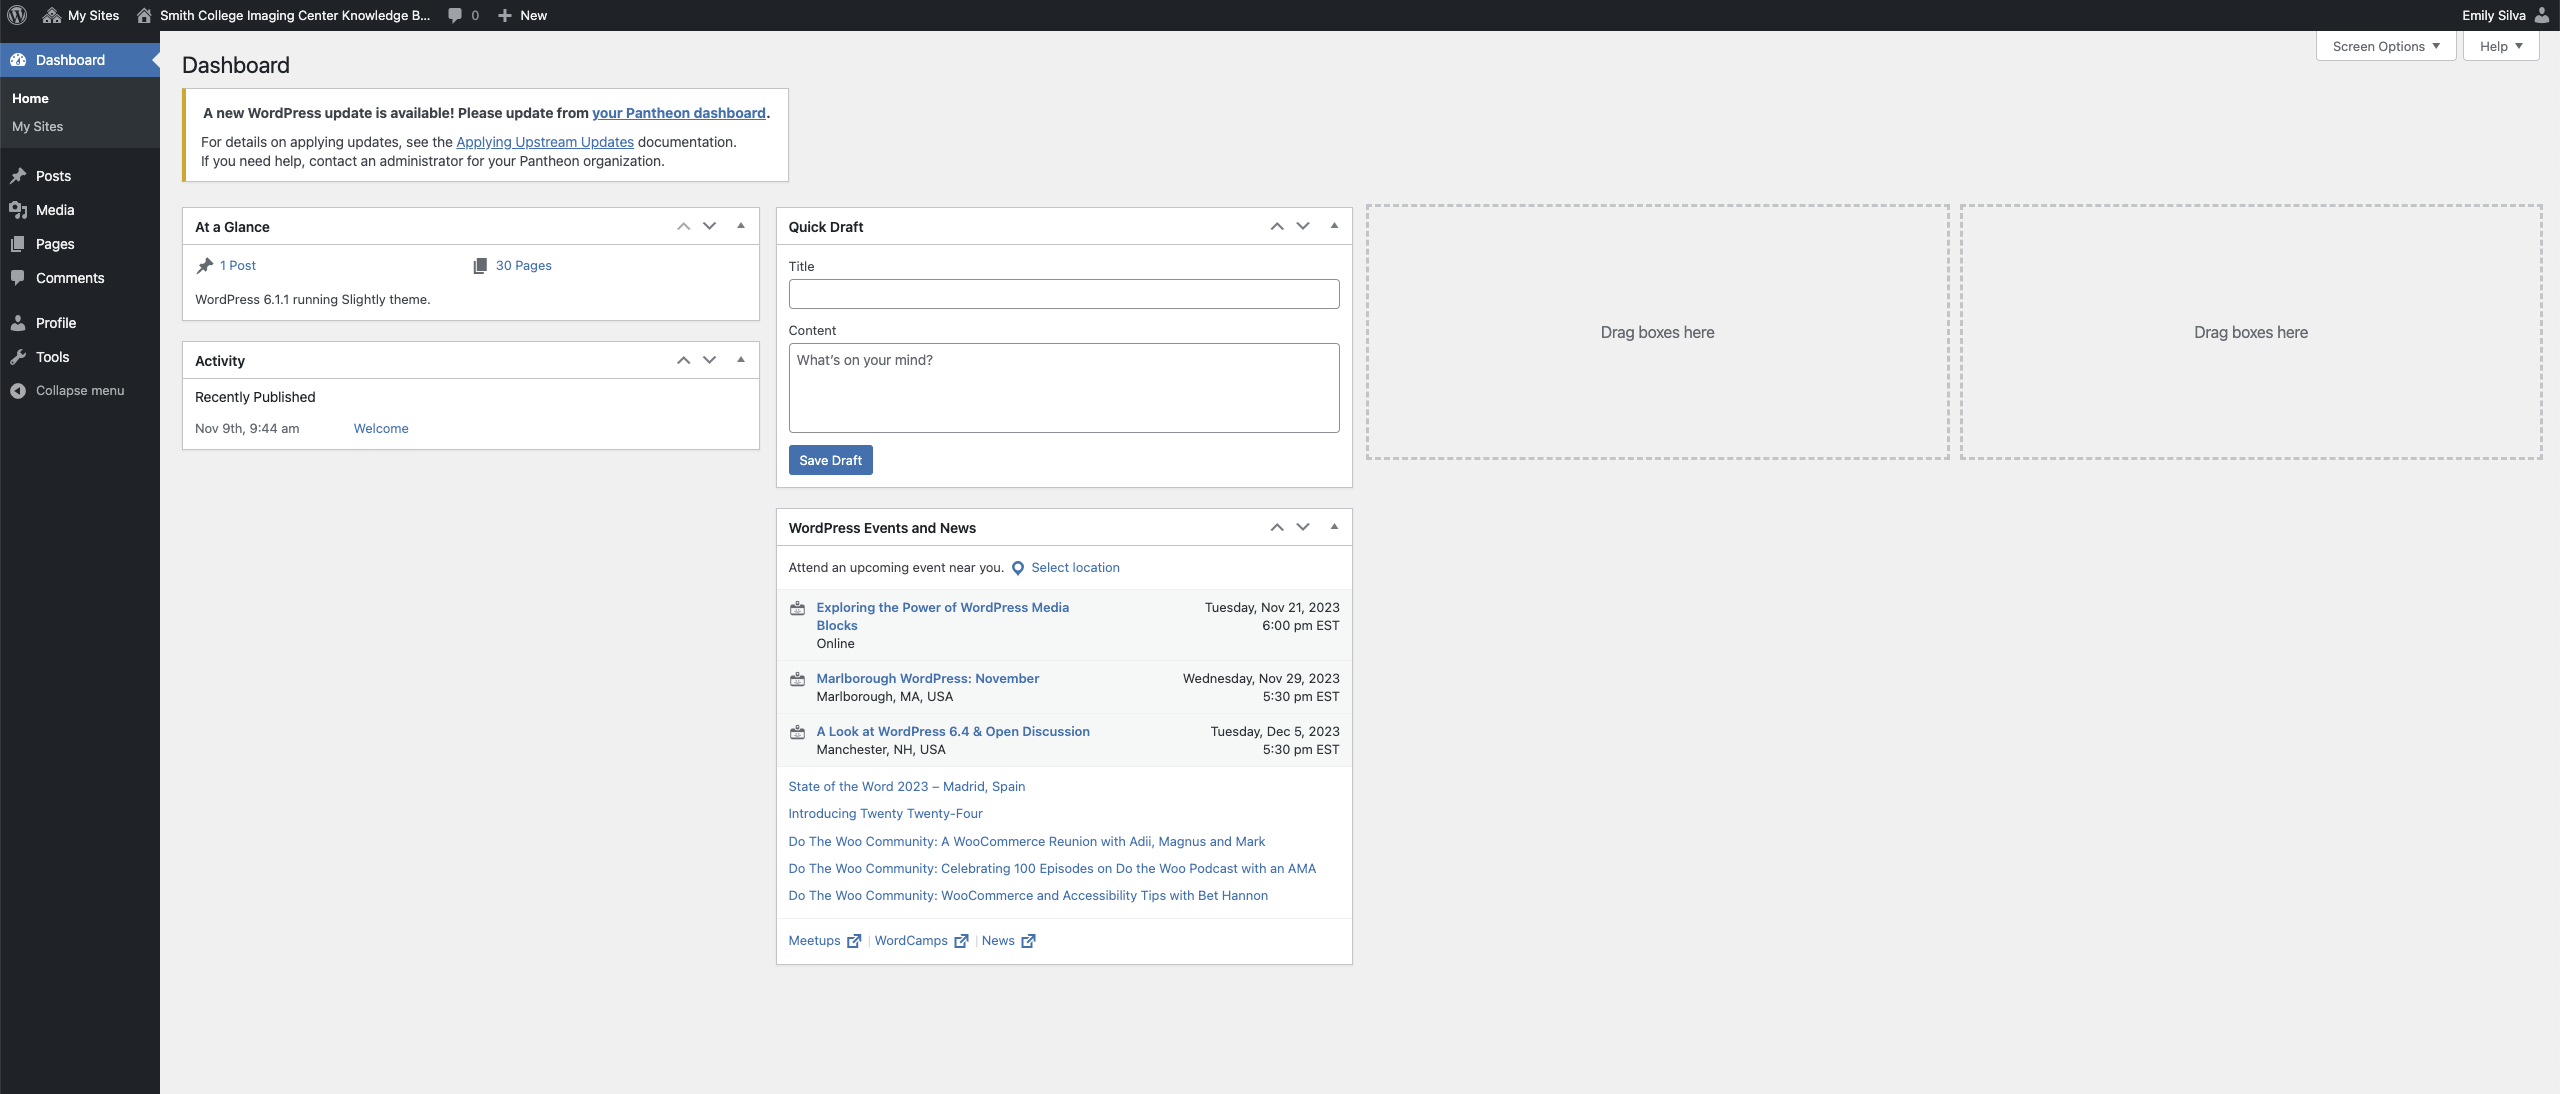
To create a new page log in to the Imaging Center Knowledge Base. Once logged in you will see one of two pages either the IC Dashboard
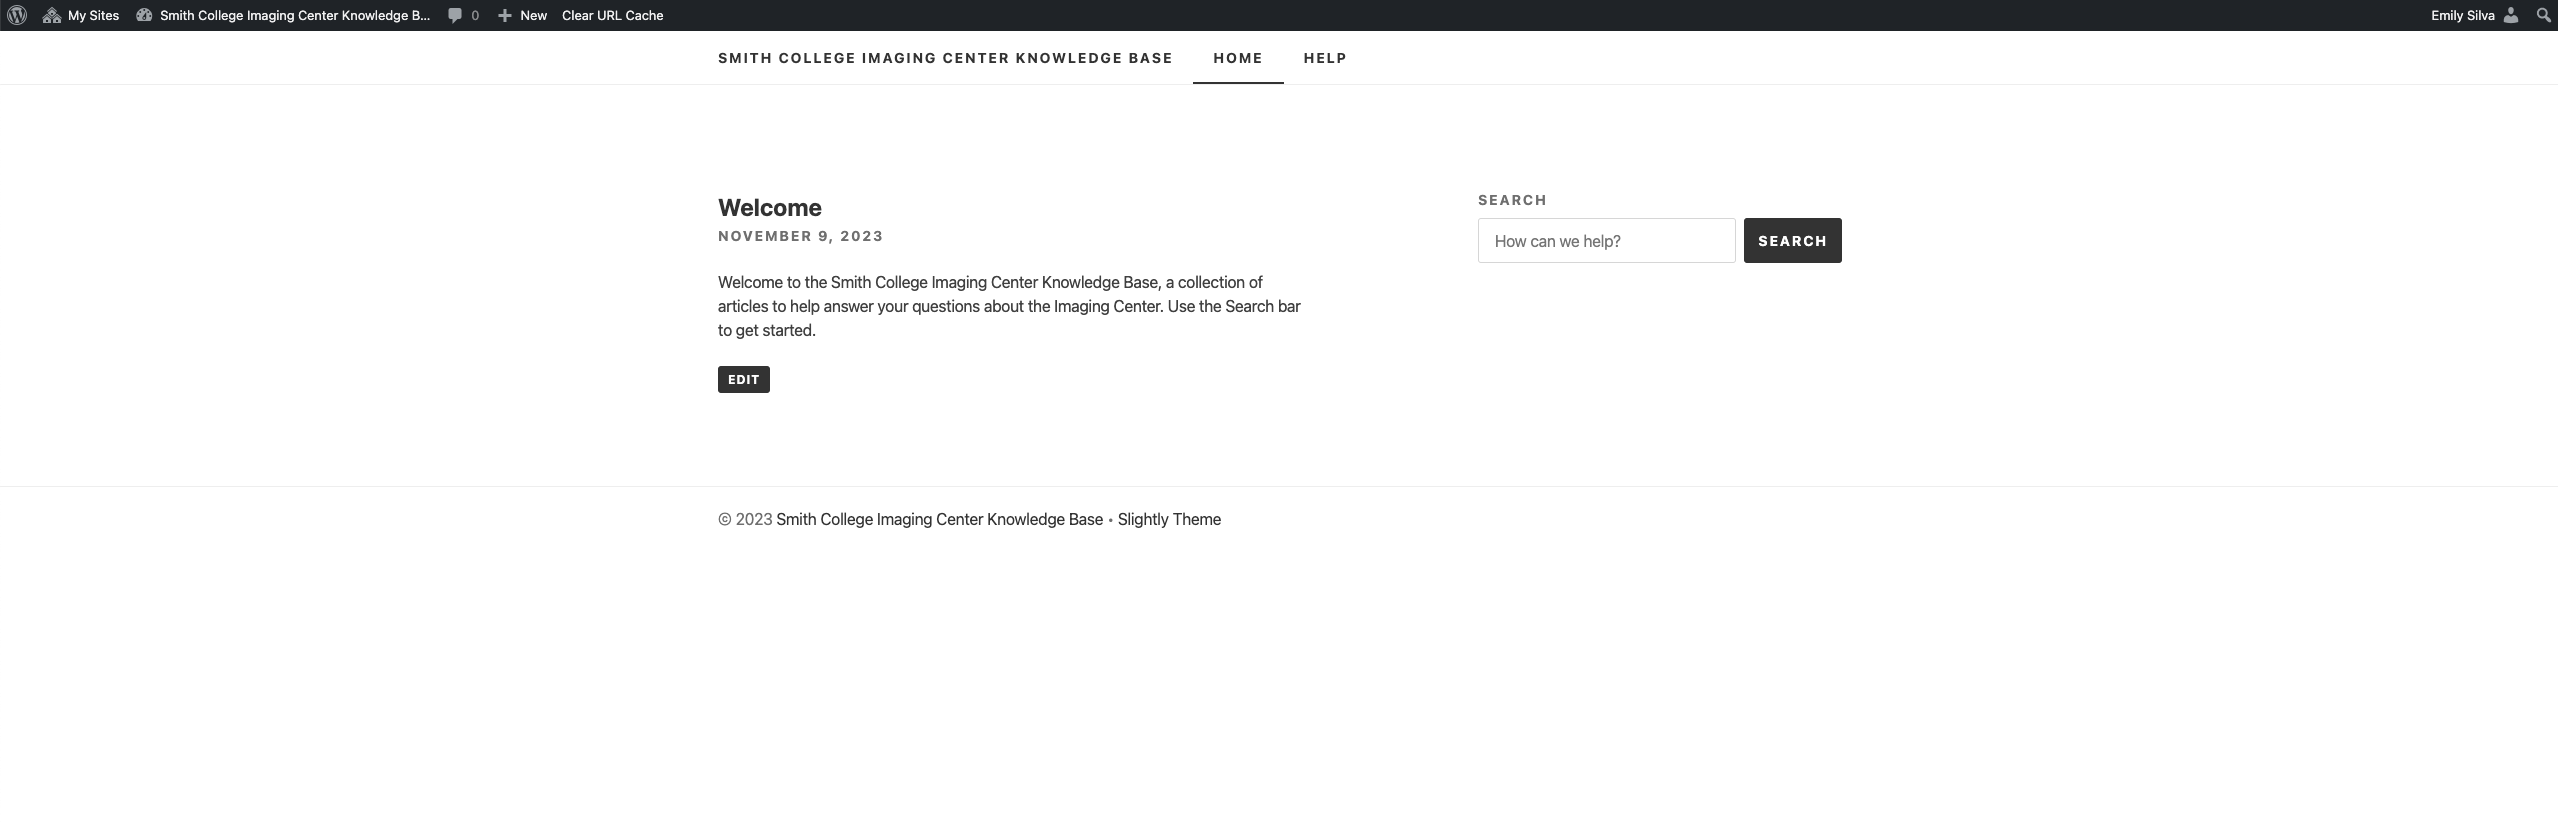
Or the IC Knowledge Base website
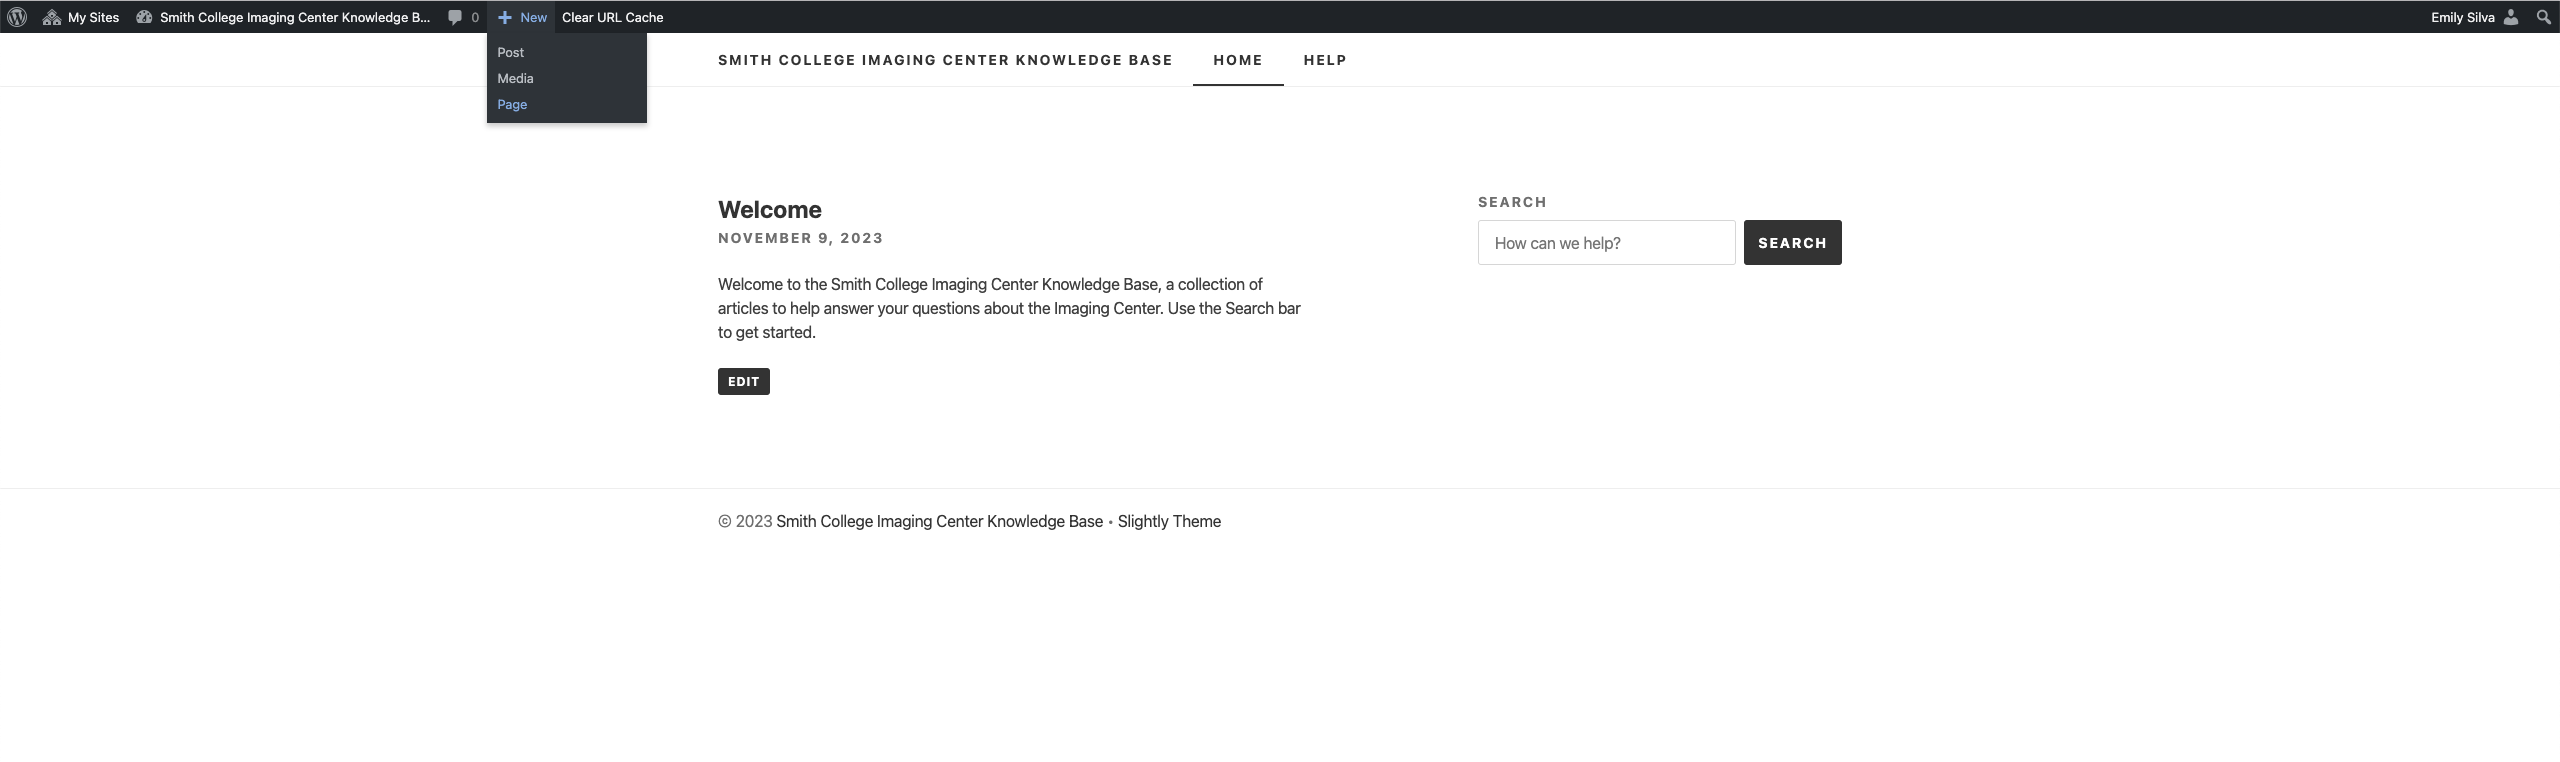
From either of these pages, you can access the ability to make a new page. Hover over the “+ New” button on the left side of the black bar at the top of the screen. From there, select “Page”.
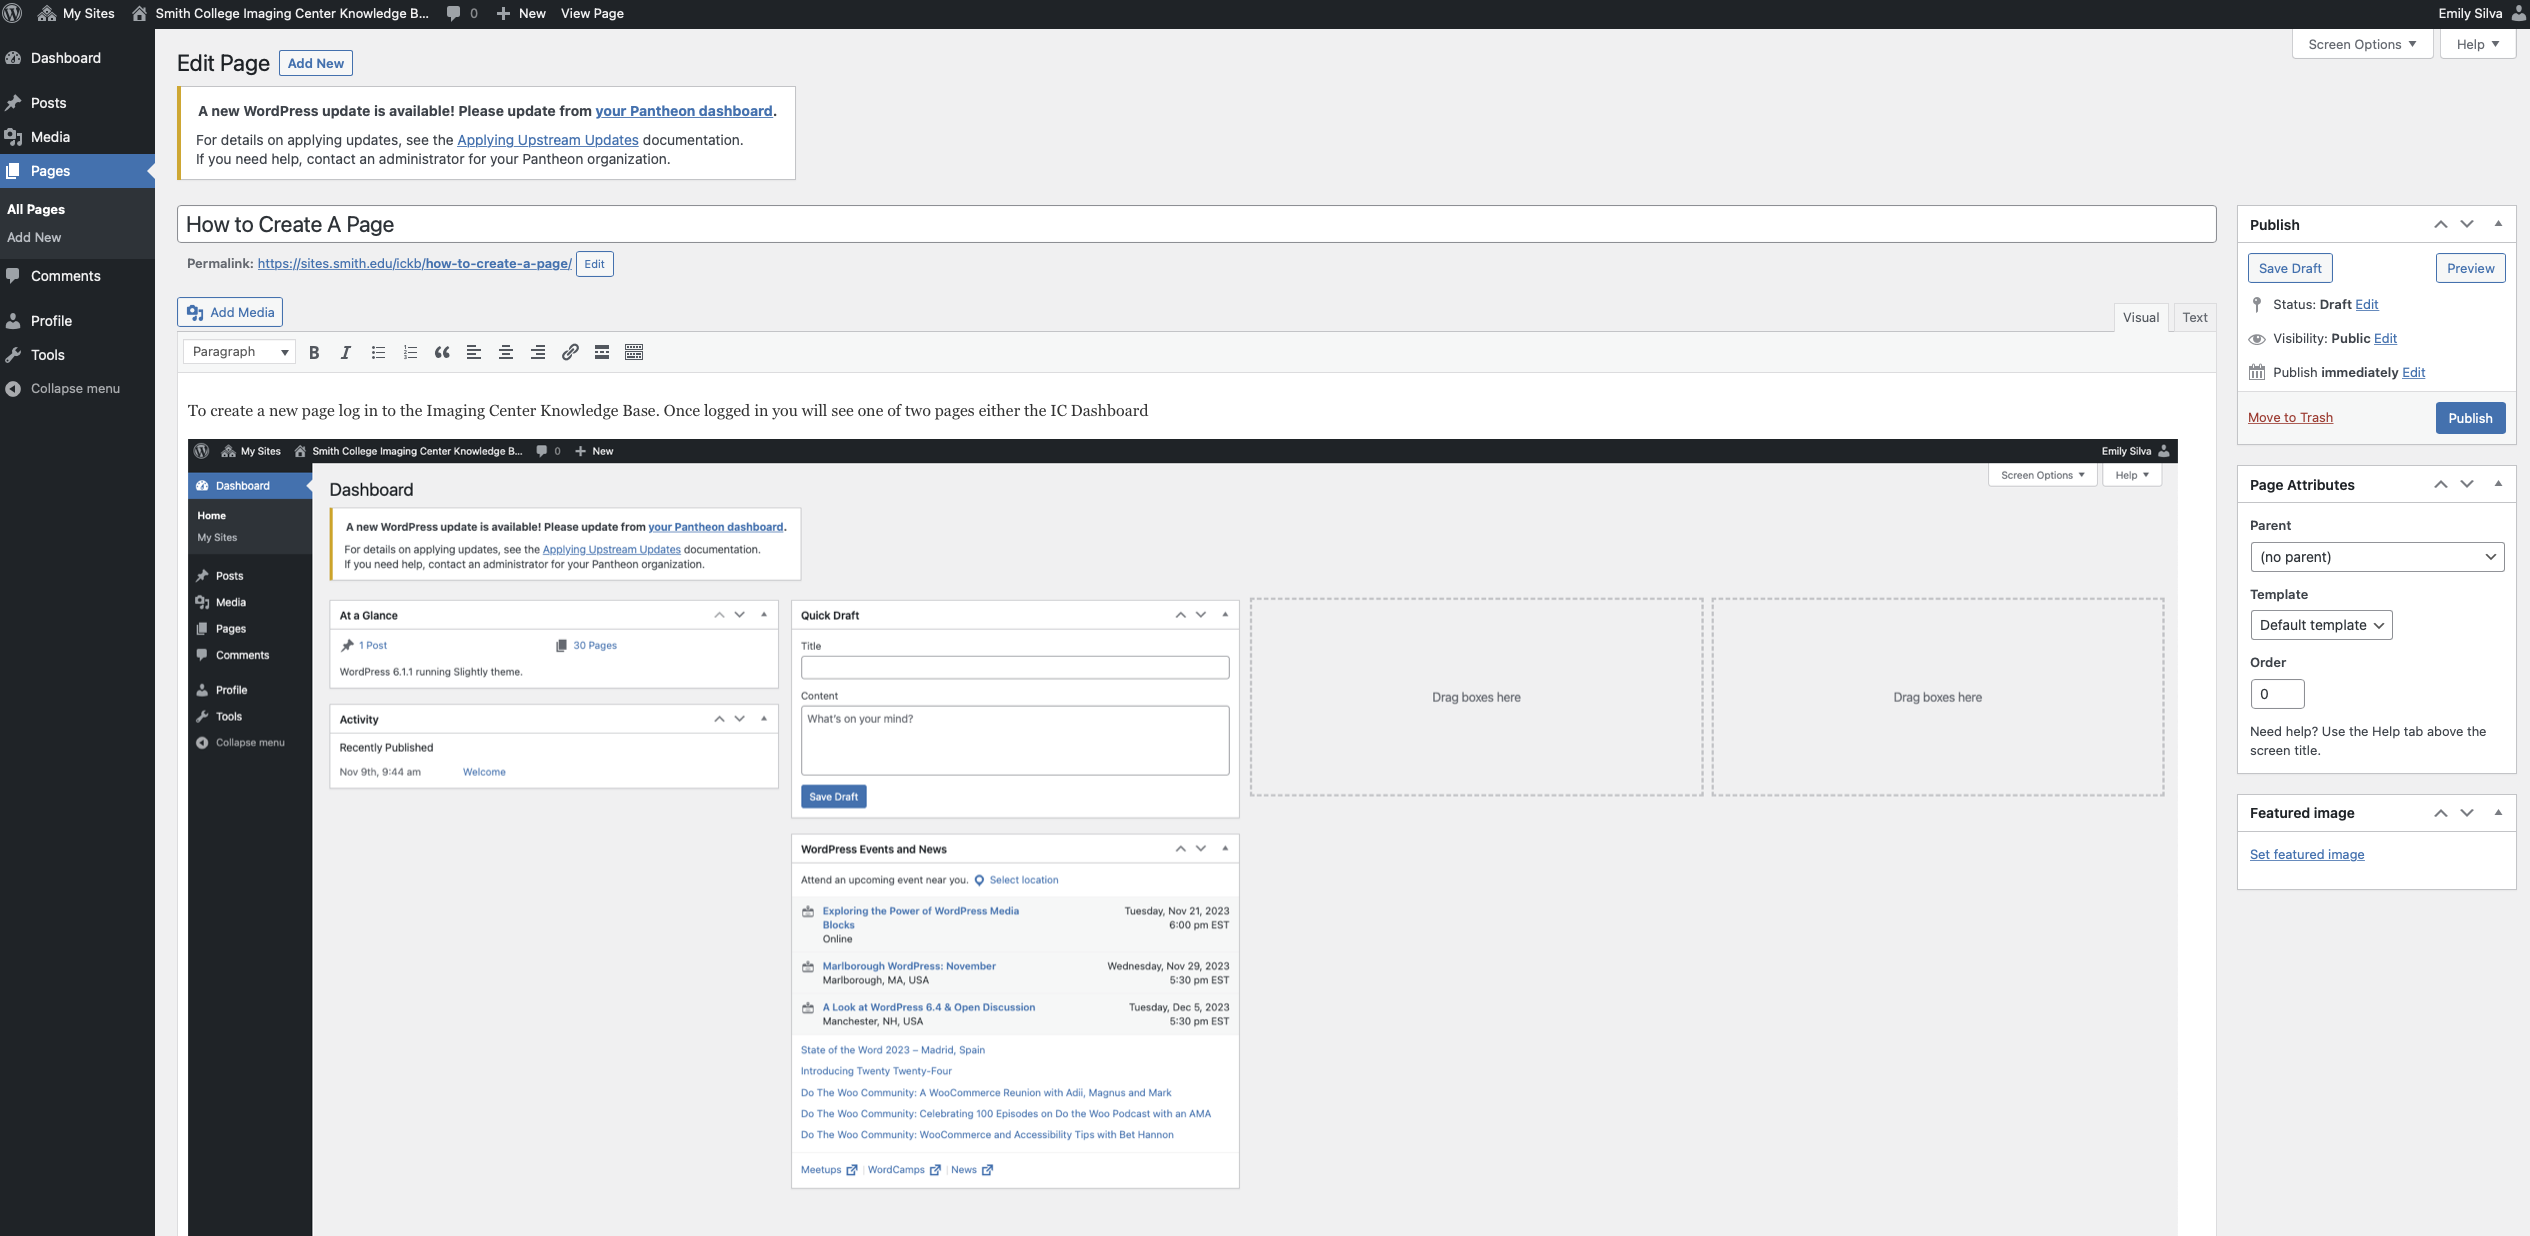
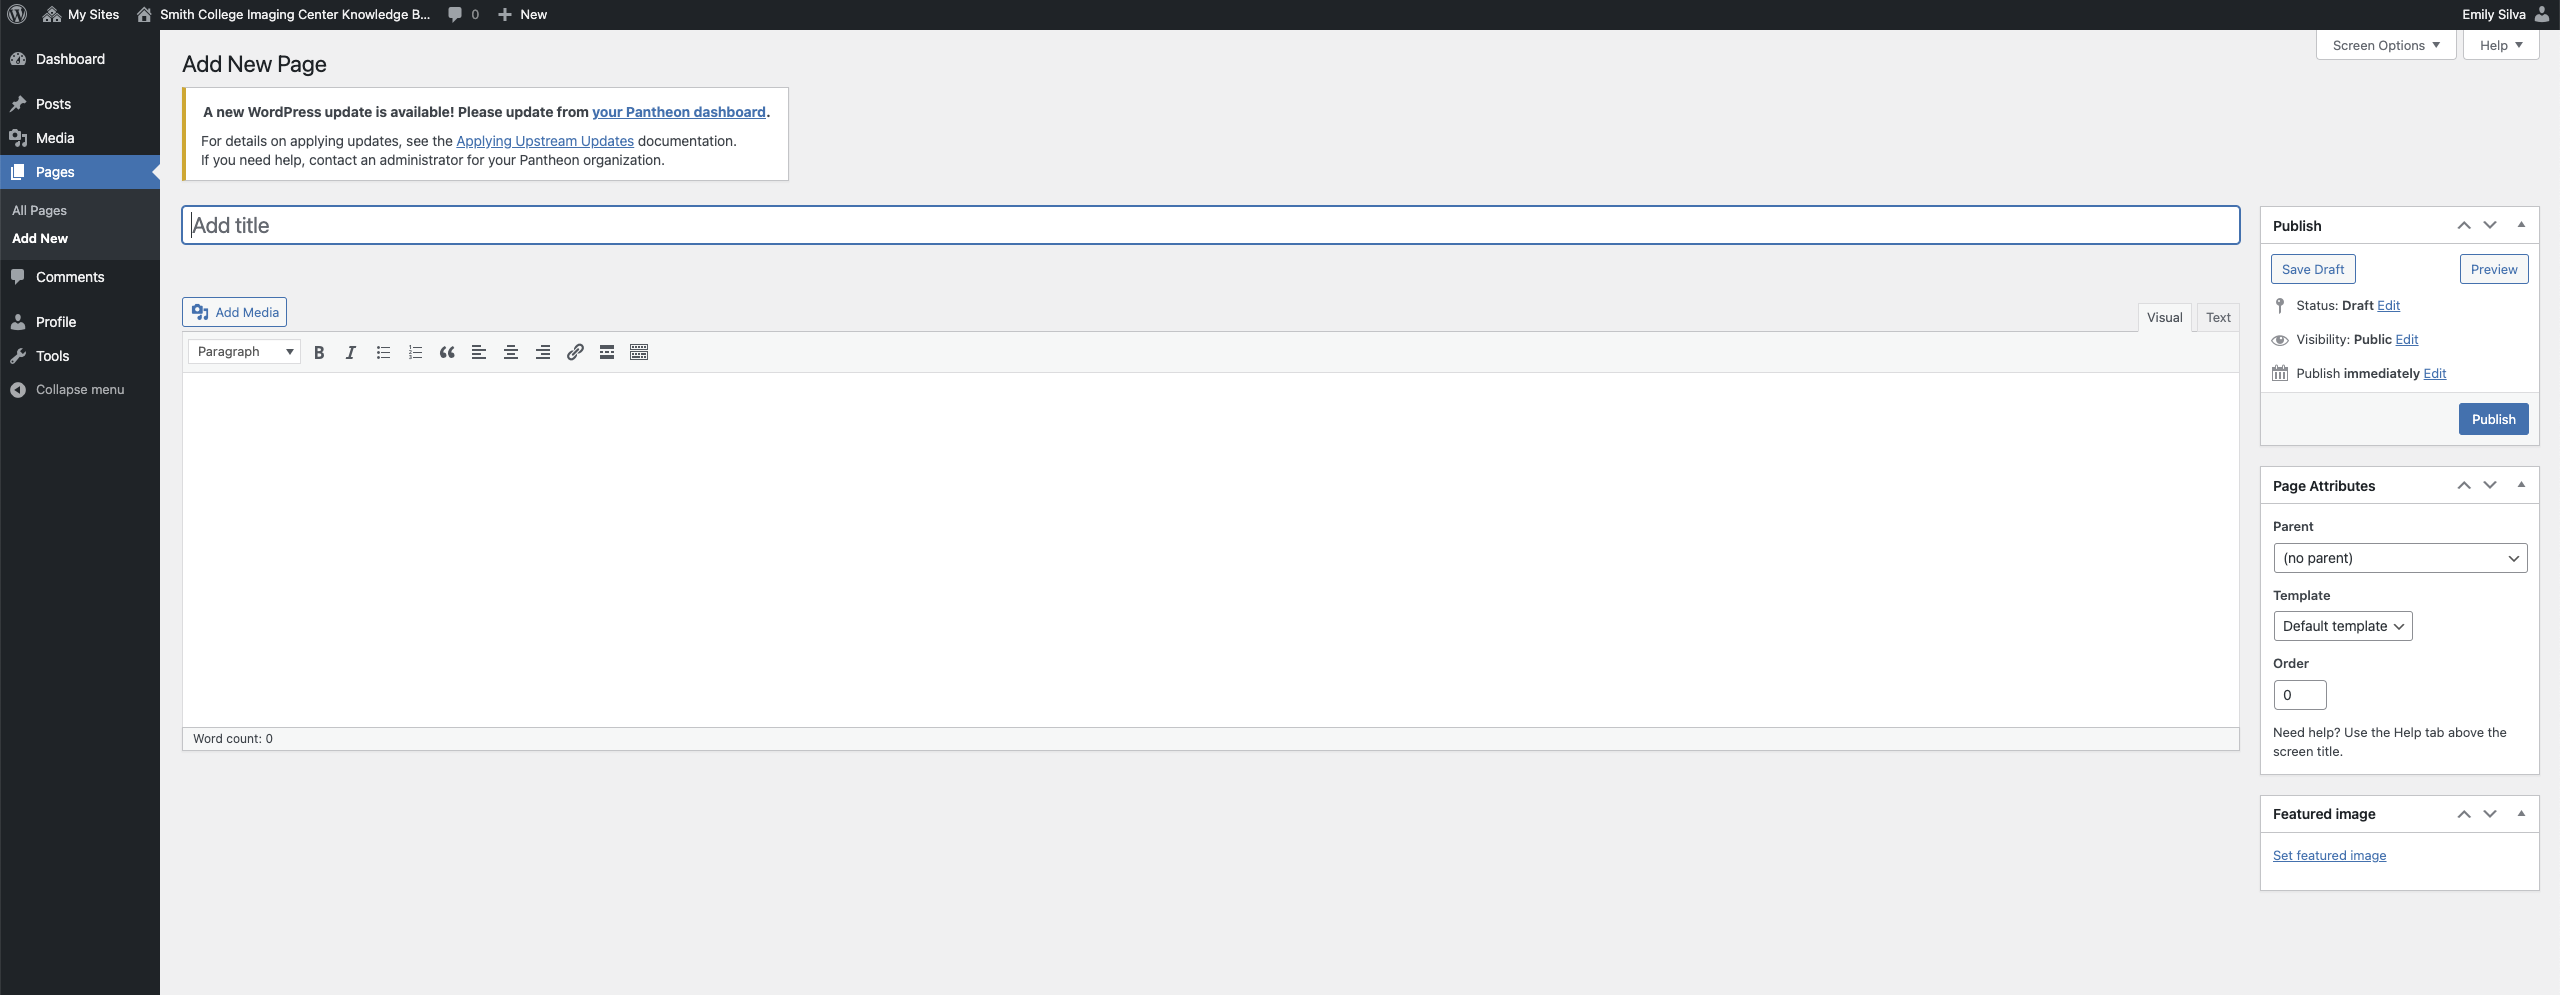
After selecting “Page” you will be sent to the page creation site. In this screen you can enter a title for the page as well as text, images, and links to create the content of the page. Add Images using the “Add Media” button on the left side at the top of the main text box.
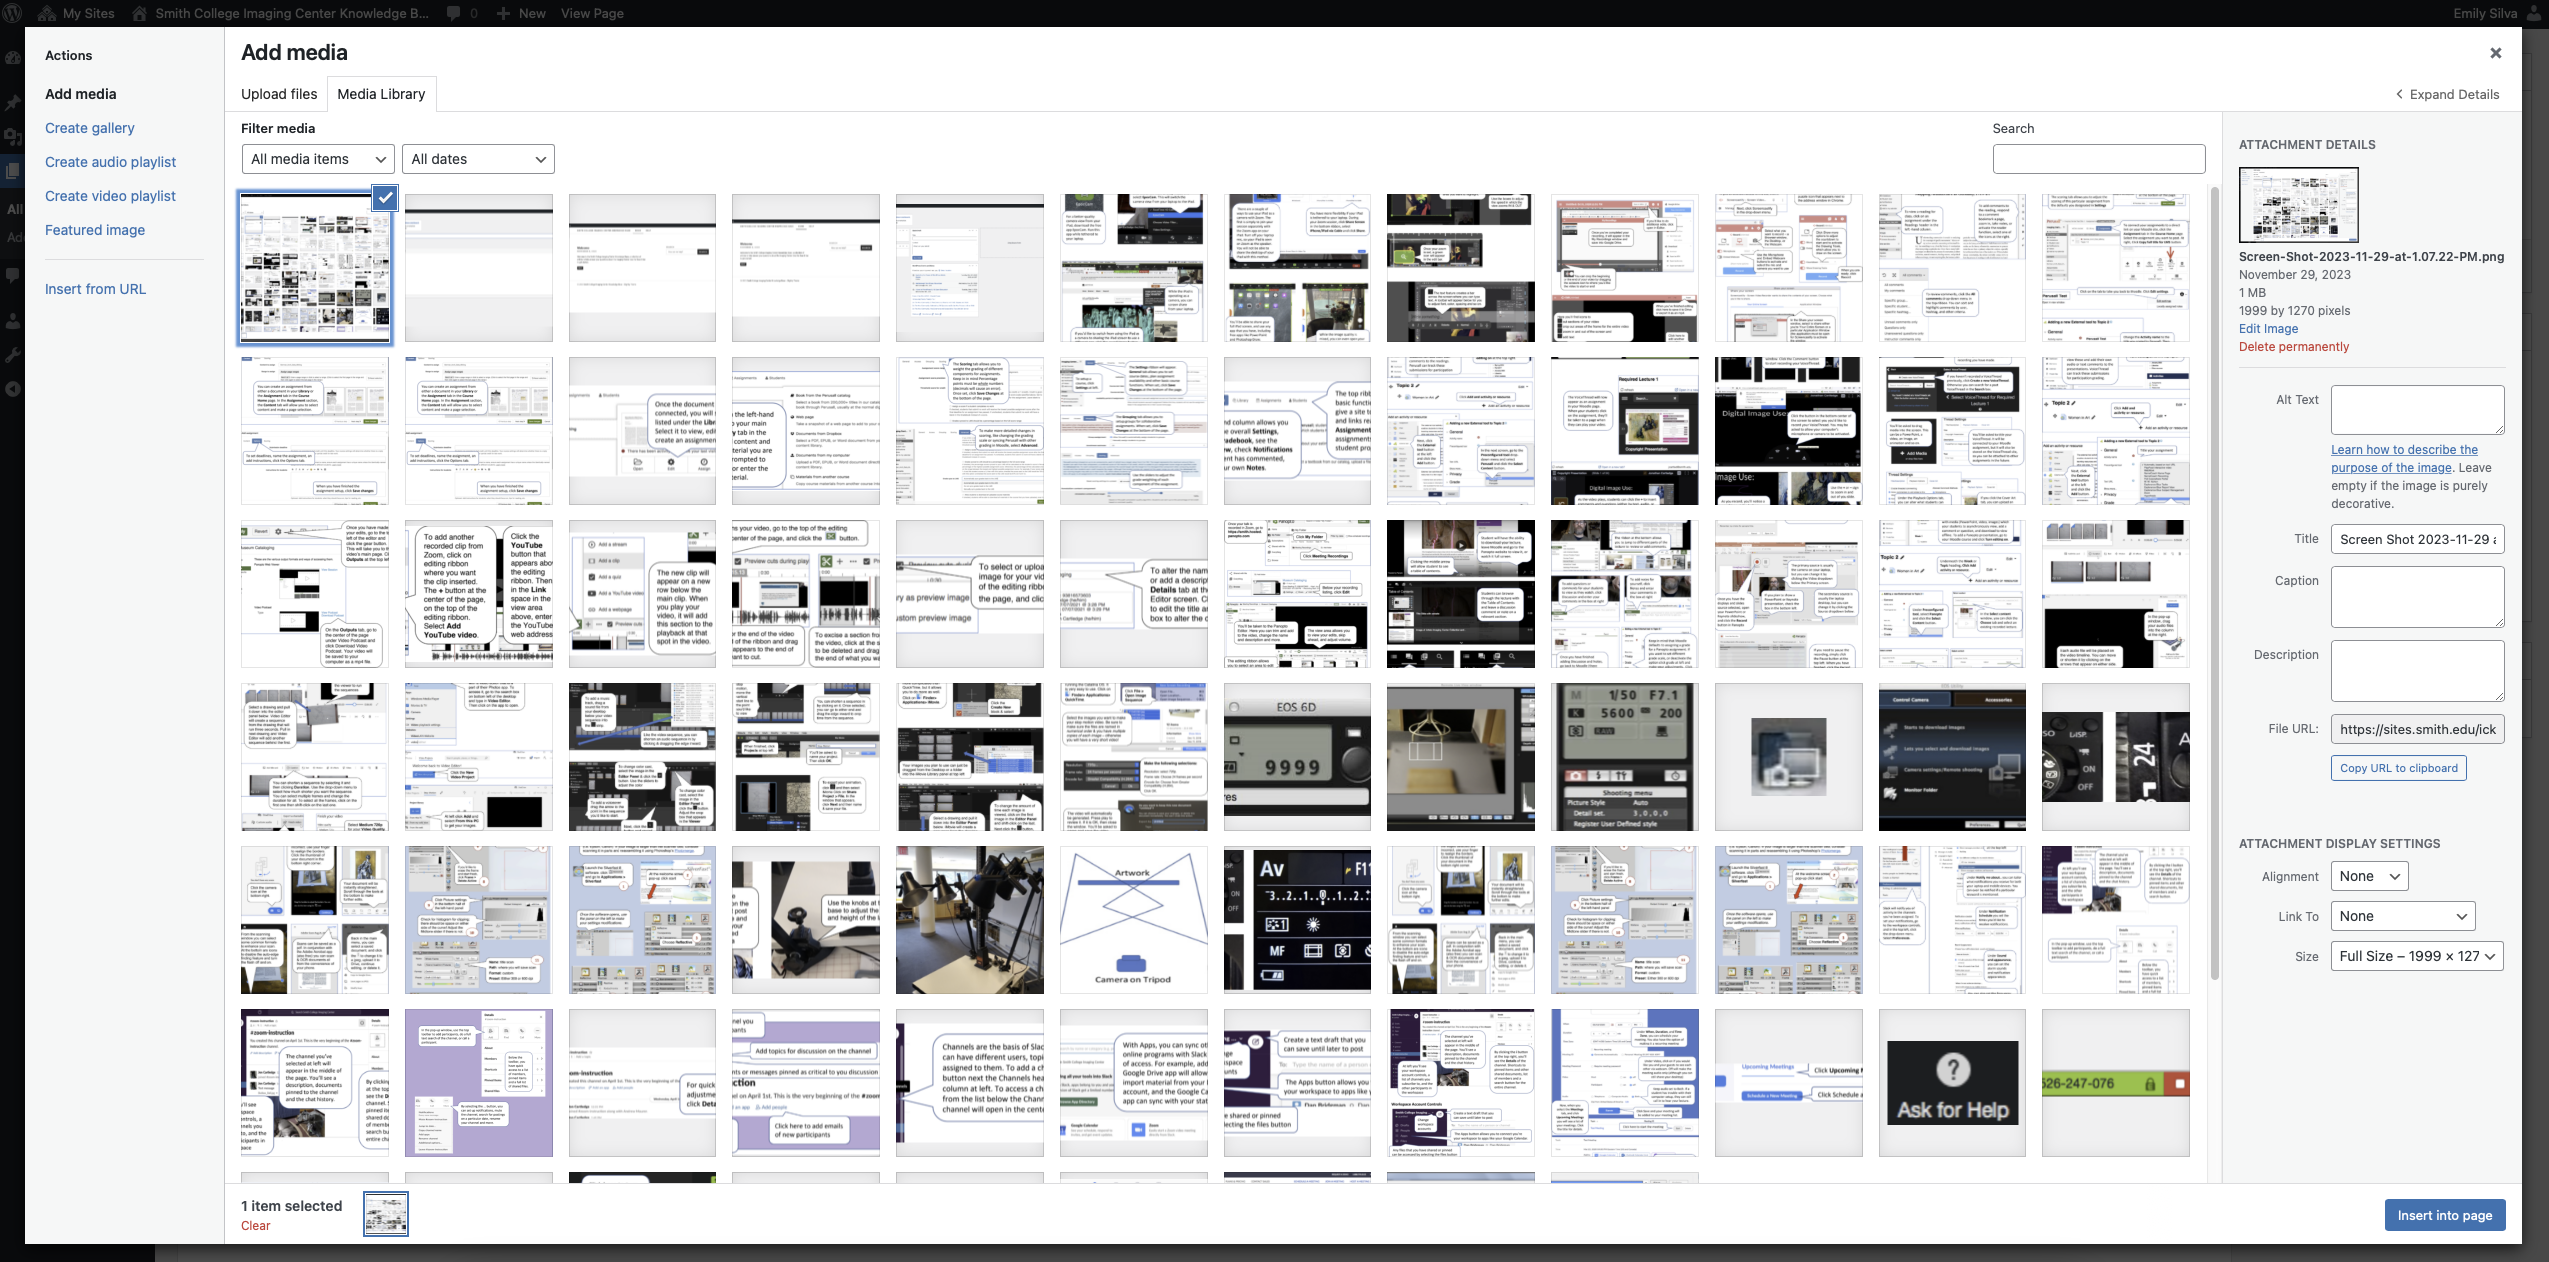
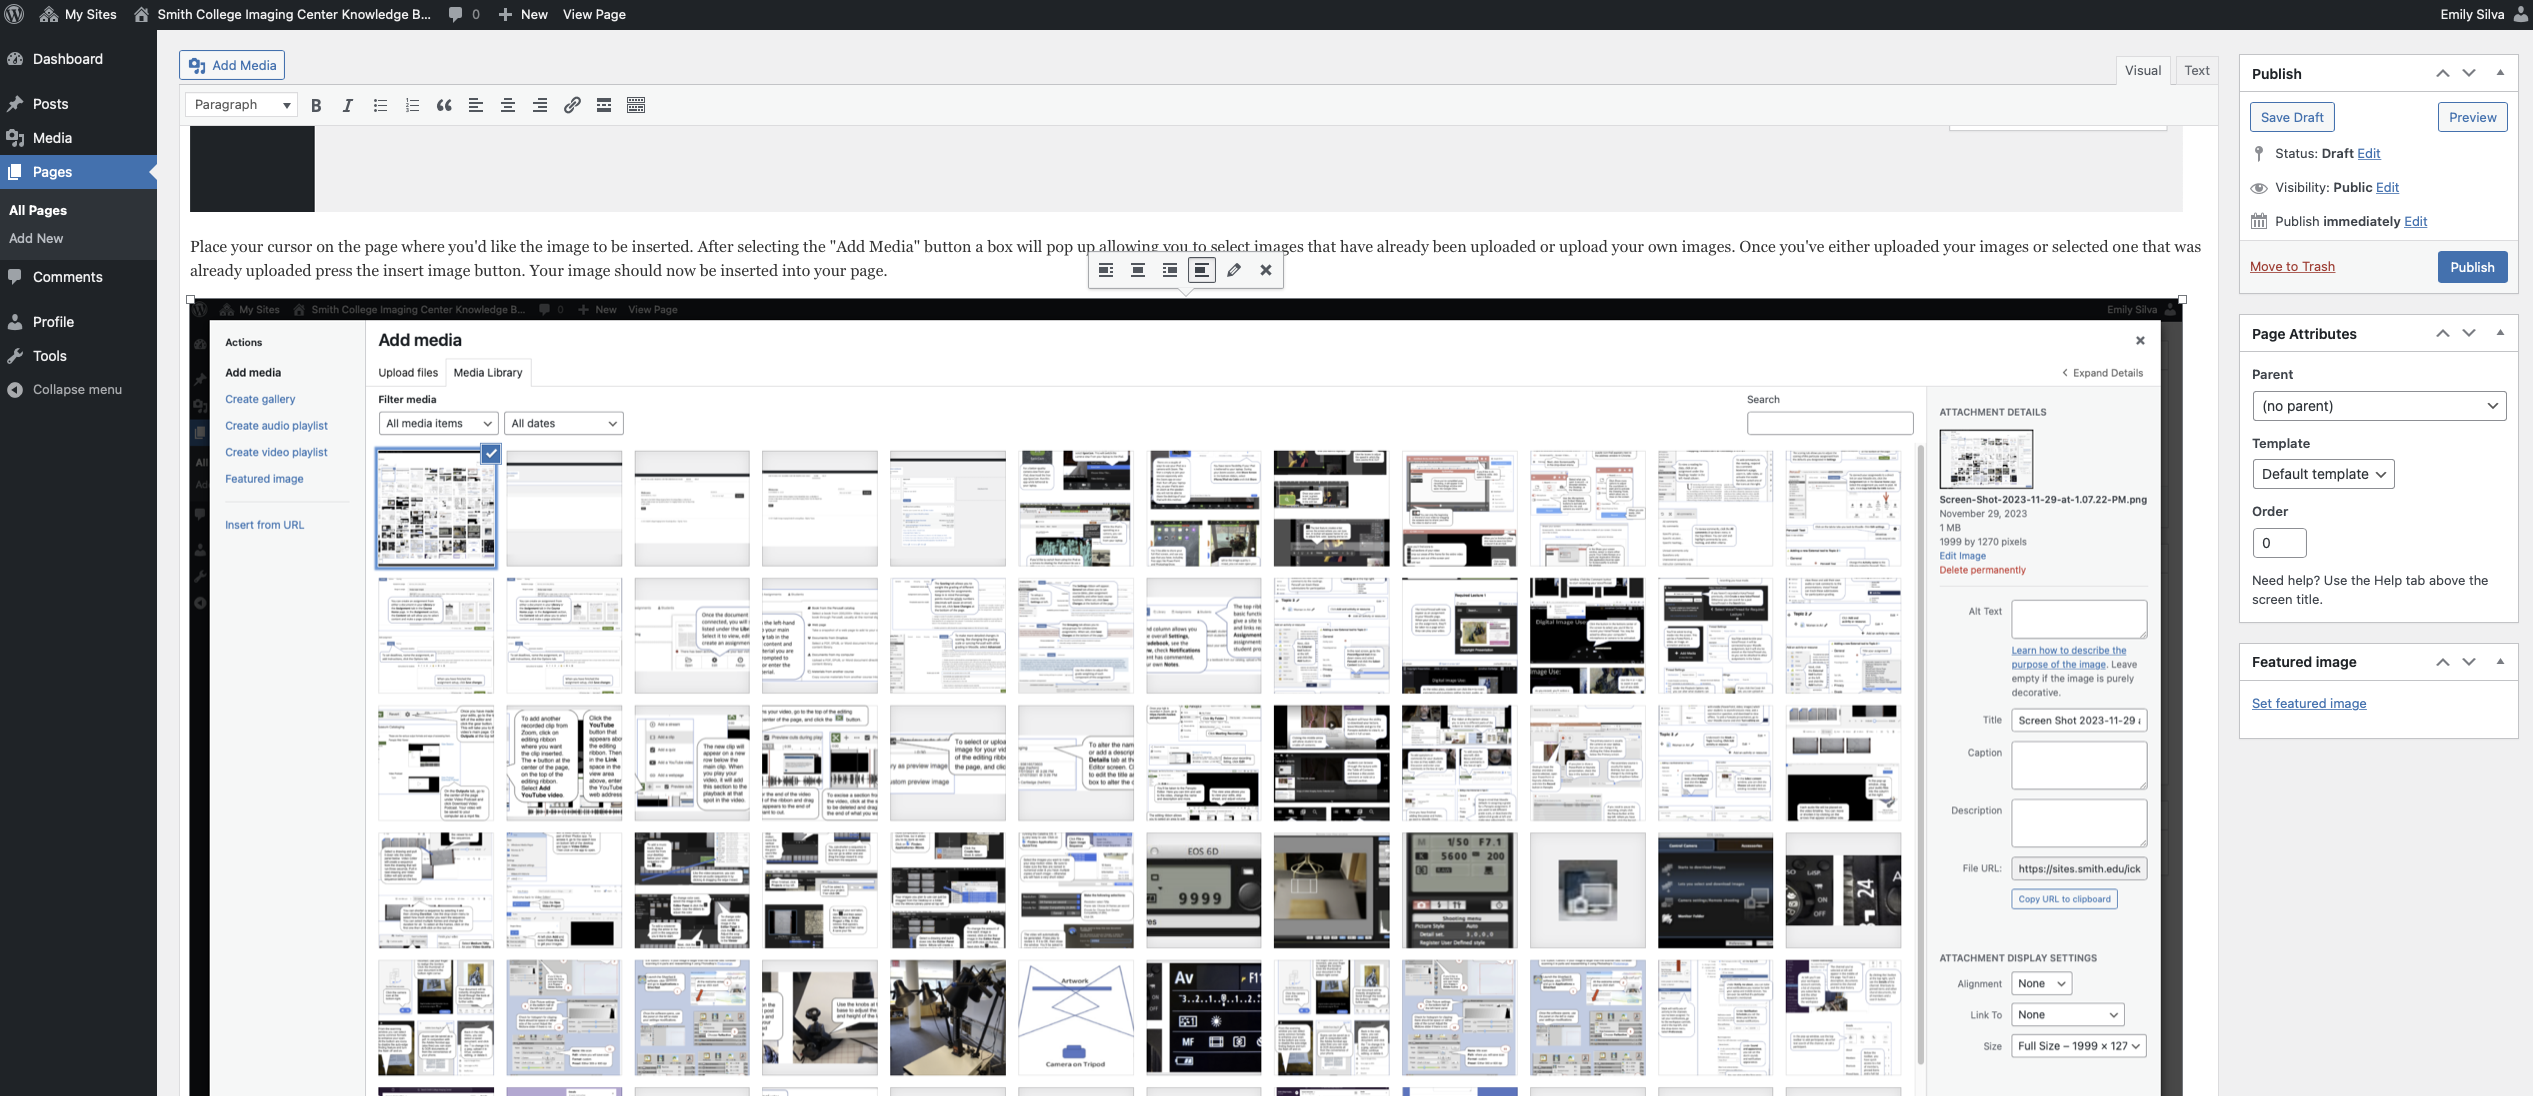
Place your cursor on the page where you’d like the image to be inserted. After selecting the “Add Media” button a box will pop up allowing you to select images that have already been uploaded or upload your own images. Once you’ve either uploaded your images or selected one that was already uploaded press the insert image button. Your image should now be inserted into your page.
You can alter the size of your image and how it interacts with the text on the page by clicking on the image and using the white image editor box.
Once you’re done with your page you can either save it as a draft or publish the page. To do either action use either the “Save Draft” or “Publish” buttons in the Publish box on the right side of the page. You can also preview what the page will look like when published by using the “Preview” button in the same box.