Google My Maps is a Google application that allows you to create layered maps with routes and points that can be customized and linked with images, video, and other content.
To access the application, search for Google My Maps in your browser and login with your Smith College email account.
Getting Started
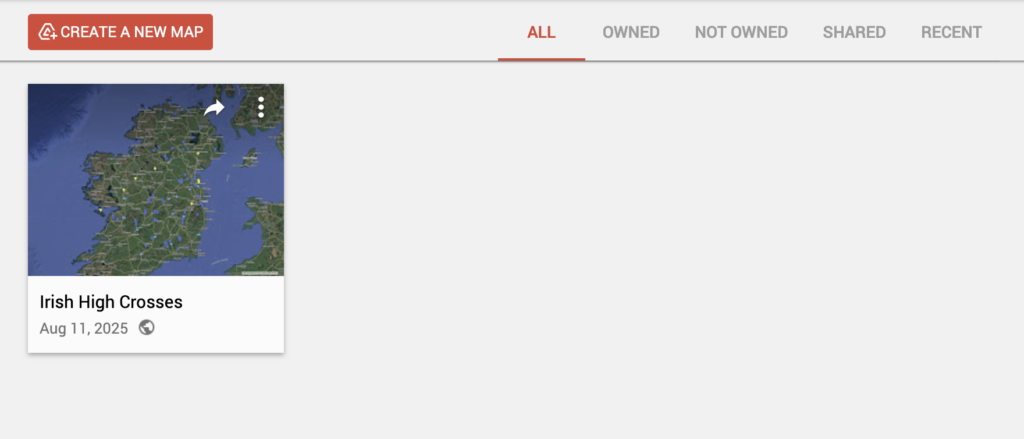
Click Create a New Map to begin.
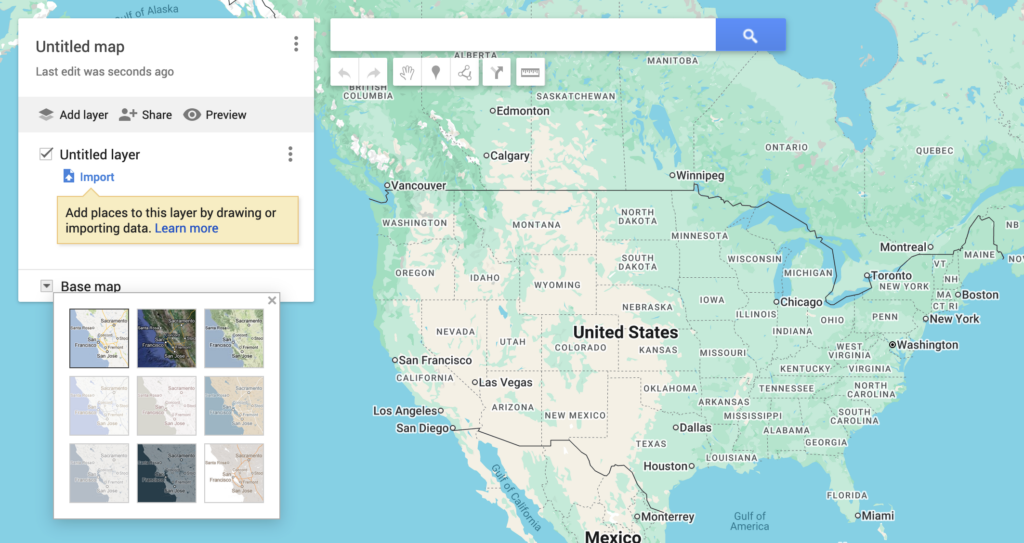
At the left of the map creation screen is a sidebar that displays the title and layers of your new map. You can click on the default title (“Untitled map”) to change it.
Click on the three-dot menu button to the right of the map title to copy, print, or delete your map.
At the bottom of the sidebar, you can use the Base Map drop-down button to change the styling of the base map to suit your material e.g. satellite imagery, topographic maps, or road maps.
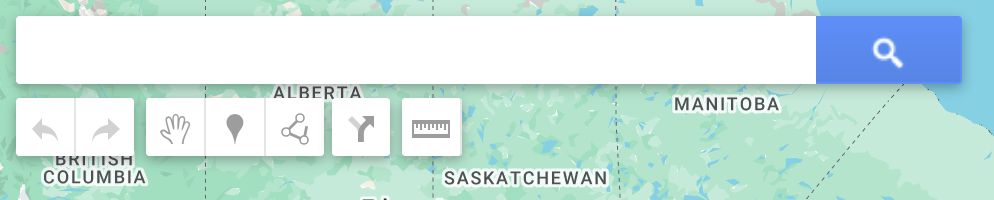
At the top of the map creation screen is a search bar you can use to find a particular location. Below this bar are the tools that you’ll use to create your map.
You can use the Add Marker icon to create points on your map and the Draw a Line and Measure Distances icons to create and measure routes between multiple points.
Uploading a Spreadsheet
You can also upload a spreadsheet of data to My Maps. If your data rows contain cells with locations (text or coordinates), it will automatically generate a layer of points on the map corresponding to those locations.
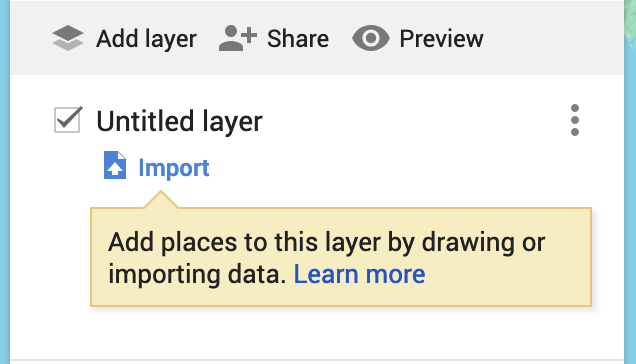
To do this, first create a layer by selecting Add Layer button.
Then, click the blue Import button below the new layer.
A window will open. Drag and drop your spreadsheet into the import window or use the Browse button to find the file on your computer.
Your points will automatically be generated and the layer will be renamed to match the name of your spreadsheet. You can rename or delete the layer by clicking on the three-dot Layer Options button next to the layer title.
Styles and Color Groups
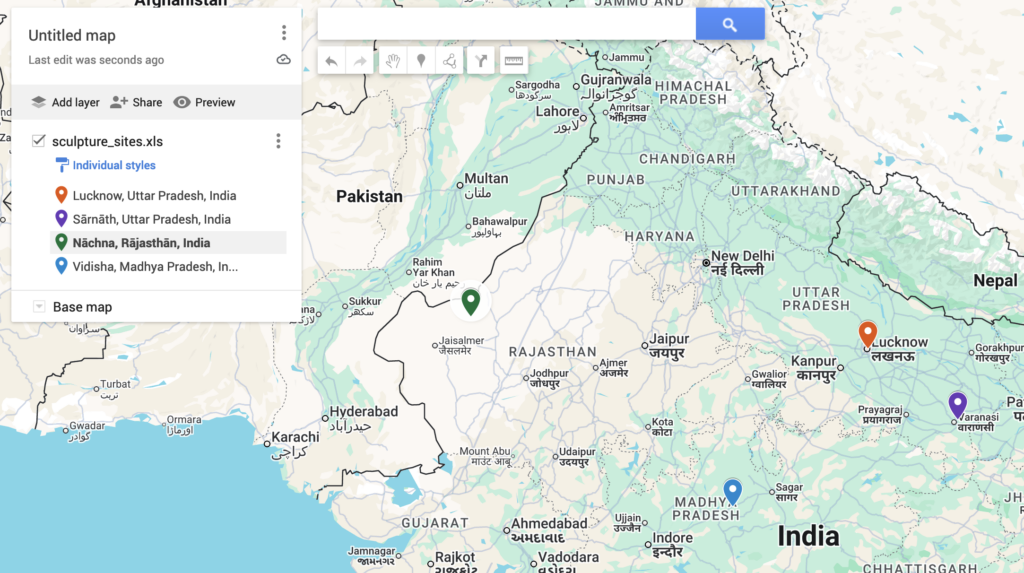
When using this method to create a layer, My Maps will default to showing all the points with the same icon style and color. You can change this by clicking the customize appearance/individual styles button, indicated by a blue paint roller.
Use the drop-down menu under “Group places by” to change the style. Instead of Uniform Style, you can have the points appear as a sequence of numbers, have the points styled individually, or style the points based on a column that appears in your spreadsheet.
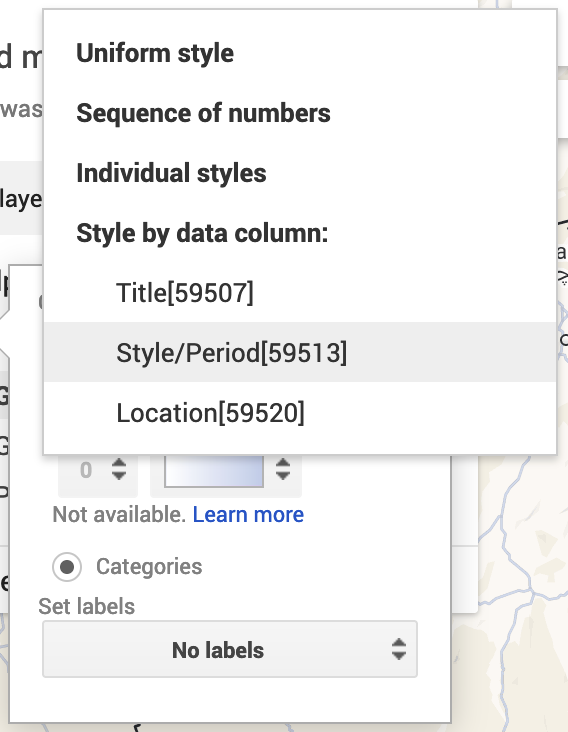
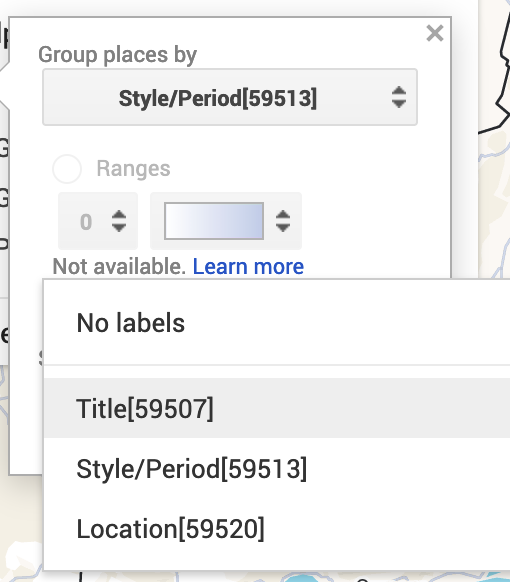
You now have multiple options to change the appearance of your map. To add labels to your points, click the blue paint roller again and use the “Set Labels” drop-down menu to select a column from your spreadsheet to use to label your points on the map.
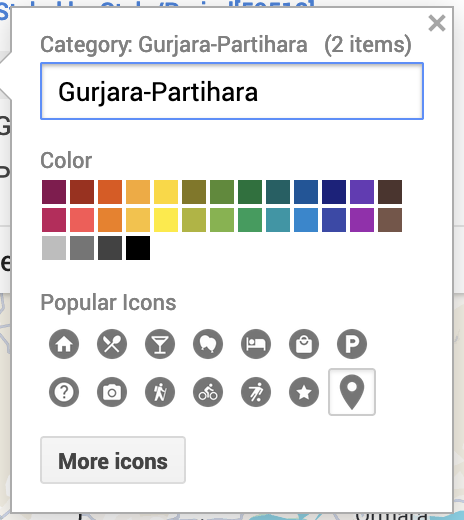
If you have styled your points in a uniform style or grouped them by a column in your spreadsheet, you can change the color and icon of those points by clicking the color (paint can) icon to the right of the point set. You can also change the title of your icon groups with this feature.
If your points are individually styled, you can click on an individual point to alter the color. Click on the point, and click the color paint can icon that appears at the bottom of the pop-up window.
Editing Metadata
Regardless of if your points are styled uniformly or individually, you can edit the metadata associated with them, associate a photo or video to any individual point, or delete one from the set. To do this click on a point, as you did above. In the pop-up window, you’ll see the metadata that is associated with the point from the spreadsheet you loaded. This feature will carry through to the final digital map, allowing users access to a rich collection of data.
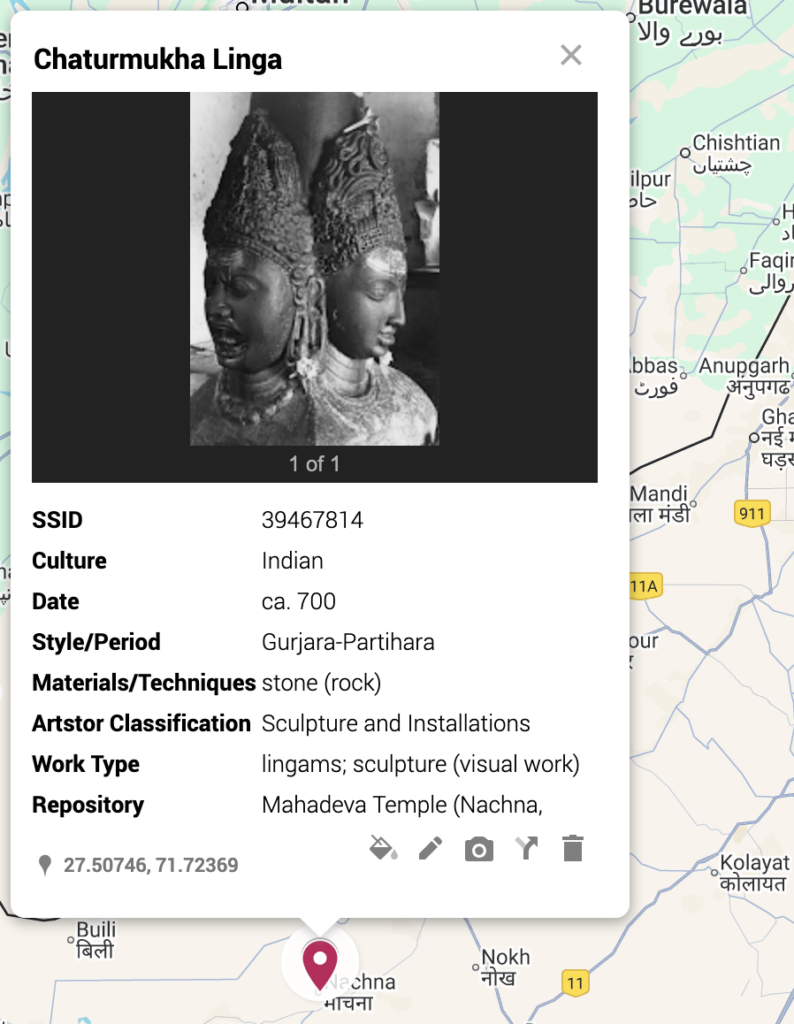
To edit this data, click the edit (pencil) icon at the bottom of the window.
To connect media to your point, click the add image or video (camera) icon at the bottom of the pop-up window. You’ll be prompted to upload a photo or paste a video URL to the point.
To delete the point, click the delete place (trash can) button.
Finishing
Once you map is complete, click the Share button next to the New Layer button in the map sidebar. This will give you a URL that you can share with others or embed on a website.