Setting Up Perusall in Moodle
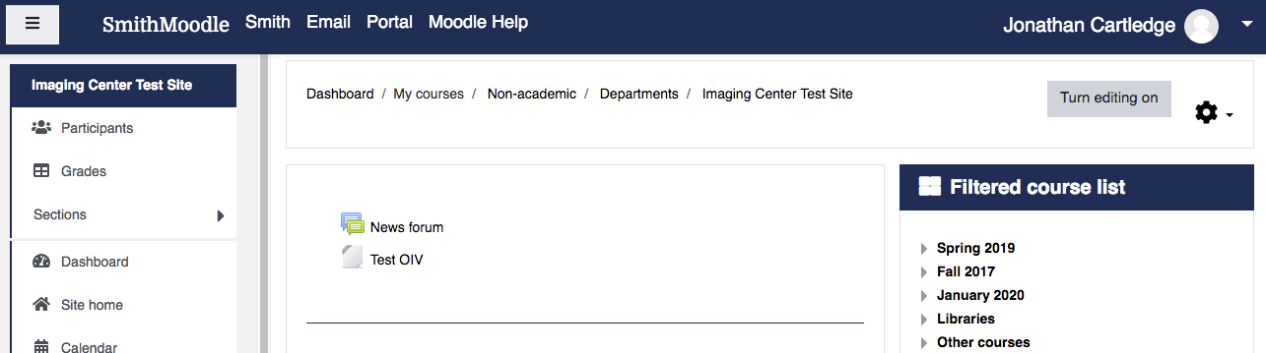
1. To use Perusall, login to your Moodle course and click Turn editing on at the top right.
2. Students can add their own comments to the readings. Perusall can tract these submissions for participation.
3. Click Add an Activity or Resource.

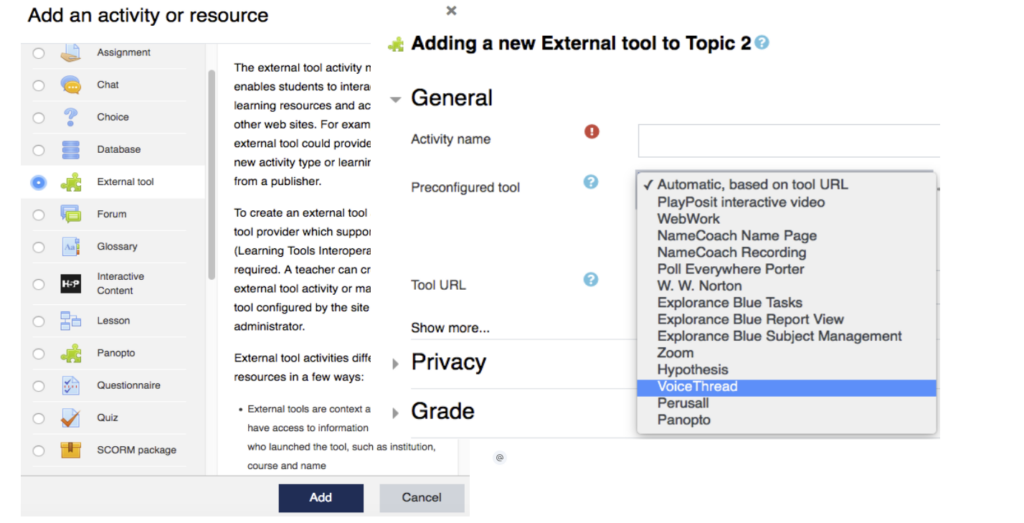
4. Next, click the External tool button at the left and click the Add button.
5. On the next screen, go to the Preconfigured tool drop down menu and select Perusall and click the Select Content button.
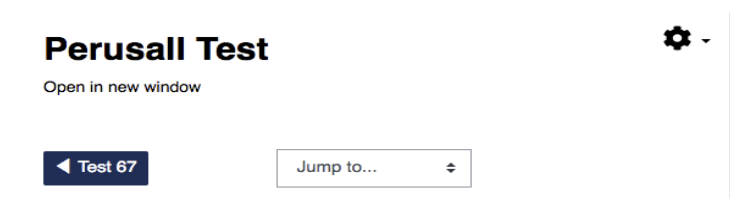
6. Click Save and Display. On the next screen, click Open in New Window. This new tab will take you to the Perusall site.
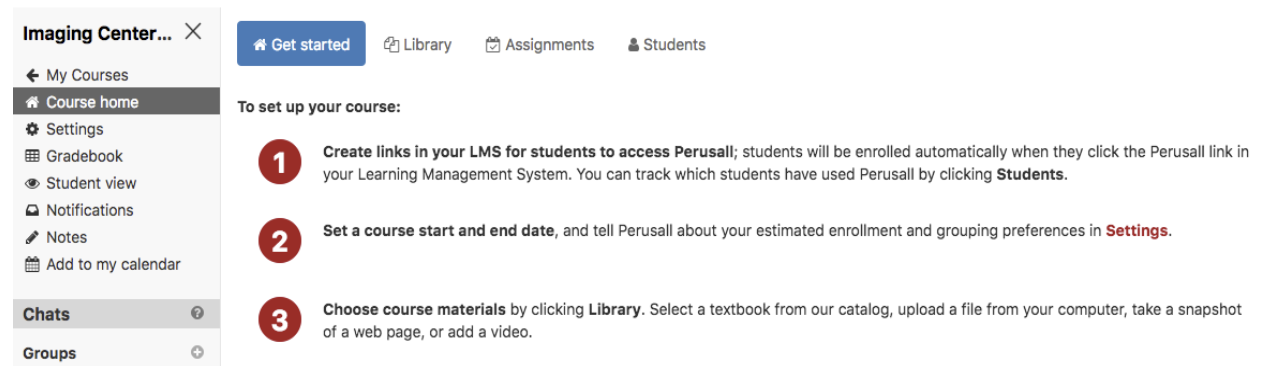
7. The left-hand column allows you to adjust the overall Settings, view the Gradebook, see the Student View, check Notifications that a student has commented and add your own Notes.
8. The top ribbon navigates to the basic functions. Get started will give a site tour. Library uploads and links reading material. Assignments create class assignments, Students tracks student progress.
Basic Settings
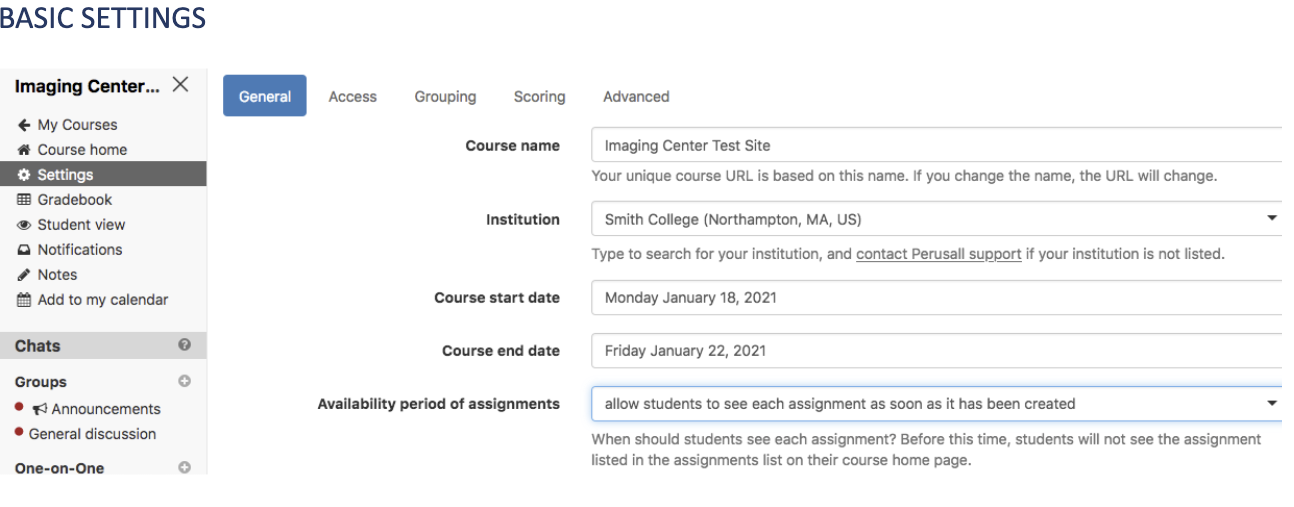
1. To setup a course, click Settings at left.
2. The Settings ribbon will appear. The General tab allows you to set course dates, plan assignment availability and other basic course functions. When set, click Save Changes at the bottom of the page.
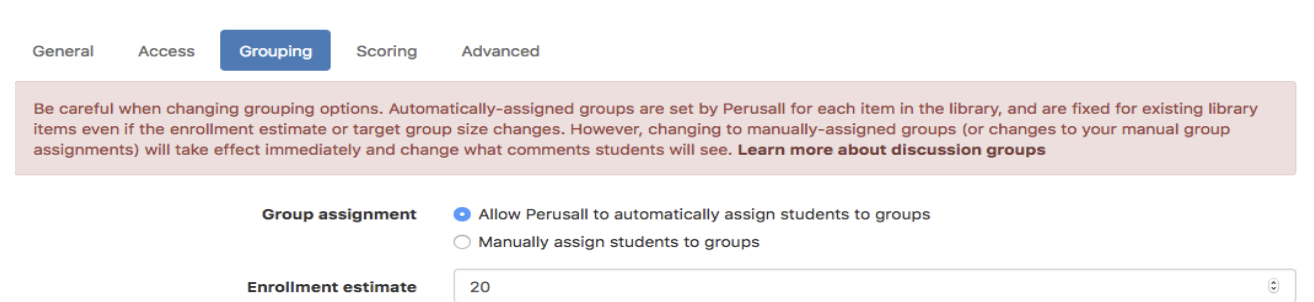
3. The Grouping tab allows you to setup groups for collaborative assignments. When set, click Save Changes at the bottom of the page.
4. Use the sliders to adjust the grade weighting of each component of the assignment.
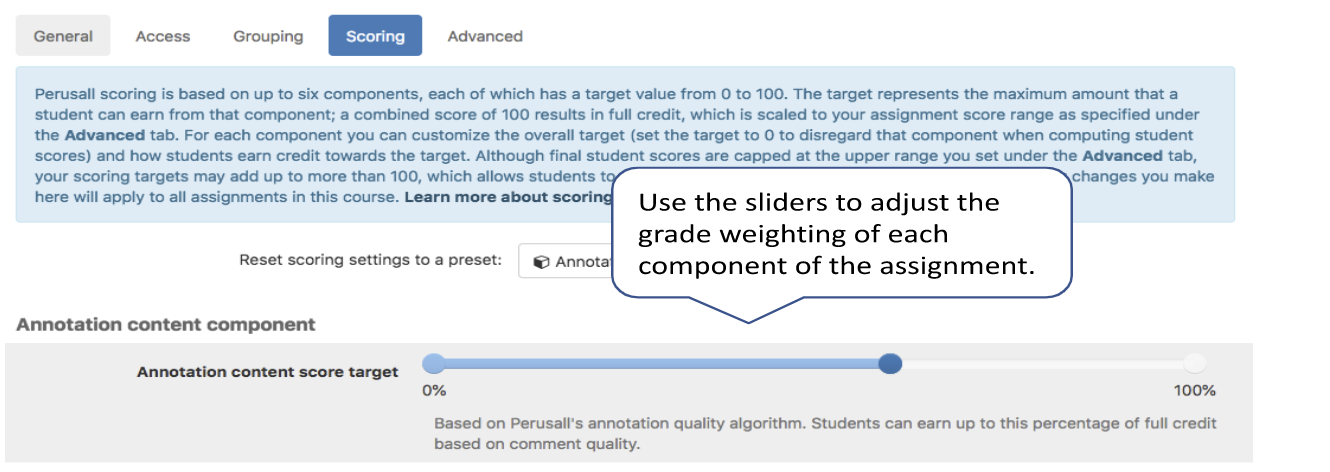
5. The Scoring tab allows you to weight the grading of different assignments. Keep in mind Percentage points must be whole numbers (decimals will cause an error). Once set, click Save Changes at the bottom of the page.
6. To make more detailed changes in scoring, like changing the grading scale or syncing Perusall with other grading in Moodle, select Advanced.
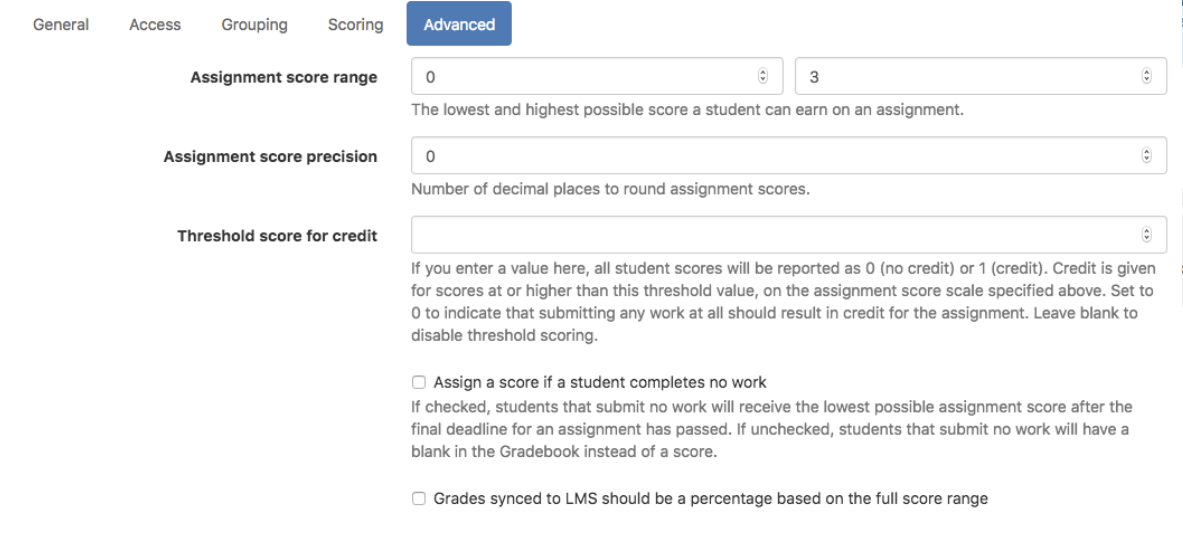
Uploading Reading Material
1. Click Course Home in the left-hand column to get back to your main page. Click the Library tab in the top ribbon. Click Add content and select the type of material you are adding. You will be prompted to upload to document or enter the webpage of your material.

2. Once the document is connected, you will see it listed under the Library tab, select it to view, edit, or create an assignment with it.
Setting Assignments
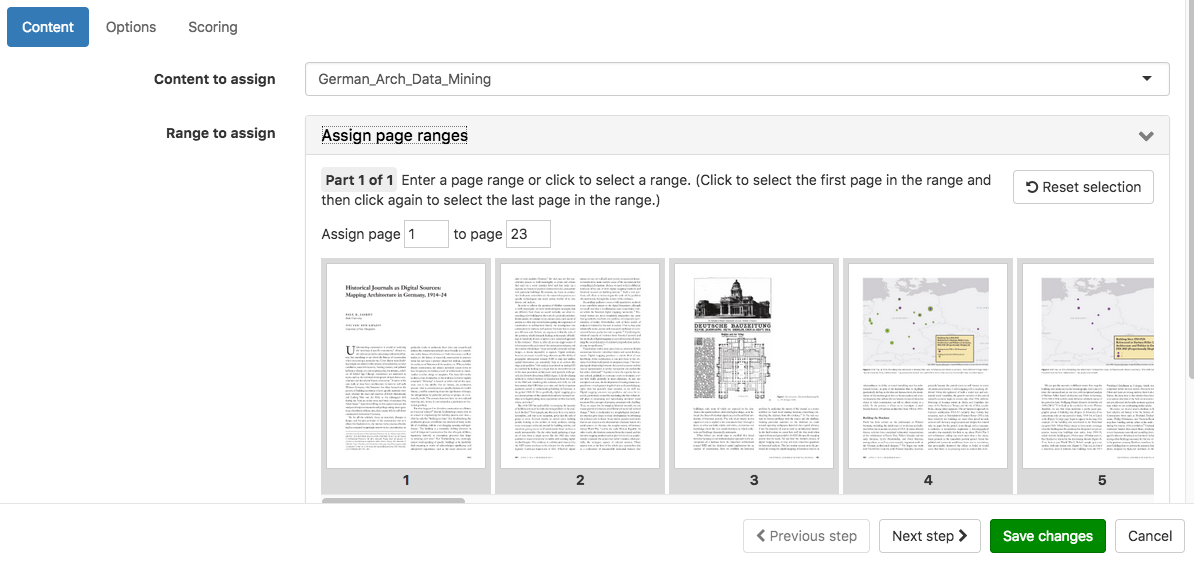
1. You can create an assignment from either a document in your library or the assignment section, the Content tab with allow you to select content and make a page selection.
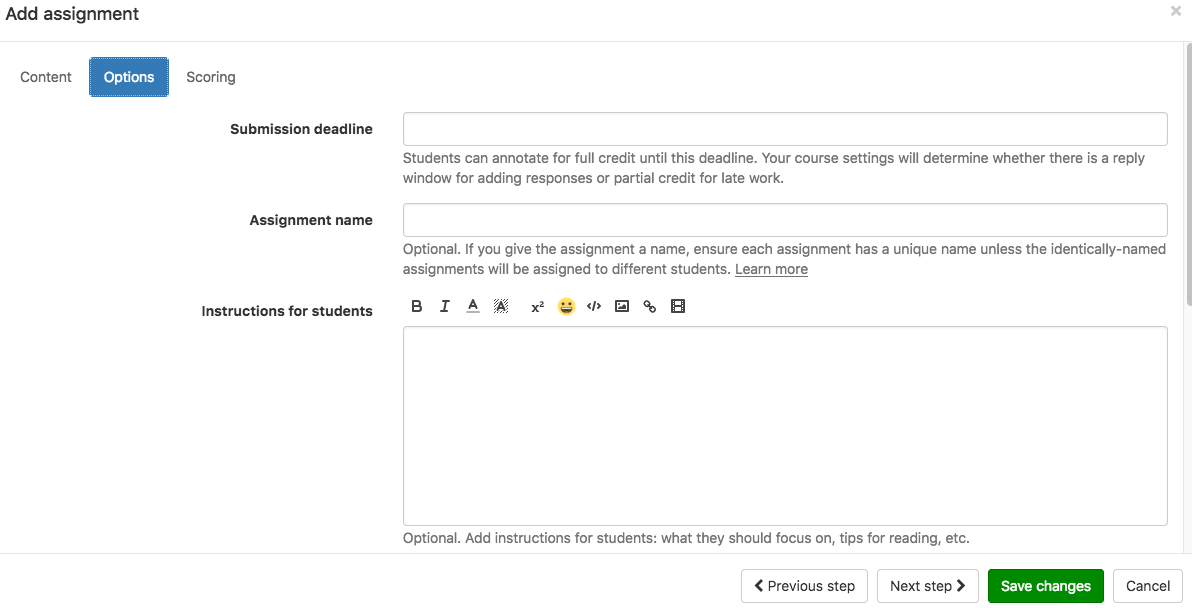
2. To set deadlines, name the assignment, add instruction, click the Options tab.
3. When you have finished the assignment setup, click Save Changes.
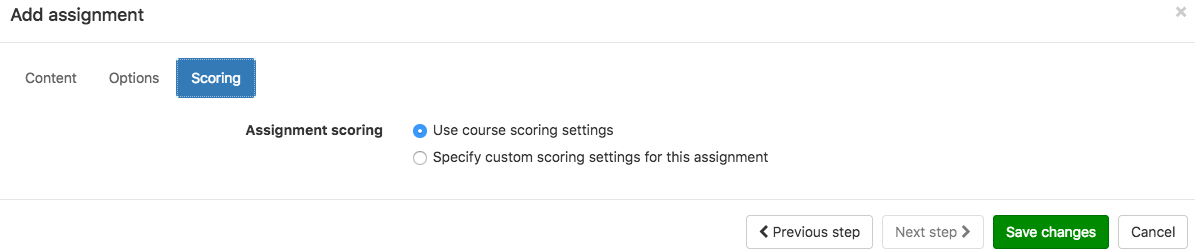
4. The Scoring tab allows you to adjust the scoring of this particular assignment from the defaults you designated in Settings.
5. When set, click Save Changes at the bottom of the page.
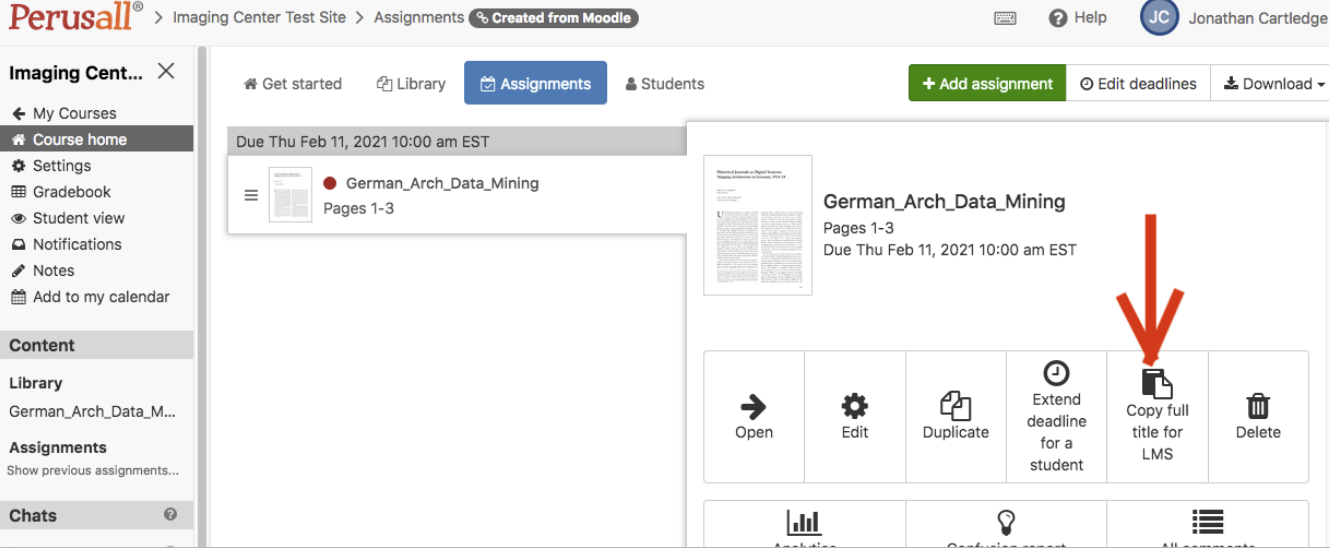
6. To connect your assignments to a direct link on your Moodle site, click the Assignment tab in the course home page. Select the assignment you want to post. At right, click Copy full title for LMS button.
7. Click on the tab to take you back to Moodle. Click Edit Settings.

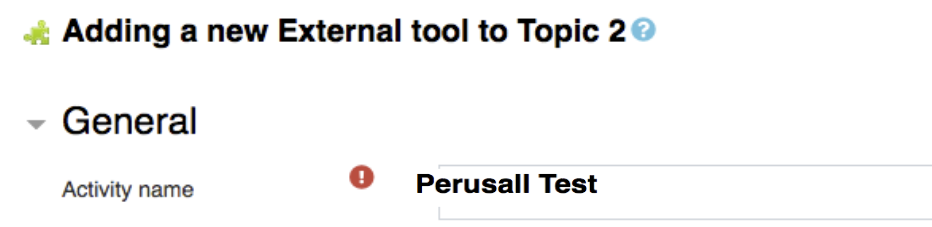
- Change the Activity name to the title you copied in Perusall. Then, click Save and return to course.

Annotating with Perusall
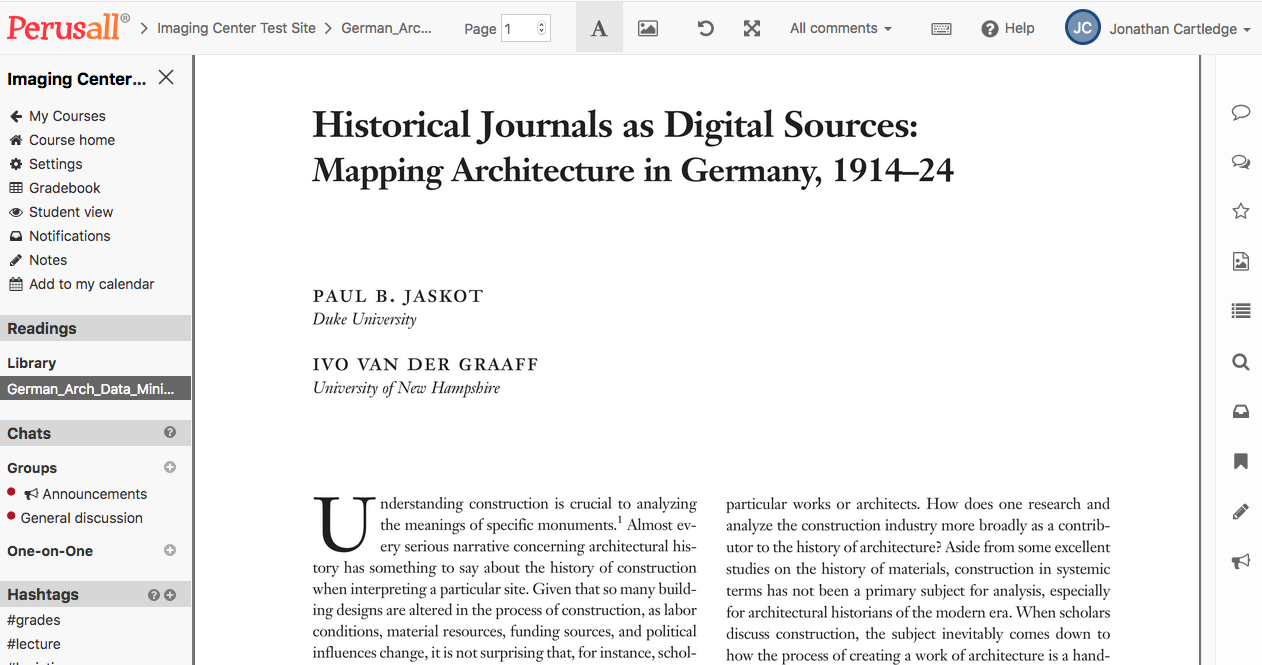
1. To view a reading for class, click on an assignment under the Readings header in the left -hand column.
2. To add comments to the reading, respond to a comment bookmark a page, zoom in, take notes, or activate the reader function, select one of the icons at the right.
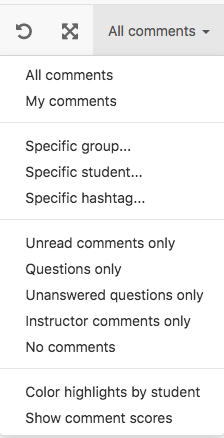
3. To review comments, click the All comments drop-down menu in the top ribbon. You can sort and highlight comments by user, hashtag, and other criteria.