Slack allows you to create and organize chat sessions in distinct channels. Each channel can have its own participants and shared documents, and each channel can be independently messaged, searched, and administrated. It’s ideal for setting up multiple chats on different topics for each of your classes, and organizing documents, discussions, and shares for each topic. You can find Smith College’s Slack instance can be accessed at the Smith Slack Workspace Directory
Apply to ITS for a Slack workspace at Smith’s Digital Support Site
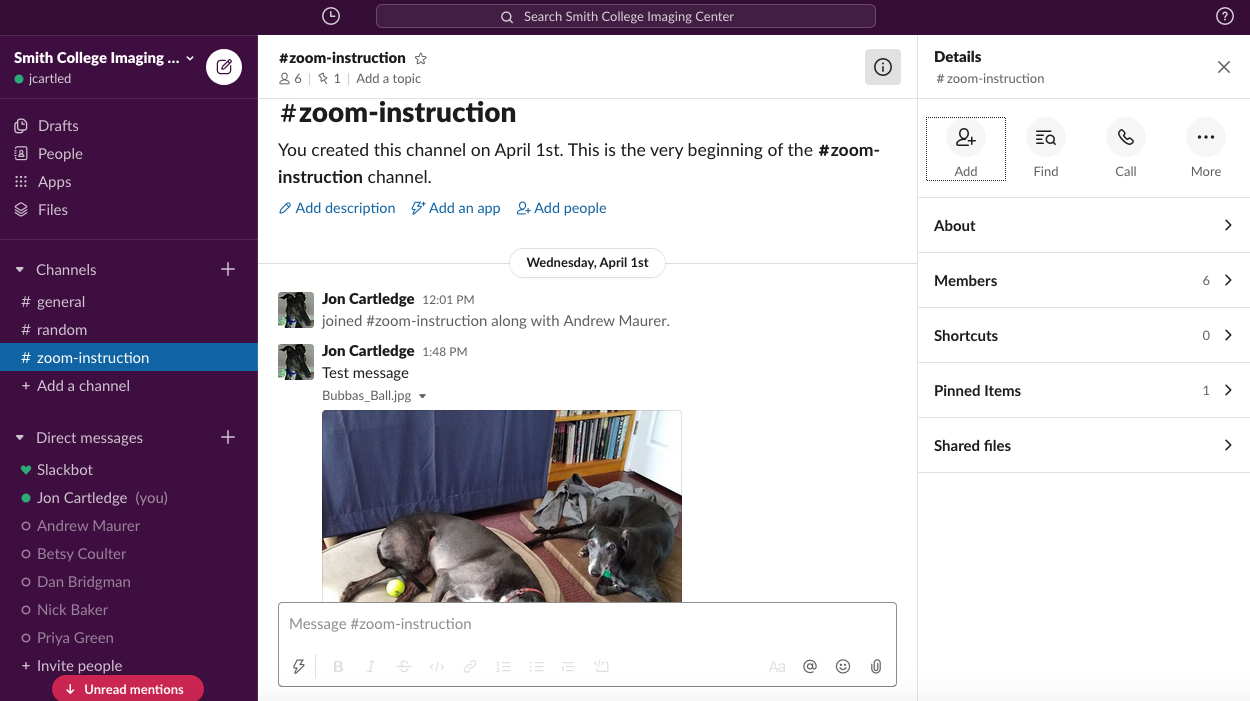
Main Page
- At the left you will see your workspace account controls, a list of channels you subscribe to, and the other participants in the workspace.
- The Channel you have selected at will appear in the middle of the page. You will see a description, documents pinned to the channel, and chat history.
- By clicking the (i) button at the top right, you will see the details of the channel. Shortcuts include access to pinned items and other shared documents, a list of members, and a search button for the entire channel.
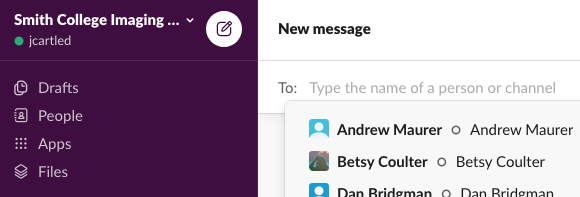
Workspace Account Controls
- Click the carrot next to your account name to change your workspace account.
- Click the pen and paper icon to create a text draft that you can save until later to post.
- Click the files button to see any files you have shared or pinned.
- The apps button allows you to connect your workspace to apps like google calendar.
Adding Apps to Your Workspace Account
Under the Apps Button, you can sync other online programs with Slack for ease of access. For example, adding the Google Drive app will allow you to import material from your Drive account, and the Google Calendar app can sync with your status.

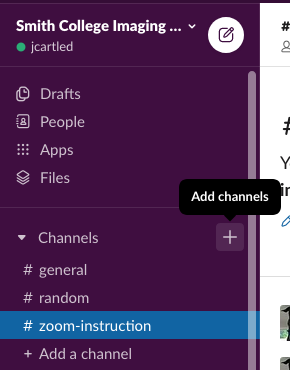
Creating and Using Channels
Channels are the basis of slack. Each channel can have different users, topics and resources assigned to them. To add a channel, click the + button next to the Channels heading in the column at left. To access a channel, select it from the list below the Channels heading. The channel will open in the center of the screen.
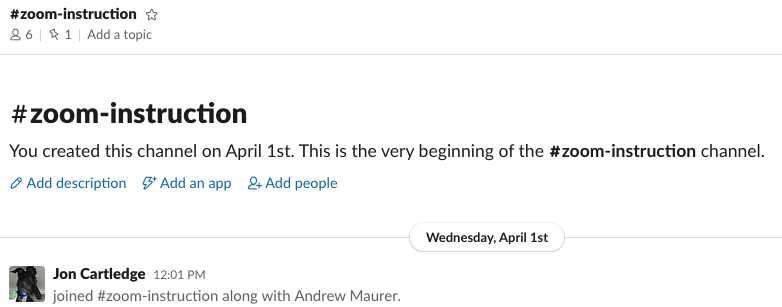
- At the top of the channel you can access participants.
- You can use Add a Topic to add topics for discussion on the channel.
- Get access to documents or messages pinned as critical to you in discussions under the pin icon.
- Add a description about the scope of your channel.
- Click Add People to add emails of new participants.
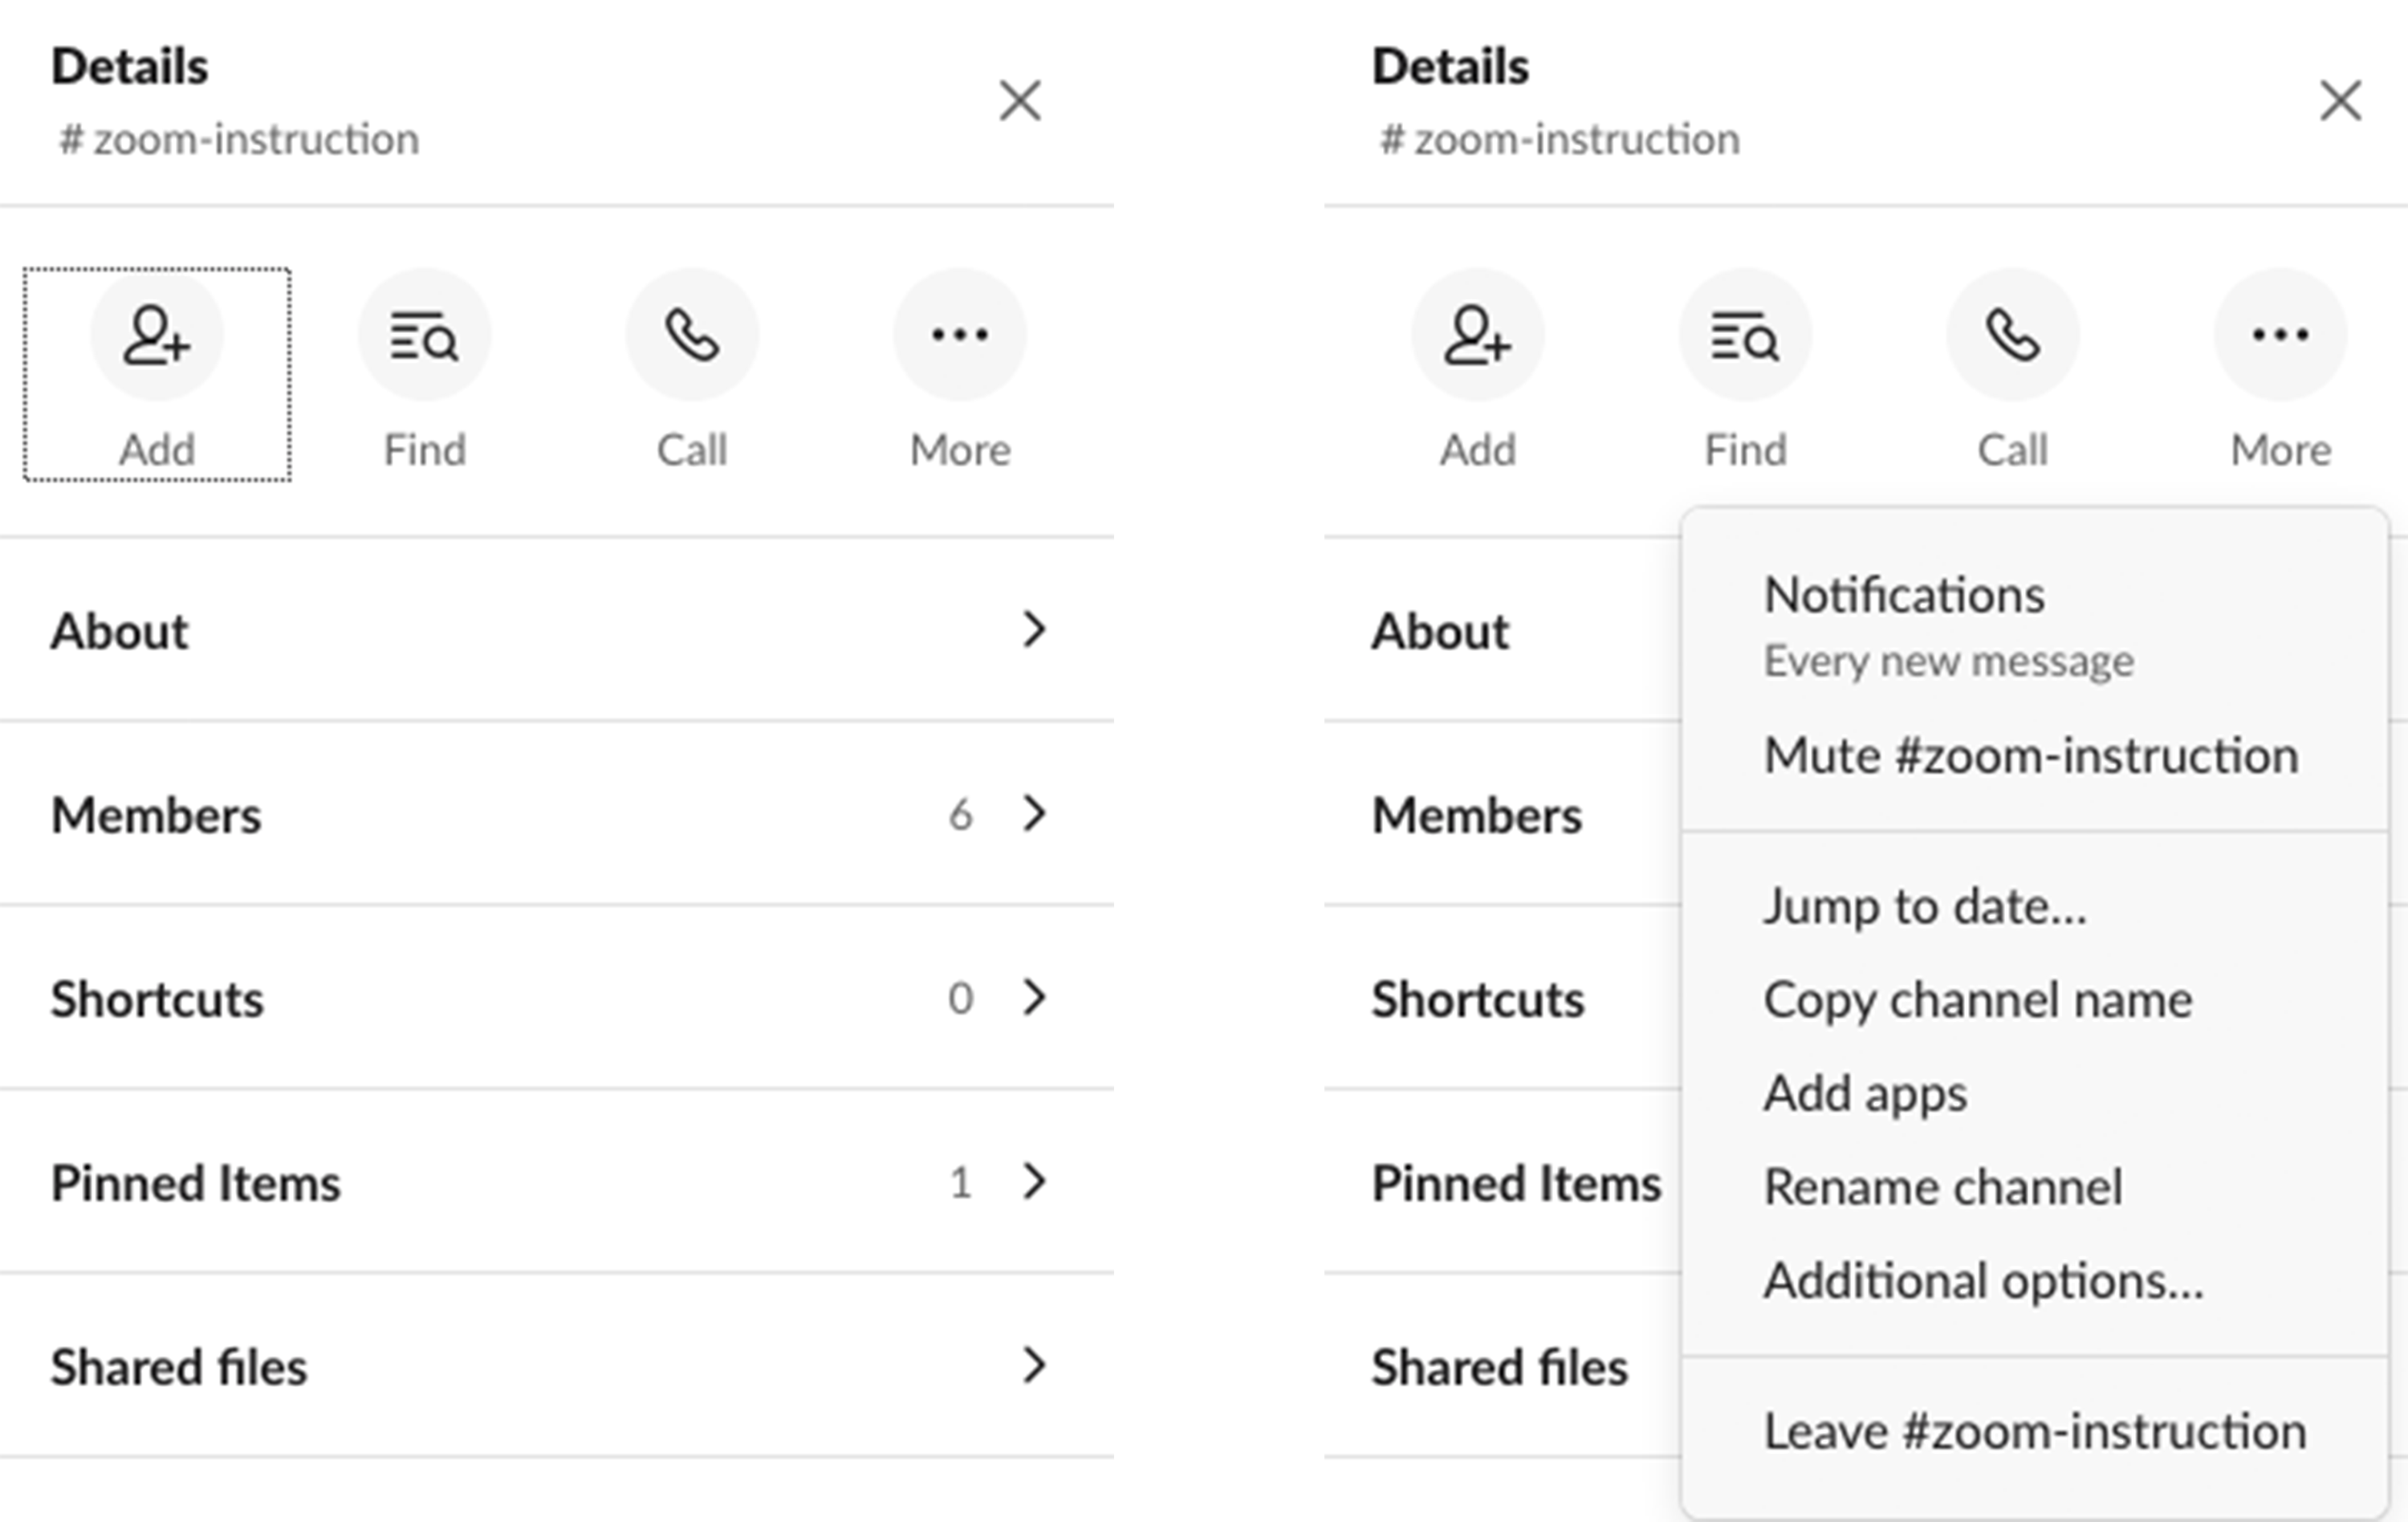
Making Adjustments to Your Channel
- For quick access to make adjustments to your channel, click Details at the top right.
- In the pop-up window, use the top toolbar to add participants, do a full text search of the channel, or call a participant.
- Below the toolbar, you have quick access to a list of members, pinned items, and a full list of shared files.