How to Use Panopto in Moodle
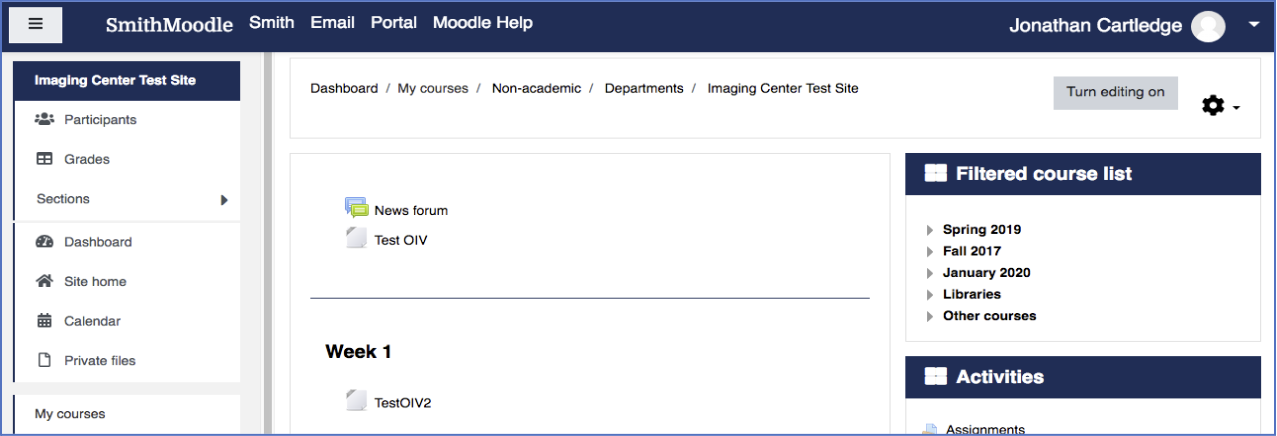
- Panopto Panopto allows you to video record a lecture with media (PowerPoint, video, images) which your students asynchronously view, add a comment or question, and download to view offline. To add a Panopto presentation, go to your Moodle course and click Turn Editing on.
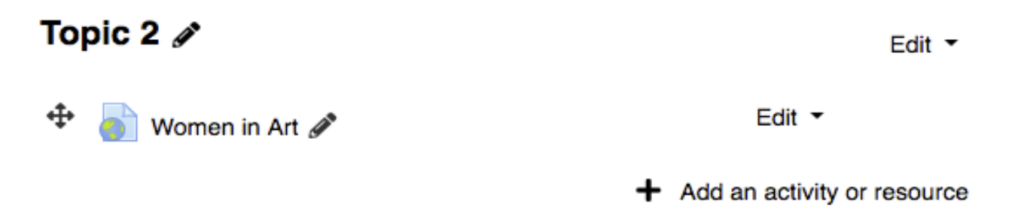
- Underneath the Week or Topic heading, click Add Activity or Resource.
- Under Preconfigured tool, select Panopto and click the Select Content button.
- In the Select Content window, you can click the Choose tab and select an existing recording lecture.
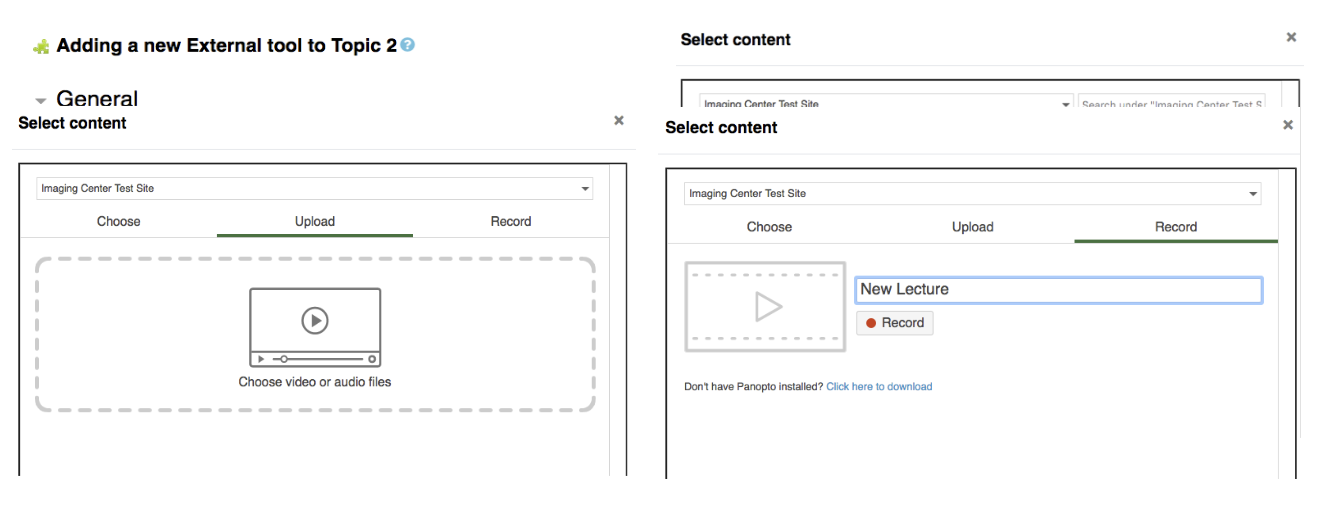
- Under the Upload tab, you can upload media to use as a new Panopto lecture.
- To record a are lecture, click the Record tab. Title your new lecture, then click the Record button.
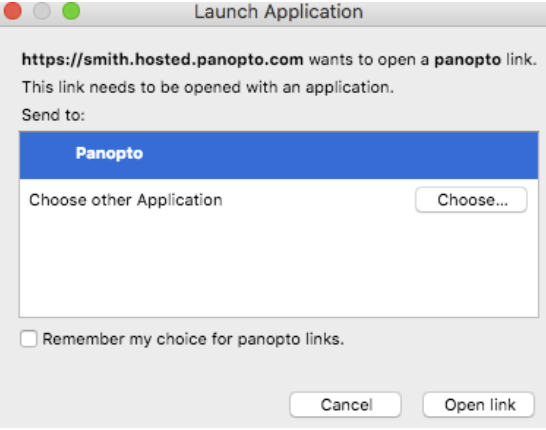
- If Panopto is already on your machine, it will launch the Panopto recorder. If you haven’t downloaded the Panopto Software yet, you will be taken to the website to do so.
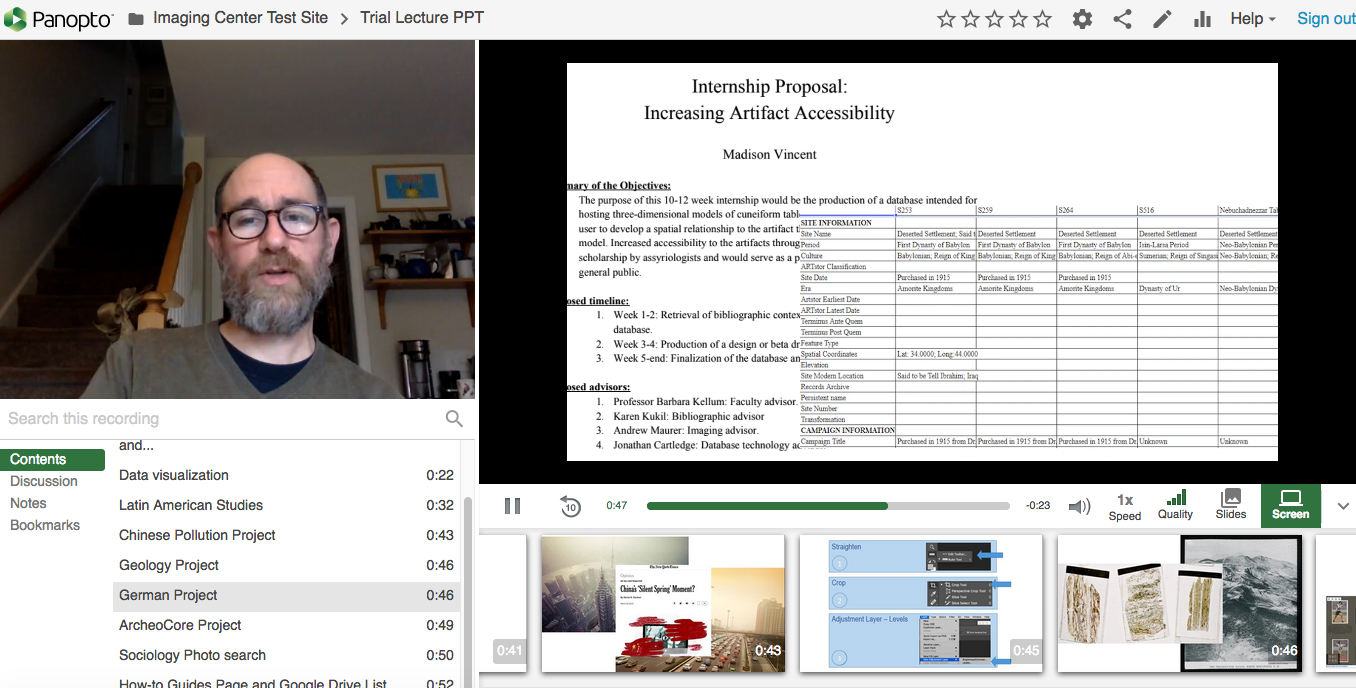
- Once processed, you will see your lecture in the new lecture on the Panopto site.
- The ribbon at the bottom allows you to jump to different parts of the lecture to review or add comments.
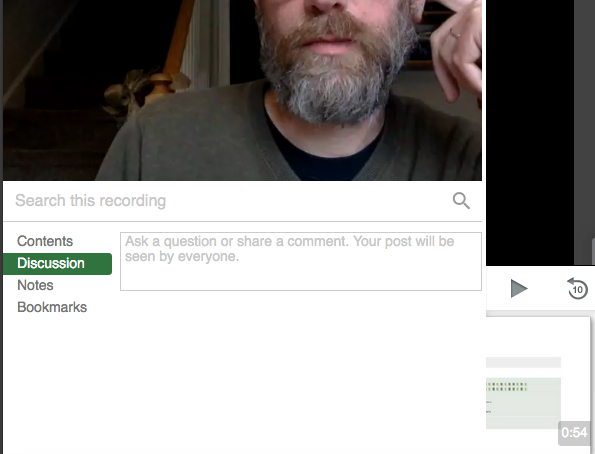
- To add questions or comments for your students to view as they watch, click discussion and enter your comments in the box at right.
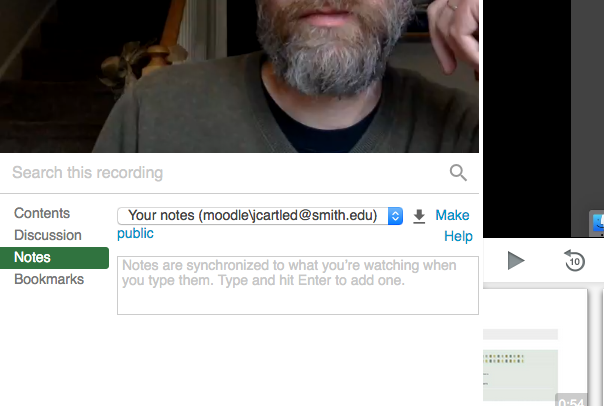
- To add notes for yourself, click Notes and enter your comments in the box at right.
- Once you have finished adding discussion and notes, go back to Moodle (there should be an open tab). You should see your lecture under the Record tab. Click Insert.

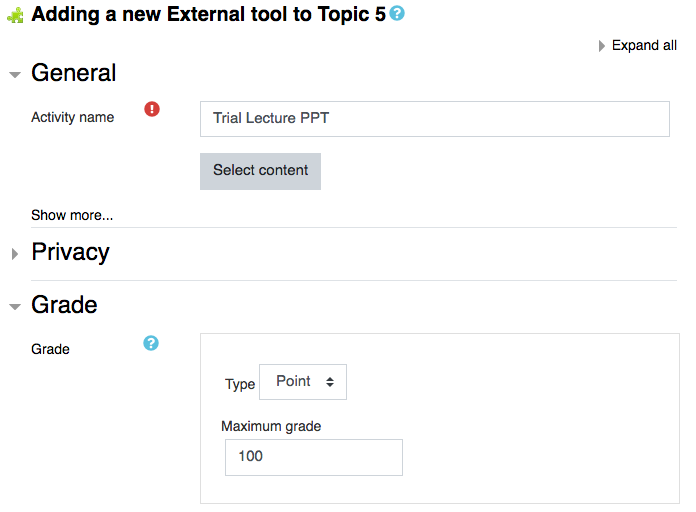
- Keep in mind that Moodle defaults to assigning a grade for a Panopto assignment. If you want to set different grade scale, or deactivate the option click grade at left and make your adjustments. Click Save and Return to Course.
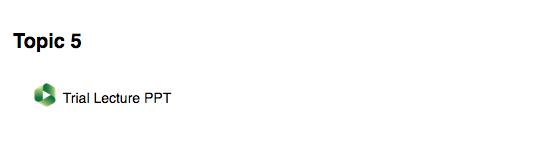
- Your Panopto lecture will appear in your Moodle assignments.
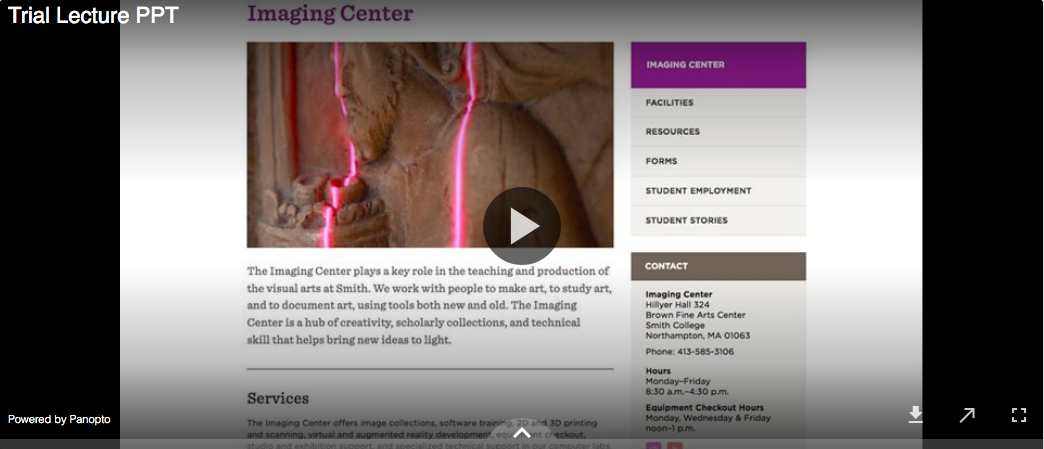
- Students will have the ability to download your lecture, leave Moodle and go to the Panopto website to view it, or watch it full screen.
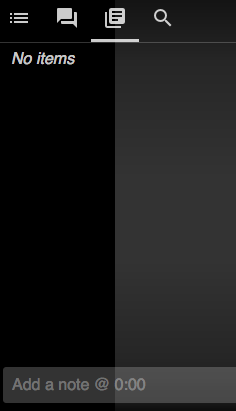
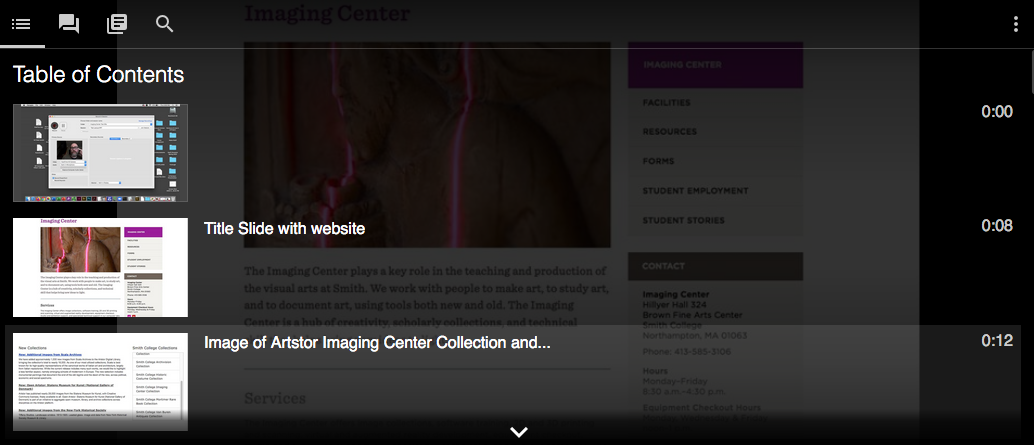
- Clicking the middle arrow will allow a student to see a table of contents.
- Students can browse through the lecture with the Table of Contents and leave a discussion comment or note a relevant section.
- Students can leave public discussion comments and questions by clicking the Discussion icon.

- Students can take notes for themselves by clicking the Notes icon.