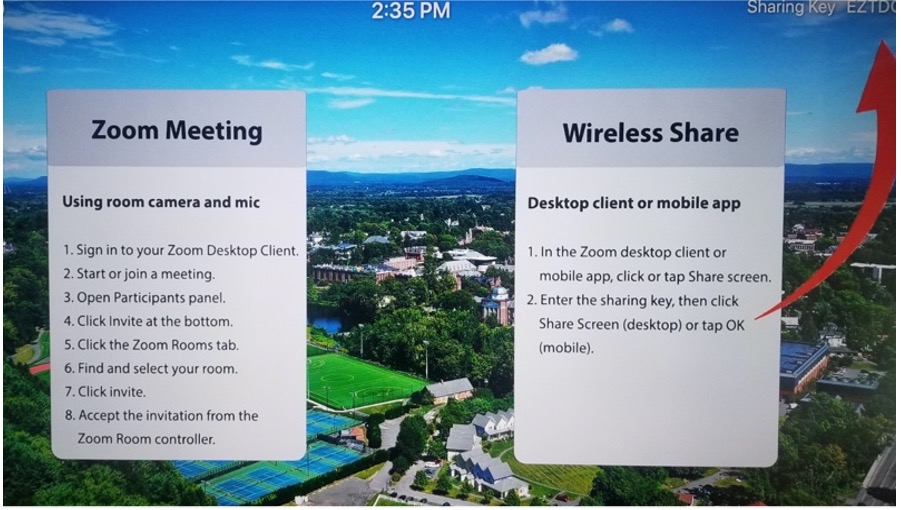
Make sure that the iPad, Mac Mini, and flatscreen are on. You should see a background with two columns labeled Zoom Meeting and Wireless Share. If you don’t, click input on the TV remote and change the input channel until you see the screen pictured below.
On the iPad, click on the Zoom icon to open the app.
Before beginning your session, make sure you have opened and logged into the Zoom app on your laptop or the classroom desktop. The classroom function will not work without it. You’ll find the app in the Applications menu on Mac and under the Start menu on PCs.
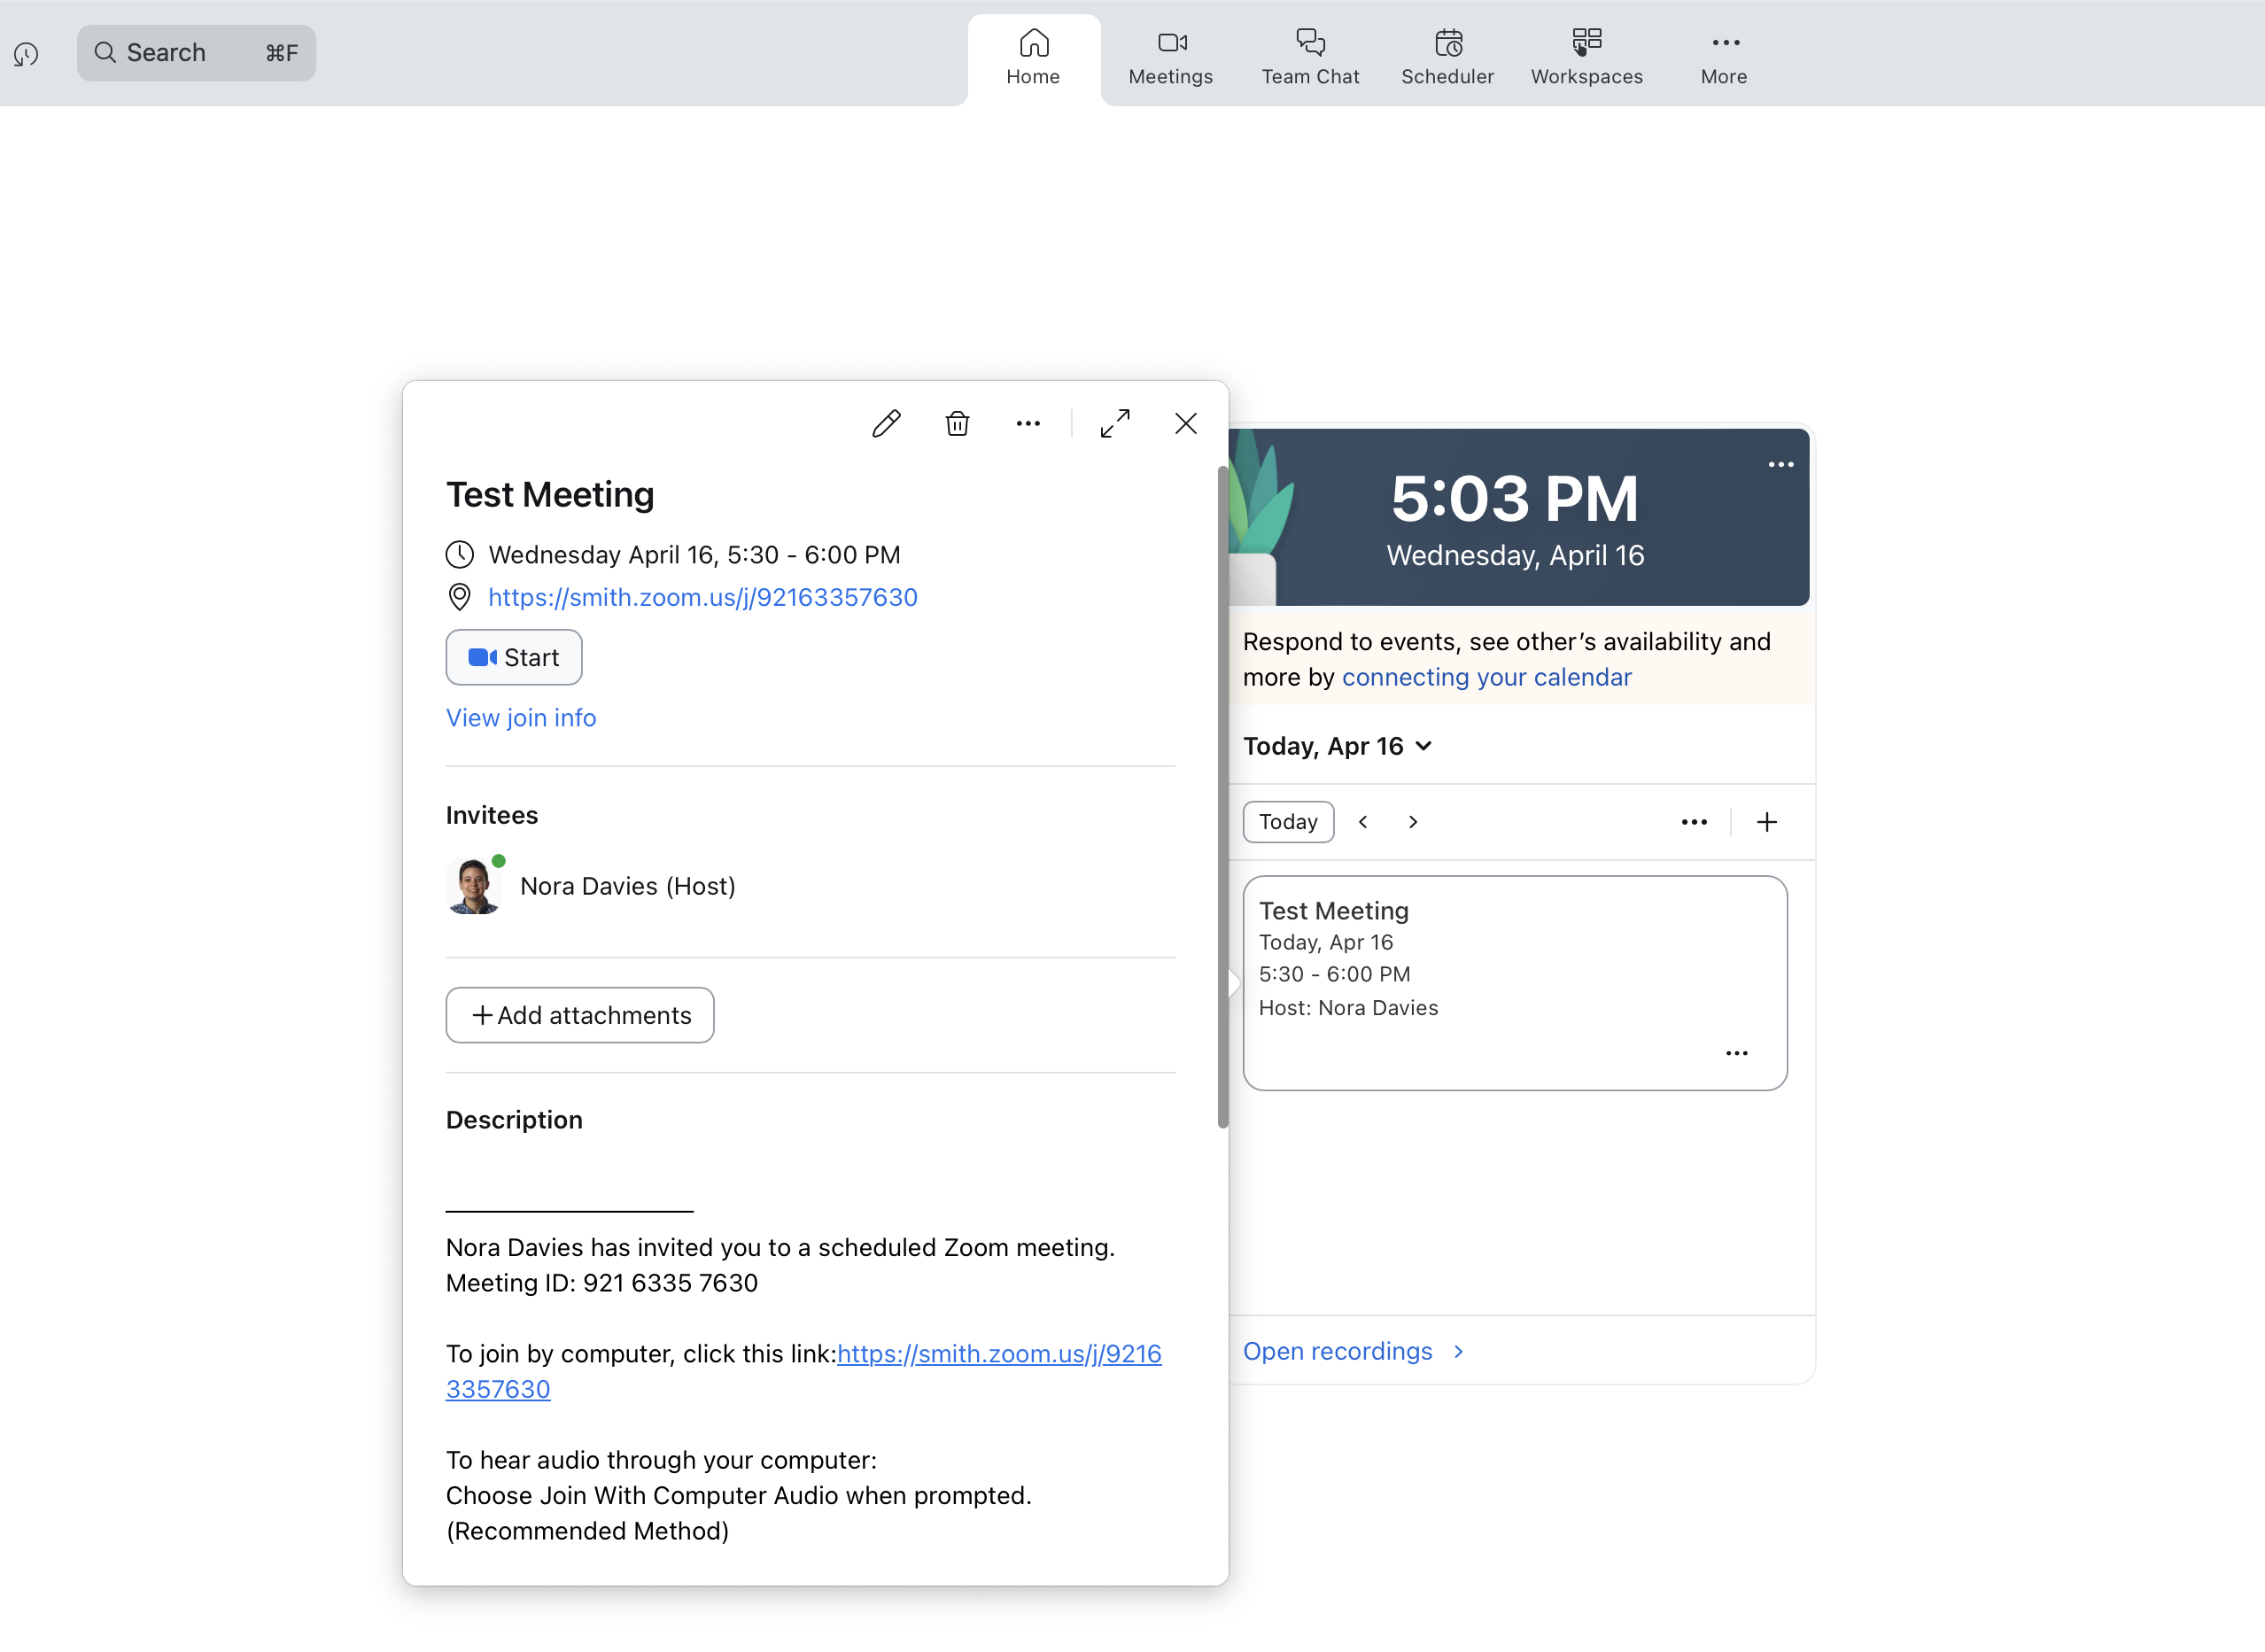
Open your Zoom meeting on your laptop or the classroom desktop by on your meeting and then clicking Start.
Do not connect your computer to the TV with a cord. Use your wireless connection to access Zoom (which will connect you to the TV). Make sure to turn off your laptop microphone and speakers (you’ll use the flatscreen’s mic and speakers).
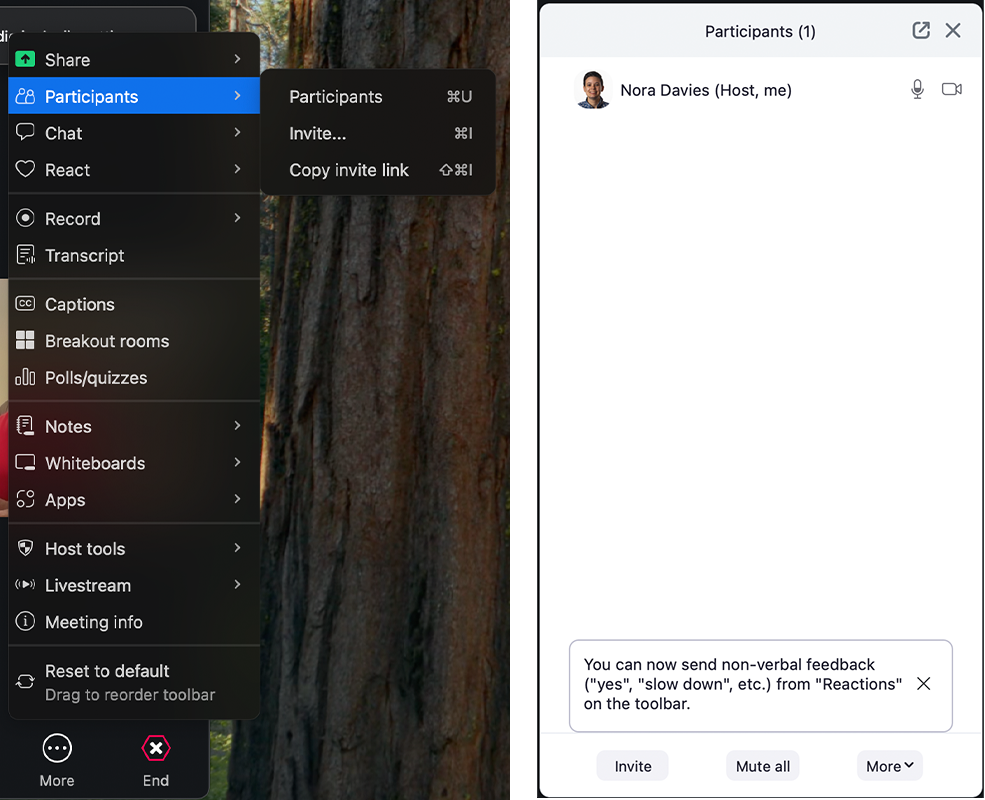
Click the Participants button in the bottom toolbar (it may be hidden under the More button). In the panel that opens to the right, click Invite.
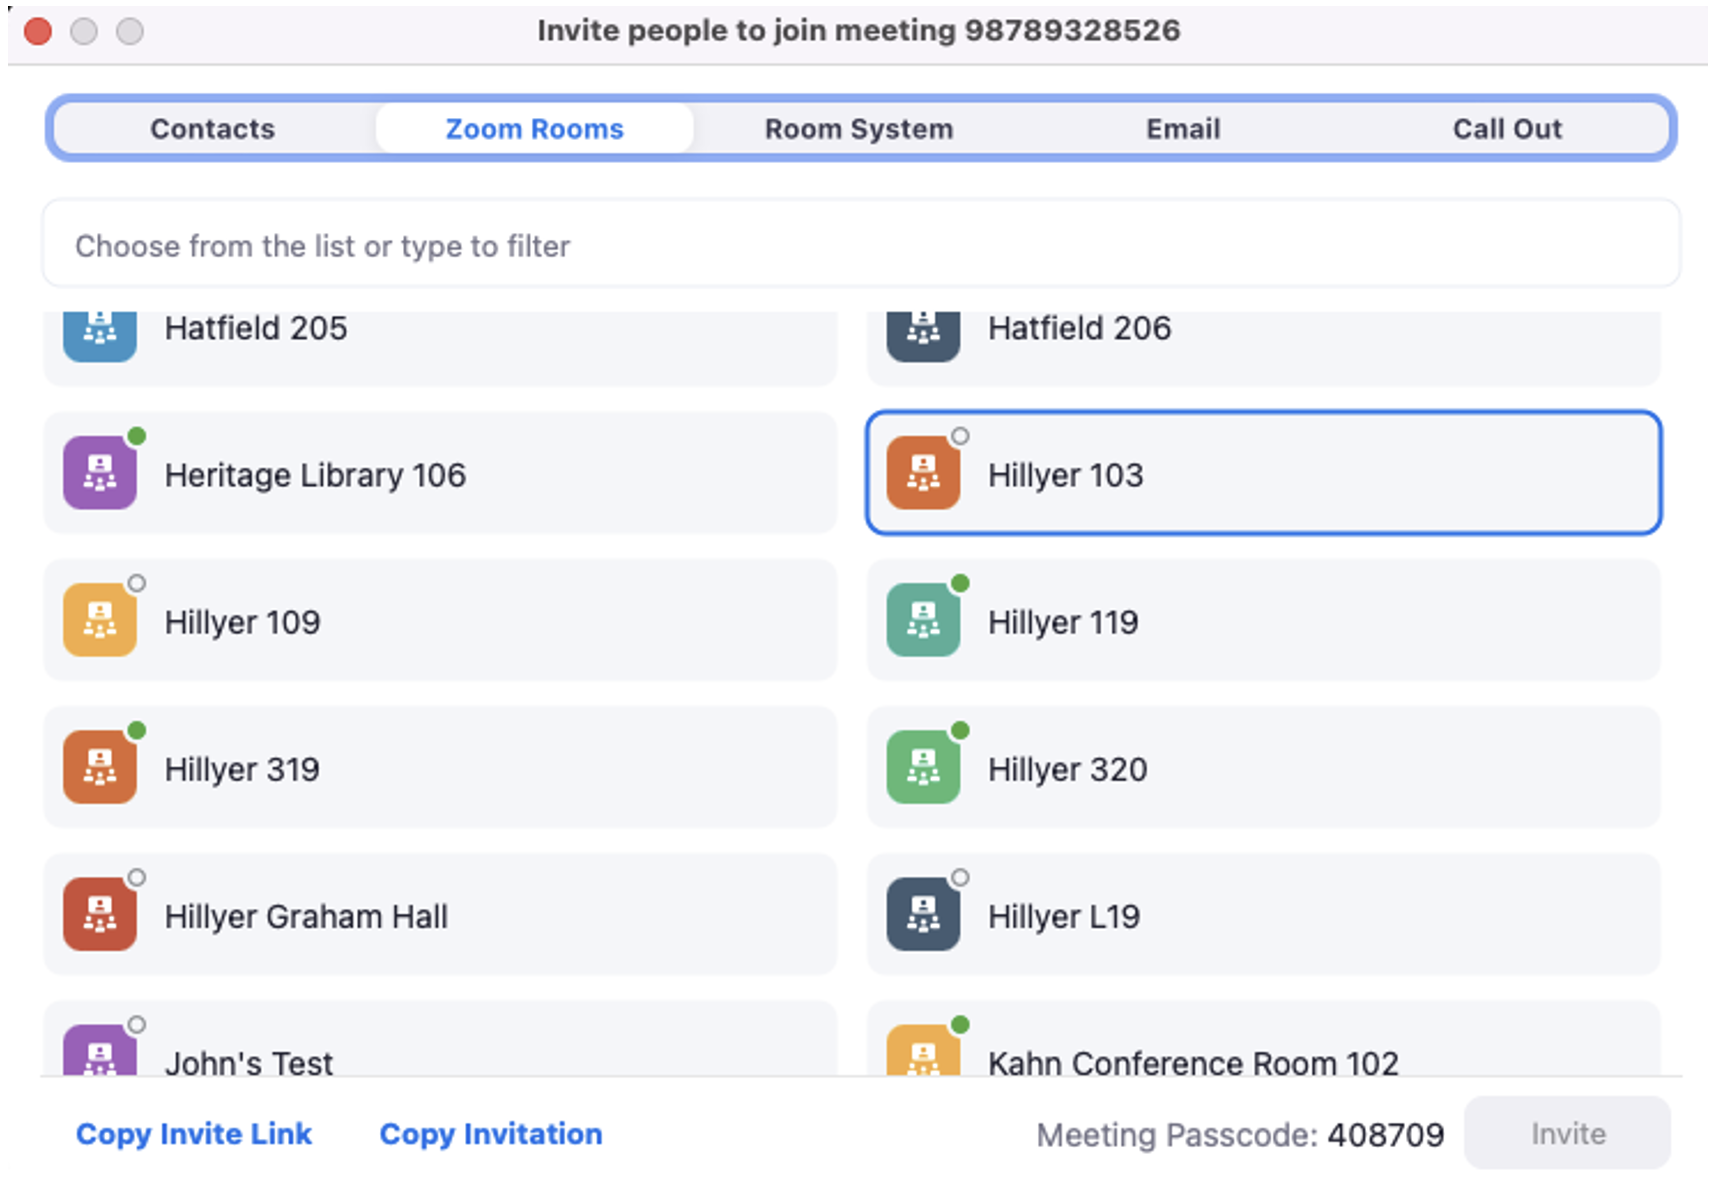
In the window that opens, click Zoom Rooms.
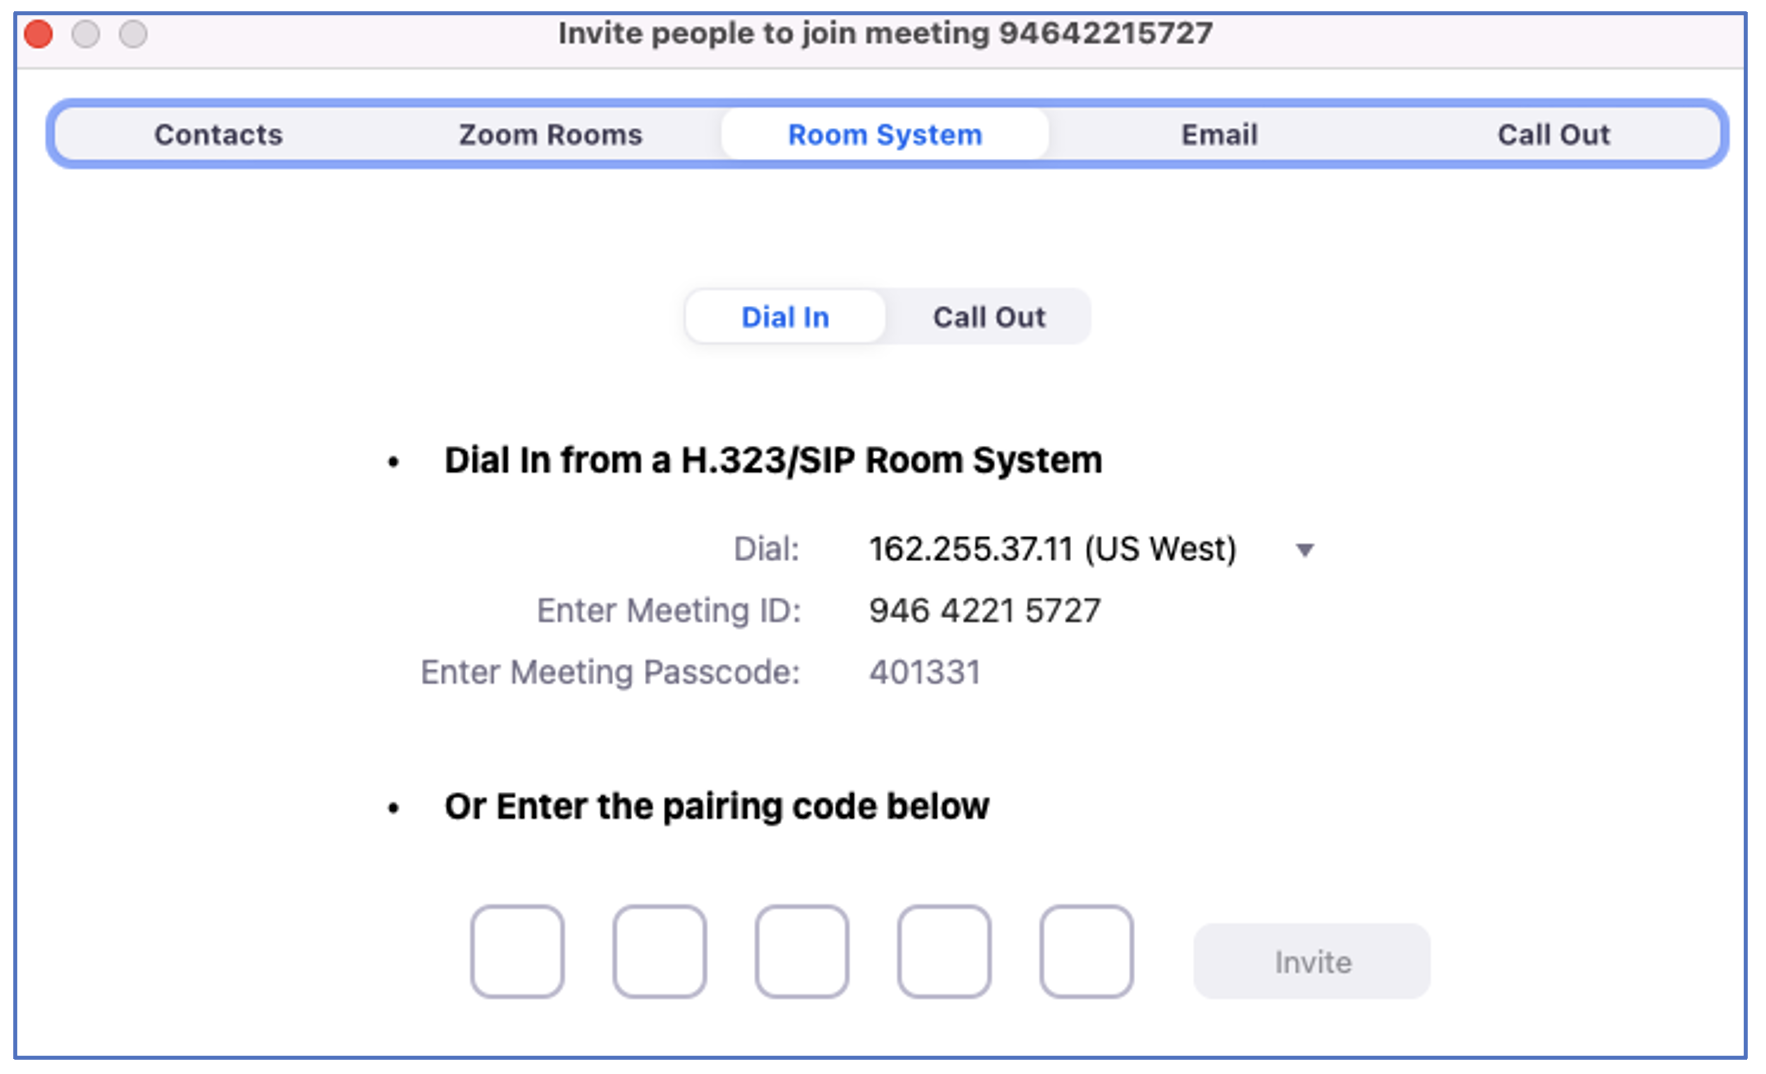
Select the classroom (or individual cart for a portable setup) where you are located. Click Invite.
The iPad on the cart will ring – click Accept. You should see the camera images from the cart join as a participant.