- Navigating to StoryMapJS
- Creating a New Map
- Adding Content
- Adding a Map to WordPress
- Optional: Formatting your StoryMap
Overview
StoryMapJS is a free tool developed by KnightLab (https://knightlab.northwestern.edu/) that makes it easy to create and navigate through a sequence of locations, with added images and text.
Navigating to StoryMapJS
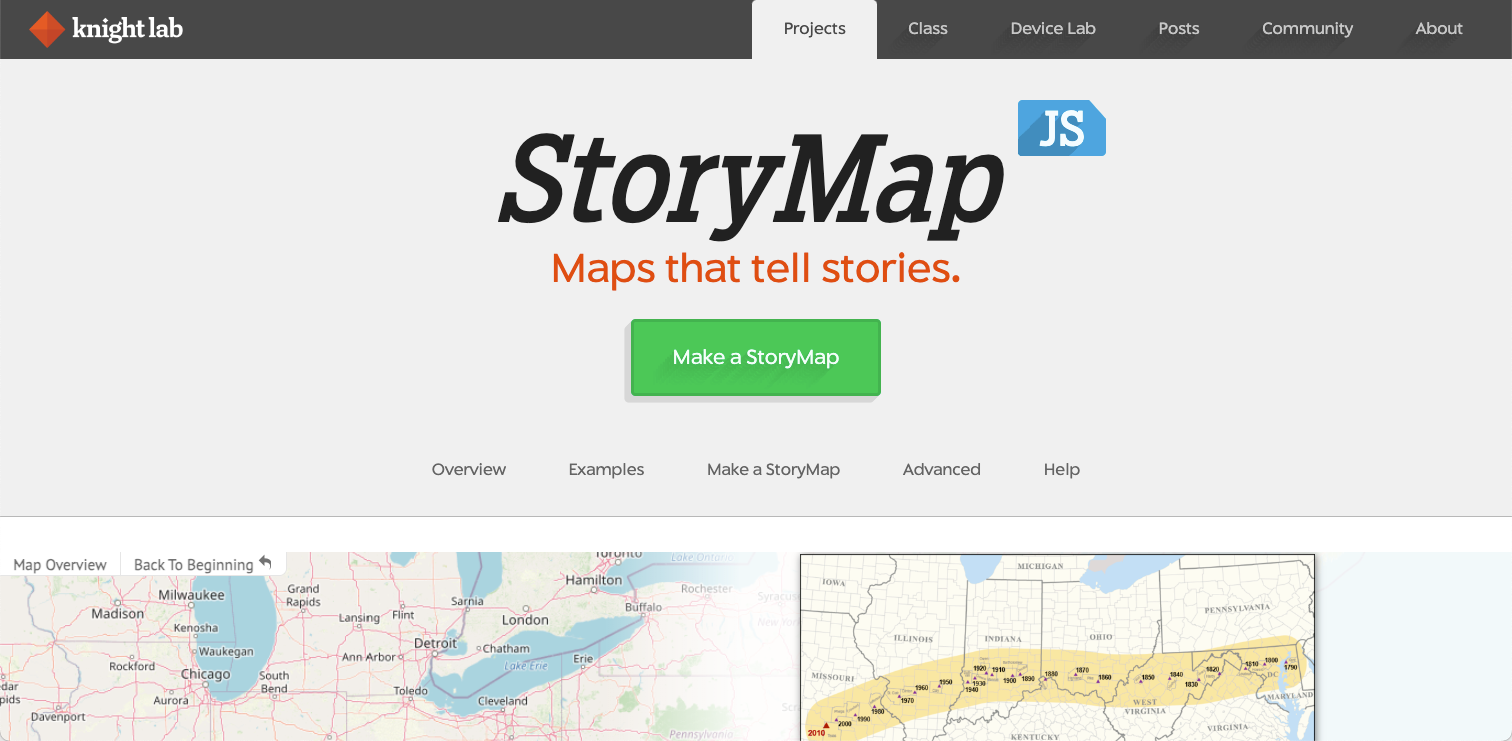
- Navigate to https://storymap.knightlab.com/
- Select the green Make a StoryMap button.
- In the new window, choose Sign In with Google to create an account with StoryMapJS
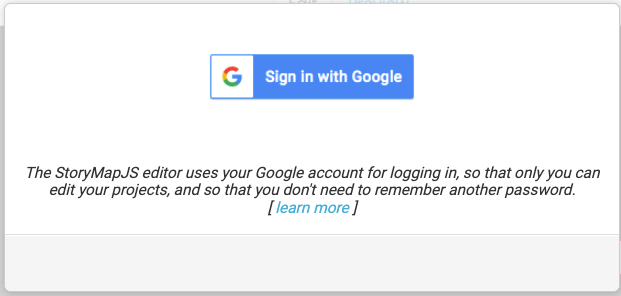
- You will need to sign in with Google to use StoryMapJS. Follow the prompts to link your Smith Google Account with StoryMapJS. The tool does not give StoryMap or Knightlab access to your data, and you can find more about their privacy policy on their website.
Creating a new Map
- In the Your StoryMaps window choose New.

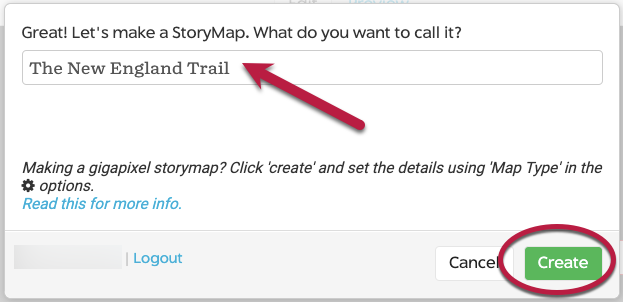
- In the “Great! Let’s make a StoryMap. What do you want to call it?” window, give your StoryMap a title and select Create.
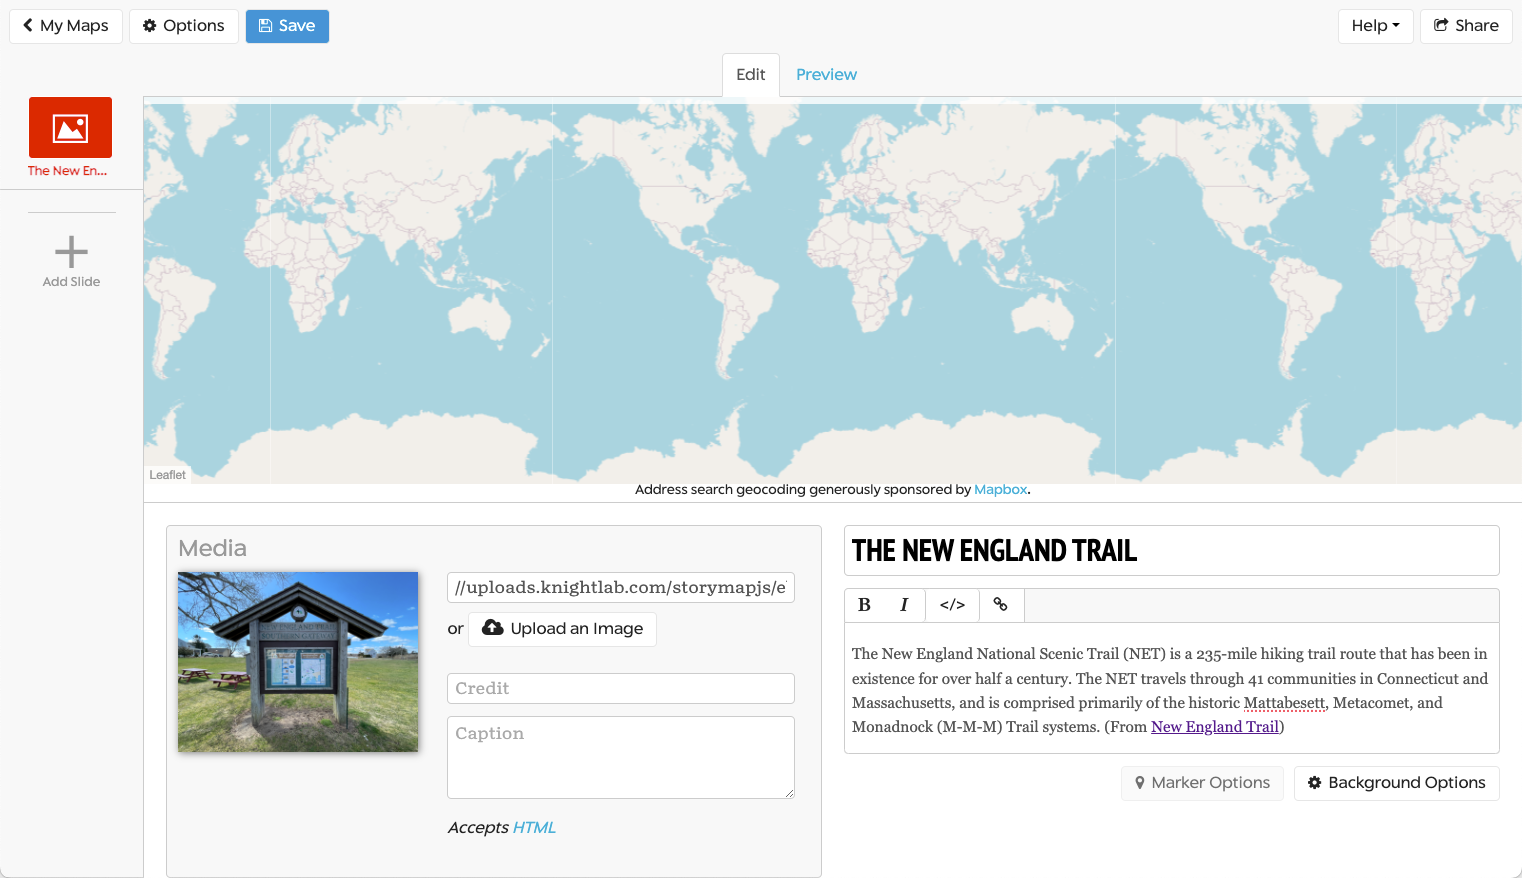
- This creates your StoryMap. The map opens to the title card by default.
- You can now add a title image, headline, and description to your map.
Adding Content
- The title card is always the top most card in the list.
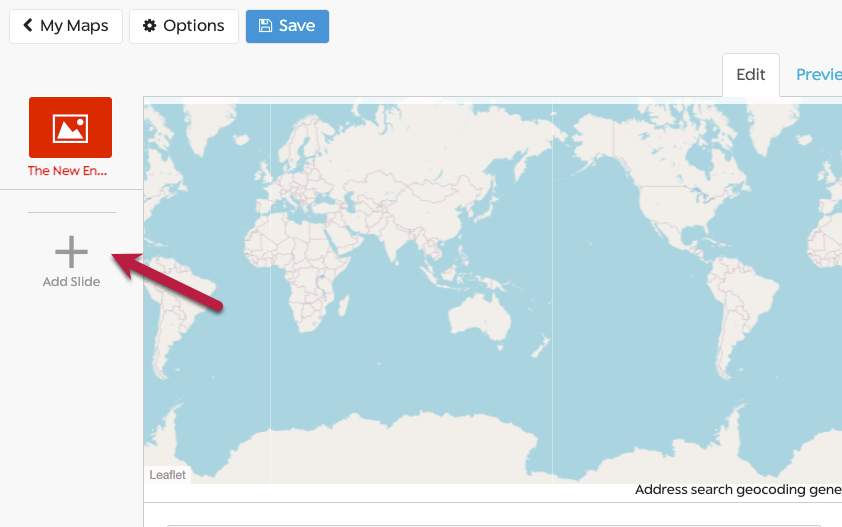
- To add a new location card, choose +Add Slide
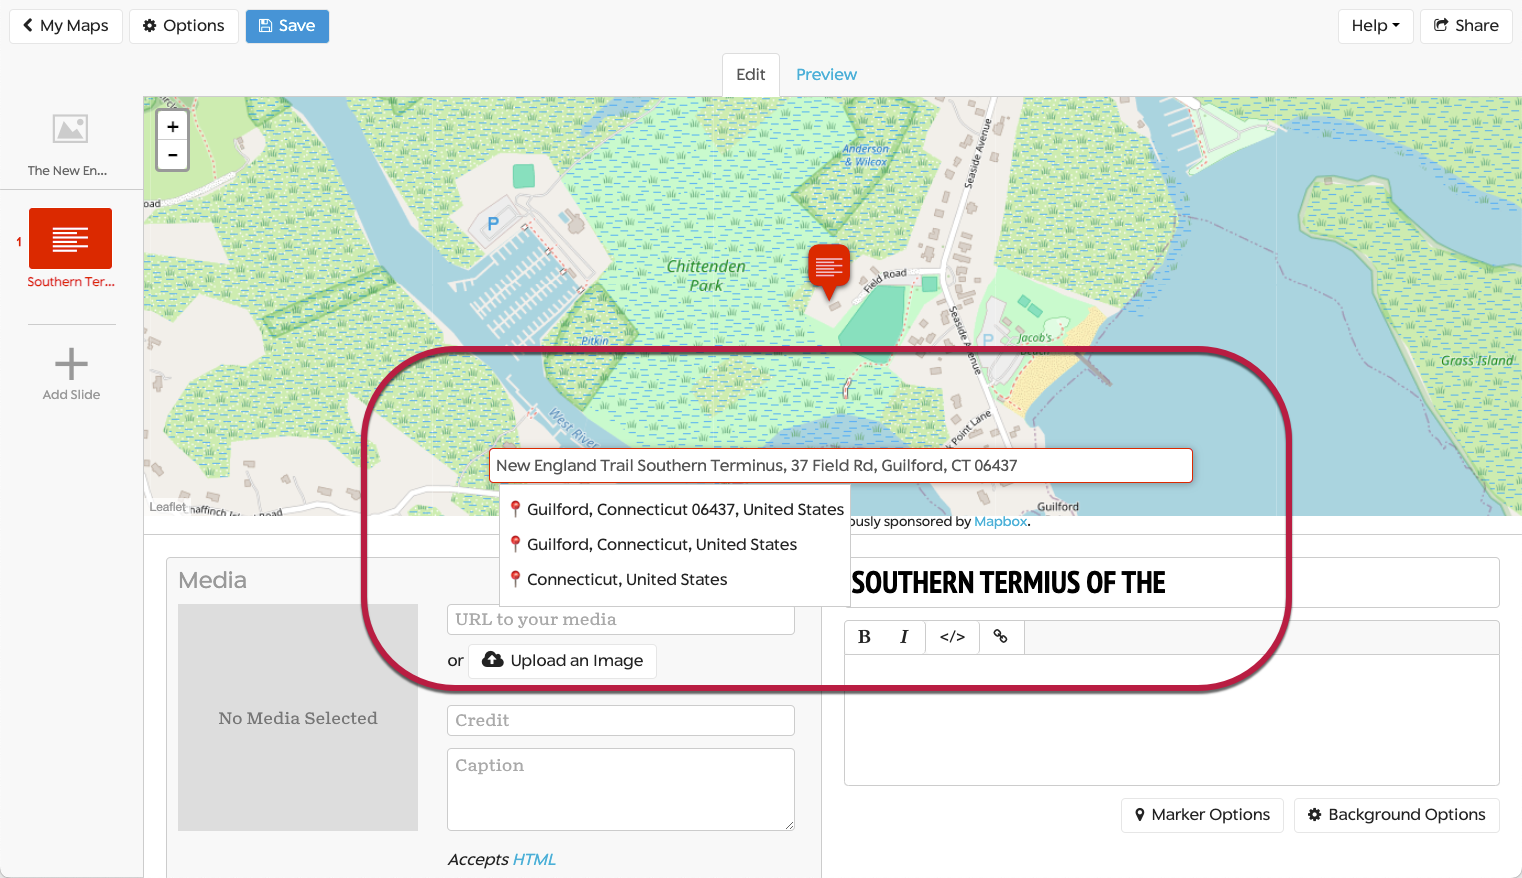
- In the new slide, enter your geographical location in the search bar and select it from the dropdown to choose your location
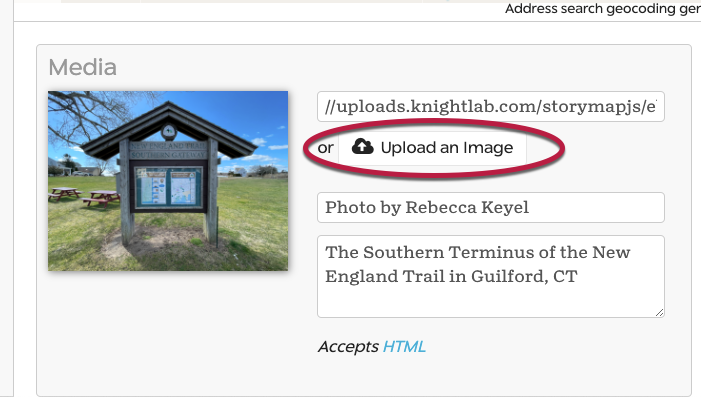
- In the media field, you can upload a photo and add a caption and credit
- In the Headline field, add a title
- In the Description field, add your descriptive content.
- Use the zoom buttons to zoom in or out to your location
Adding a Map to WordPress
Once you’re ready to add your StoryMap to WordPress, select the share button to get the link to your map. Then navigate to your WordPress site and either create a new post or open the post you’d like to add your map to. Paste your link, and the link will embed automatically.
Optional: Formatting Your StoryMap
Background Images and Colors
To adjust your visual settings, use the Options button:
This option allows you to adjust the size of your StoryMap, change the look of the background map, and change the font or default language.
To add a background image or color to your slide, select the Background Options button.
To add a background color, in the Slide Background window, enter a CSS hex color value in the Background Color field or select the color picker on the left side of the field to choose a color.
To add a background image, enter the URL of the image to link to it, or select Choose File… to upload an image. The image will be stored in the StoryMap folder on your Google Drive.
Entering and Formatting Text
Each slide has a title field and simple text editor. If you need to add formatting besides bold, italics, or hyperlinks, you can add additional formatting using HTML. To switch between rich text–the default text option–and html, select the </> icon, between the I and link icons.
For more on HTML see W3Schools.
Checking Changes
Select the Preview tab in a slide to preview changes on a single slide. To view the entire StoryMap, either select the Map Overview button or the Back to the Beginning button.
Custom Map Markers
You have the option to add custom map markers to use on your individual slide. To add a custom marker, select the Marker Options button to upload a picture or icon.