TimelineJS is an interactive timeline tool you can use to create timelines that can be embedded on a WordPress site. To create a timeline, you’ll need to:
- Draft your event text and collect images to illustrate your events
- Upload your images to your class WordPress site to get links to your illustrations
- Follow the instructions at the TimelineJS website to create your timeline by adding your text to a google spreadsheet and saving a special share link.
- Use the H5P iFrame embedder to share the link and add the timeline to your class site
Step 1. Creating your Events
Creating your Events
The first step to creating a timeline is to create the events you’d like to appear on your timeline. You’ll need the dates your events happened, text about the events on your timeline and images to illustrate your timeline. You’ll also need a title, description, and picture for your title slide to introduce your timeline.
Want more details about drafting your event? Check out the TimelineJS documentation on using spreadsheets.
Step 2. Upload your images to create a Media URL
Create a Media URL
The next step is to upload your images in order to create media urls for your timeline’s images. We recommend uploading them to your class’s WordPress website. Don’t have a class website? Get in touch with Travis, Abril, or Becca for help.
Ready to upload? First make sure you have downloaded and named your images so they’ll be easy to identify later.
- Navigate to the Dashboard of your site.
- Need help logging in? Take a look at logging in and finding your site or reach out to Abril, Becca, or Travis.
- In the “Dashboard”, on the left side toolbar, select Media
- Select the Add New button next to Media Library.

- A new section will appear in the Media library to allow you to drag and drop your picture or choose the Select Files button.
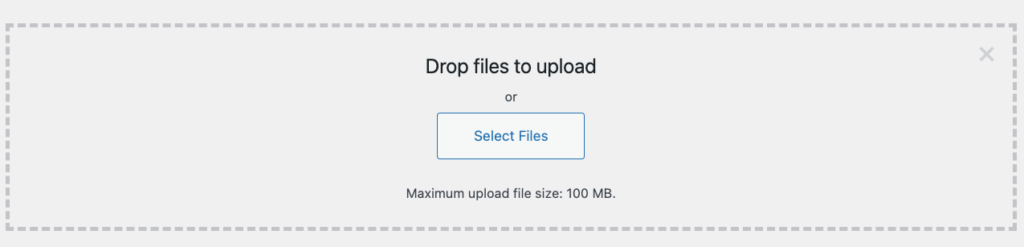
- From here, you can drag and drop your image or choose the Select Files button.
- If you choose select files, navigate to the file on your computer and choose Open to upload it.
- Your image will appear in the Media library list.
- Click on your image to open it.
- On the right side, select the Copy URL to clipboard button.
- Paste the link to your image in the Timeline document or somewhere you’ll be able to find it again.
Need instructions to download and rename an image?
How to download an image
- Right click (Control + click on a Mac) to open the context menu and choose Save As… to download your image.
- If you see a new Save File window and the image name ends in .jpg, .jpeg, .png, or .gif, choose where to save the image so you can find it later.
- If the image name does not have a file extension, it may not let you save the file this way, move down to the next section.
- If no context menu appears when you right click, the institution may have disabled this option. Skip to the next section.
- Many archives and libraries provide high resolution versions of the items in their collections for visitors to download. You may need to use a download link to save the image.
- Look for a “download” link, or a download icon

- If you have the option to choose an image size, choose the largest size available.
- Look for a “download” link, or a download icon
Once you have downloaded the image, you can also rename it so it will be easier to find once it’s uploaded.
Step 3. Go to TimelineJS and Choose Make Timeline
The next step is to navigate to the TimelineJS website and select Make a Timeline. Follow the directions at the TimelineJS site to:
- Copy the google sheets template
- Publish it to the web
- Paste the sheet url into the TimelineJS generator
- Use the optional settings to adjust the fonts or language
- Copy the share link
Step 4. Use the iFrame embedder to add your timeline to your class site
Follow the directions on Embedding Content with the iFrame Embedder to embed your timeline on your class site.
Optional
Want to add more customizations or footnotes? Take a look at our Getting Started with TimelineJS tip sheet.