Panopto Recording Basics (Mac)

Recording with Panopto is simple. You can record your screen, webcam, slideshow, and voice at the same time. When you’re done recording, the video is automatically uploaded to the Panopto server and made available to students through Moodle. Before recording a Panopto video, be sure to add and configure the Panopto block in your Moodle course and log in to Panopto.

When beginning a new recording, first choose which course the video should be uploaded to and which sources you would like included in the video:
1

To begin a new recording, at the upper left of the Panopto Recorder window, click Create New Recording. The Recording window will open.

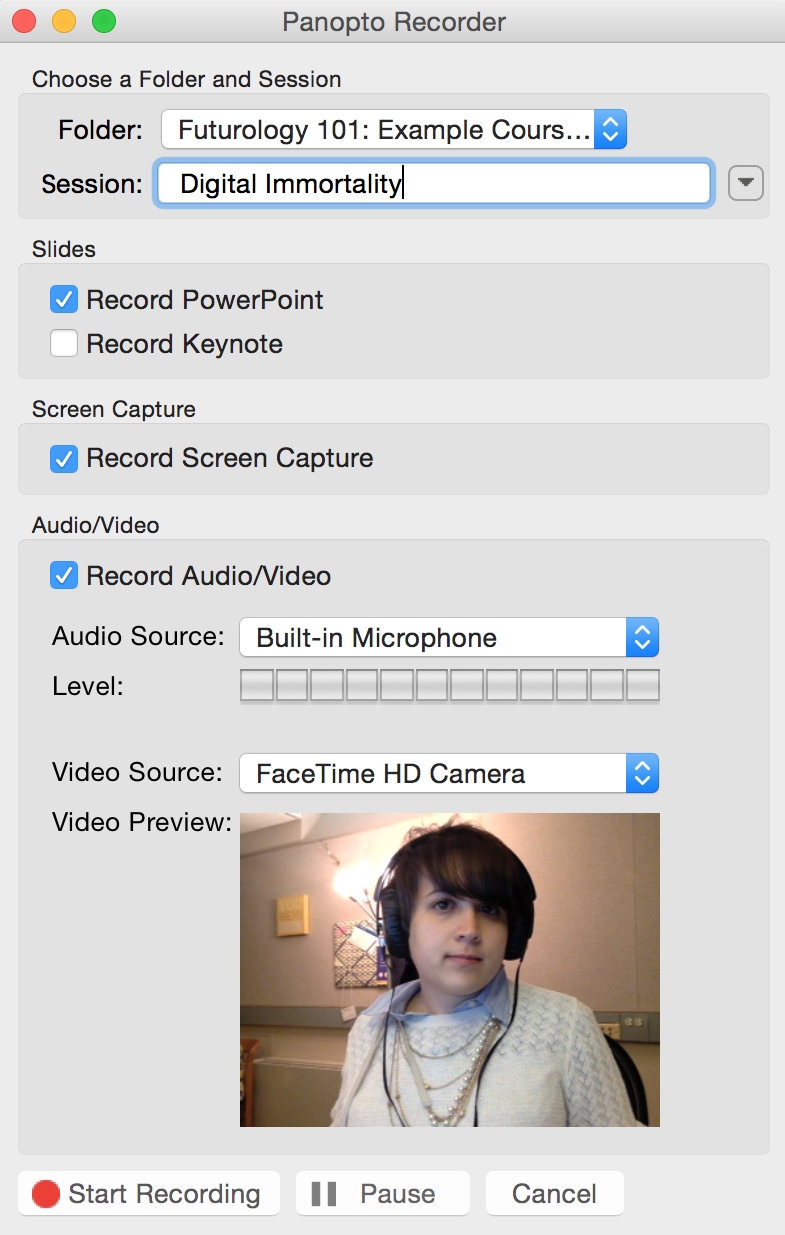
Panopto Recording Screen

2

For Folder, choose to record to an online course folder or create an offline recording to be uploaded at a later date.  In the Session field, provide a name for your recording. You can also choose to resume a previous recording.

Note: Students will use this name to locate the video, so be certain it is something informative and clear.

4

In the Slides section, select Record PowerPoint and/or Record Keynote to record slides in your video.

5

In the Screen Capture section, select Record Screen Capture to record your computer screen in your video.

6

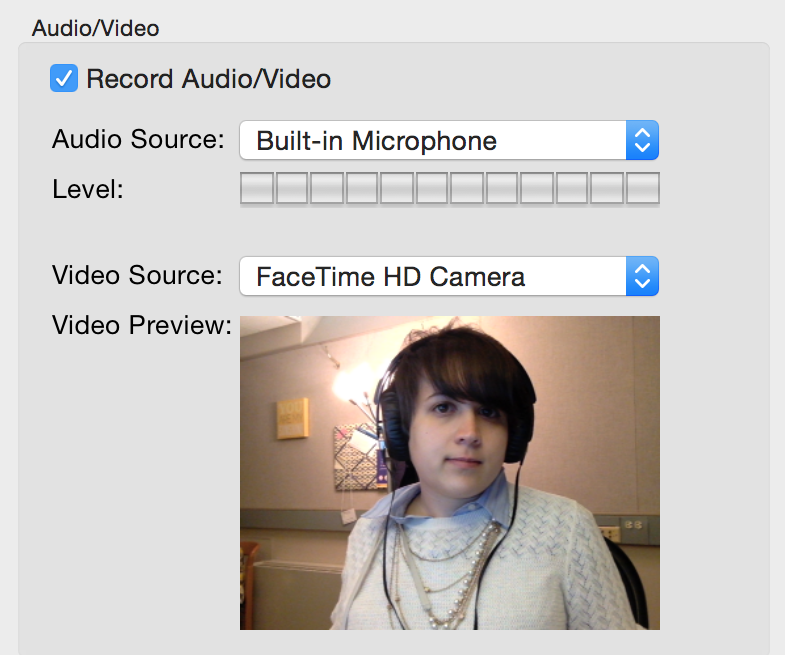
In the Audio/Video section, select Record Audio/Video to record audio from your microphone and video from your webcam. Choose an Audio Source and confirm that input is working by making some noise and checking that the Level bar adjusts. Choose a Video Source and check that you can see the video input in the Video Preview window.

7

At the lower left of the Recording window, click Start Recording. Recording will begin and a timer will appear in the lower right of the window.

The Upload Settings window will close.

2

At any time, click Pause to stop recording. Any content recorded while paused will be cut from the video, but can be recovered in the editor.

Stop Recording


9

When your recording is complete, in the lower left of the window, click Stop Recording. Your recording begin uploading to the Panopto server and processing. When complete, the video will be available to students on Moodle.

Note: You can preview your recording in the Preview section at the lower right of the Panopto Recorder window.

10

To prevent a video from becoming available to students or to set an availability range, see Panopto’s Availability page. For help editing a video, see Panopto’s Basic Editing guide.


We'd love your feedback!

Last modified: March 2, 2017