Welcome to the sites.smith.edu Help Page. Here you’ll find out how to add content to your WordPress site, including how to add a post, how to add and format text and images. You’ll also find links to additional resources.
☆ Creating a Post and Adding Content
- Add a Post
- Add Text to your Post
- Save a Draft or Publish your Post
- Add Images
- Add a Featured Image
- Add a Category
- Additional Resources
☆ Add a Post
Posts are the main way to add content to a WordPress site.
Add a Post via the Posts Page
- Navigate to the Dashboard of your site.
- On the Dashboard, from the main navigation menu, select Posts.
- On the Posts page, next to the title of the page, select Add New.
☆ Add Text to your Post
- Add text by typing directly into the block where the text reads “Type / to choose a block.”
- You can also use the “/” key to open and select a different block.
- The paragraph block should be used for all body text.
- Once you’ve entered some text, you can hover over the text or click to bring up the Paragraph Block Toolbar menu.

The Paragraph Block Toolbar allows you to
- Change the block type
- Adjust the alignment of the text
- Add formatting by selecting the B (bold) or I (italics) icons, add a hyperlink, or see more menu options.
- Additional menu options include the ability to highlight, add inline code and images, add a field, and add a strikethrough, subscript, and superscript.
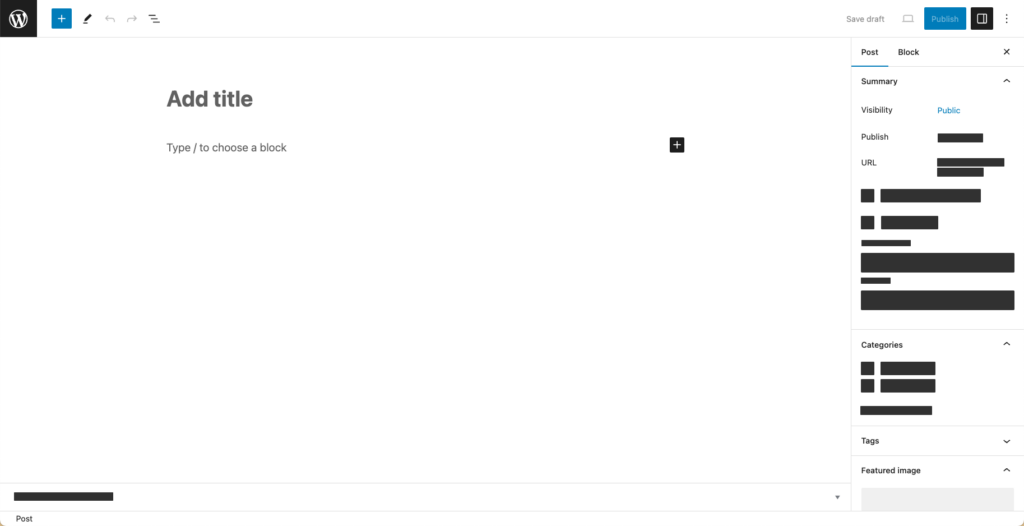
☆ Save a Draft or Publish Your Post
- On top corner of the right side of the page, select Save Draft, Preview, or Update (if the page is already published) or Publish.
- If you want to save changes without publishing your post or page, on the right side of the page, under the “Publish” block, select Save Draft.
☆ Add Images
To add Images
- Open an existing page or post or create a new page or post by choosing New+ from the WordPress toolbar.
- In the Block editor, select the Add Block icon and select Image from the Block inserter
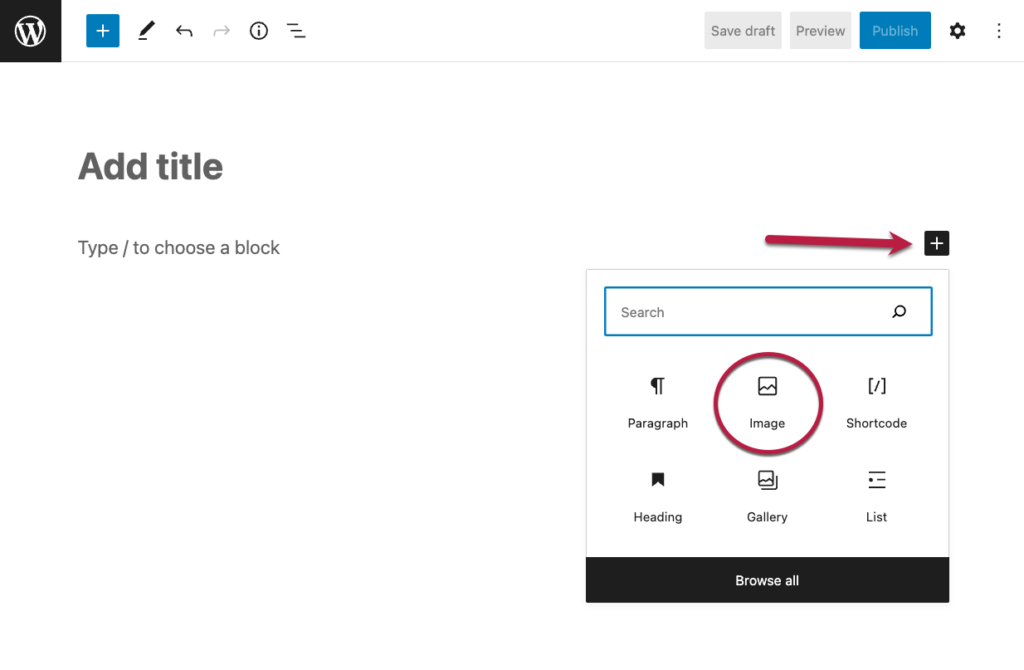
- The “Image upload” window will open
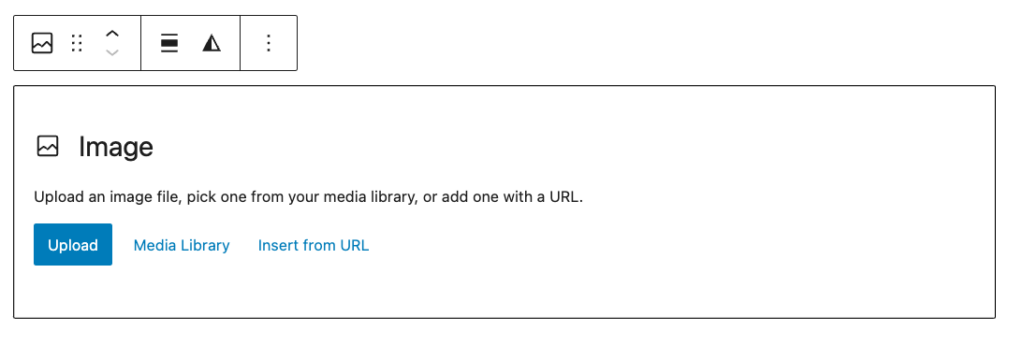
From here, you can choose to upload a new image or add an image from the media library. Once you’ve uploaded your image, remember to add alt text to make that image more accessible.
☆ Add a Featured Image
- Navigate to the post you want to update.
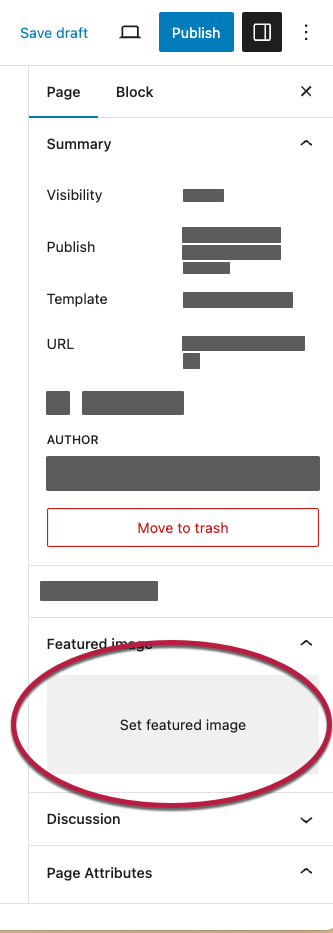
- In the WordPress block editor, look for the Settings sidebar on the right side of the workspace.
- If the settings sidebar is closed, select the Settings button in the right corner of the page to open it.
- Scroll down to “Featured Image,” then select Set featured image. The “Featured Image” window will open. You can then add a featured image by uploading a new image or choosing an existing image from the “Media Library.”

☆ Add a Category
- Make sure the Settings Sidebar is visible on the right side of the content area, and that the Post tab is selected.
- Scroll to the Categories section, and use the arrow drop down to expand it if necessary.
- Select the checkbox next to the Category you want to use for the post
☆ Additional Resources
All links open in a new tab