Cool Timeline is an vertical timeline tool you can use to create timelines on a WordPress site. To create a timeline, you’ll need to:
- Draft your event text and collect images to illustrate your events
- Create a post on your class WordPress site
- Add a CoolTimeline block
- Enter your events into the individual blocks
- Publish your WordPress post
Step 1. Creating your Events
The first step to creating a timeline is to create the events you’d like to appear on your timeline.
- The dates your events happened
- Text about the events on your timeline
- Images to illustrate your timeline
Want to draft your event text in a template? Use this google doc template.
Step 2. Create a WordPress Post
Follow these directions to create a WordPress post.
Step 3. Add a Cool Timeline block
In your WordPress post, open the block inserter.
Search for the Cool Timeline block to insert a timeline.
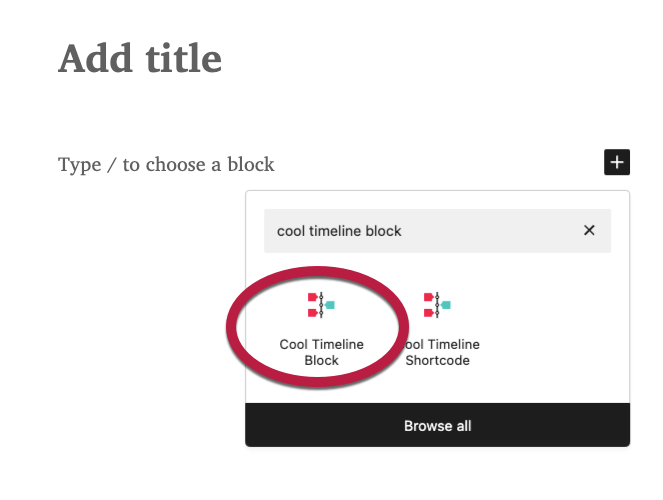
Cant find it? Reach out to Travis, Abril, or Becca for help!
Step 4. Add your Events
Once you’ve added the Cool Timeline block, you can replace your event information into the pre-populated blocks, or delete the existing blocks and add new ones.
To replace the image in an example entry
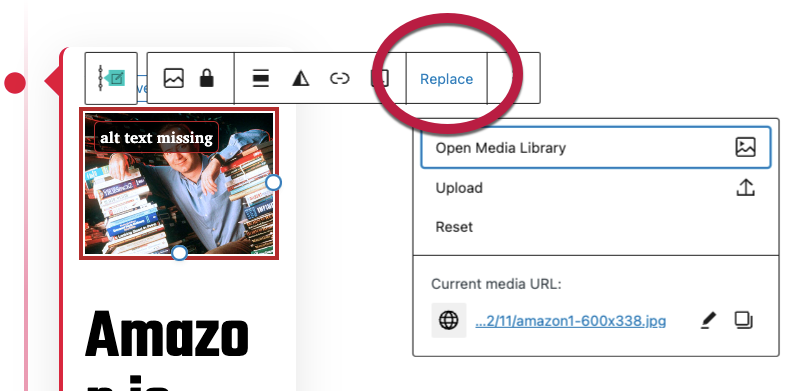
- Select the image in the first entry, and in the contextual menu that appears directly above the image, choose Replace.
- From the drop down menu
- Choose Open Media library to add an image you’ve already uploaded
- Choose Upload to upload a new image.
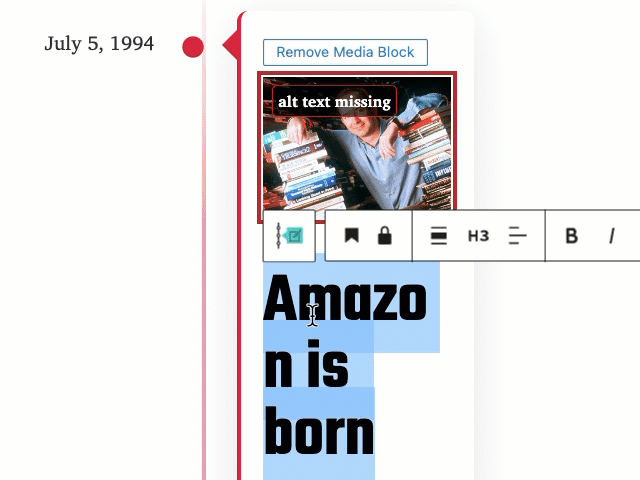
To replace the heading or paragraph text in an example entry
Select the text in the heading block or select the text in the paragraph block.
Type or copy and paste your event text in the block.
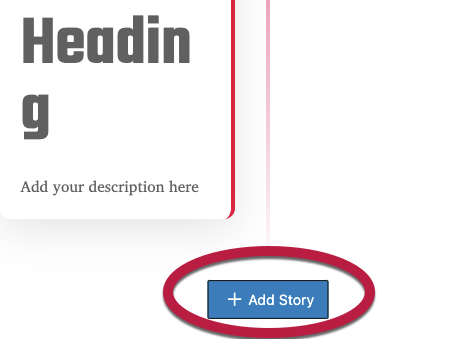
Add a new Event
Scroll to the bottom of the timeline and choose + Add Story.
To add an image, choose Add Media Block.
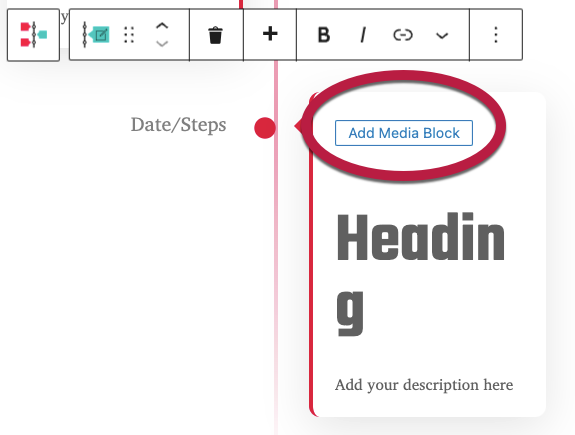
In the Image block, choose and Upload or Media Library to add your image.
Step 5. Publish your WordPress Post
When you’ve completed your timeline, publish your WordPress post to make it available on your site.
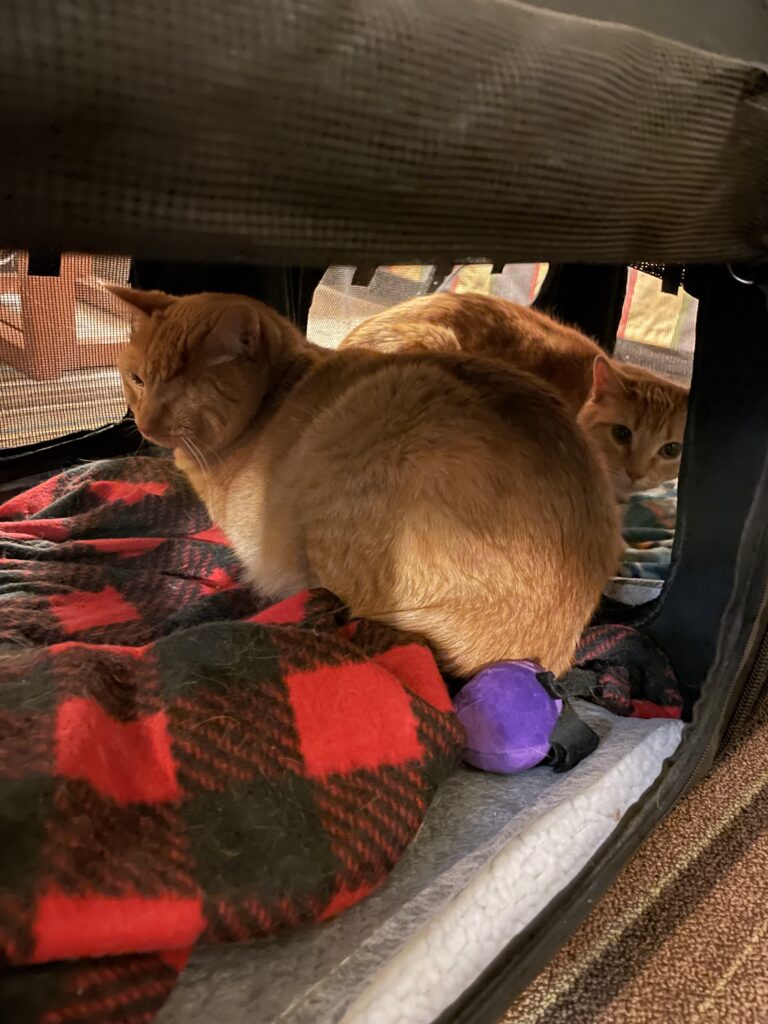
Example Timeline
April 20, 2017
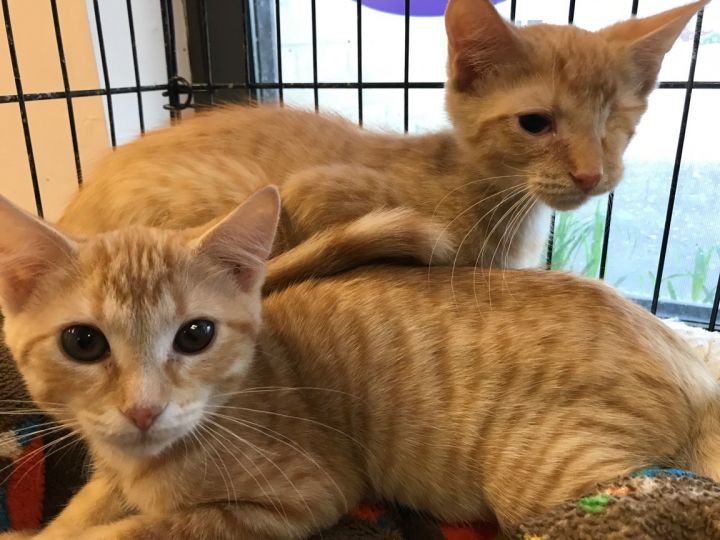
Biscuits and Gravy are Born
Biscuits and Gravy are born in a barn somewhere in Wisconsin. Biscuits is a female orange cat, one of the rarest colors for a female! Gravy is an orange male cat. They soon contract a virus that causes their eye damage
November 2017
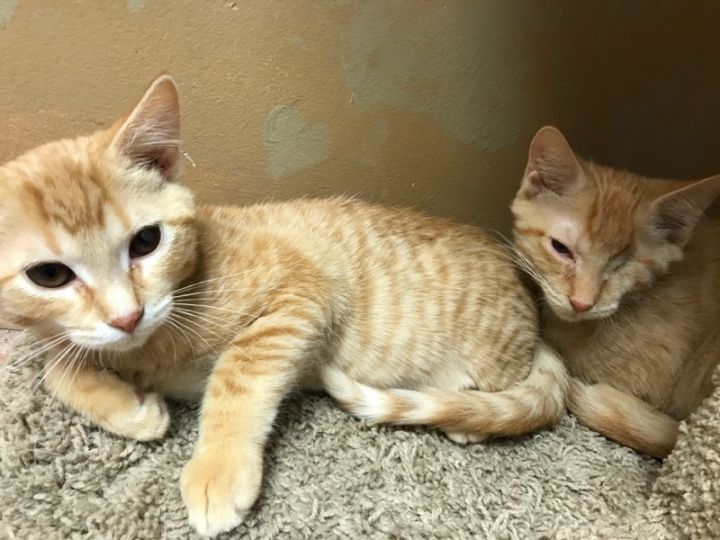
Spotted!
The cats are spotted on PetFinder by their future adopter when she’s coping with the loss of her previous two cats
December 2021
The Big Move
Biscuits and Gravy stay in a hotel for the first time during their move to Western Massachusetts