An information wall is a type of H5P content that allows you to create panels of information with custom labels, or properties. Information Walls are searchable and can include images, links, and formatted text.
Create an Information Wall
Create an Information Wall content type
- Navigate to the Dashboard of your WordPress site.
- From the main navigation menu on the left side, select H5P Content.

- Select the Add New button.

- A new page will open and display the H5P Hub.
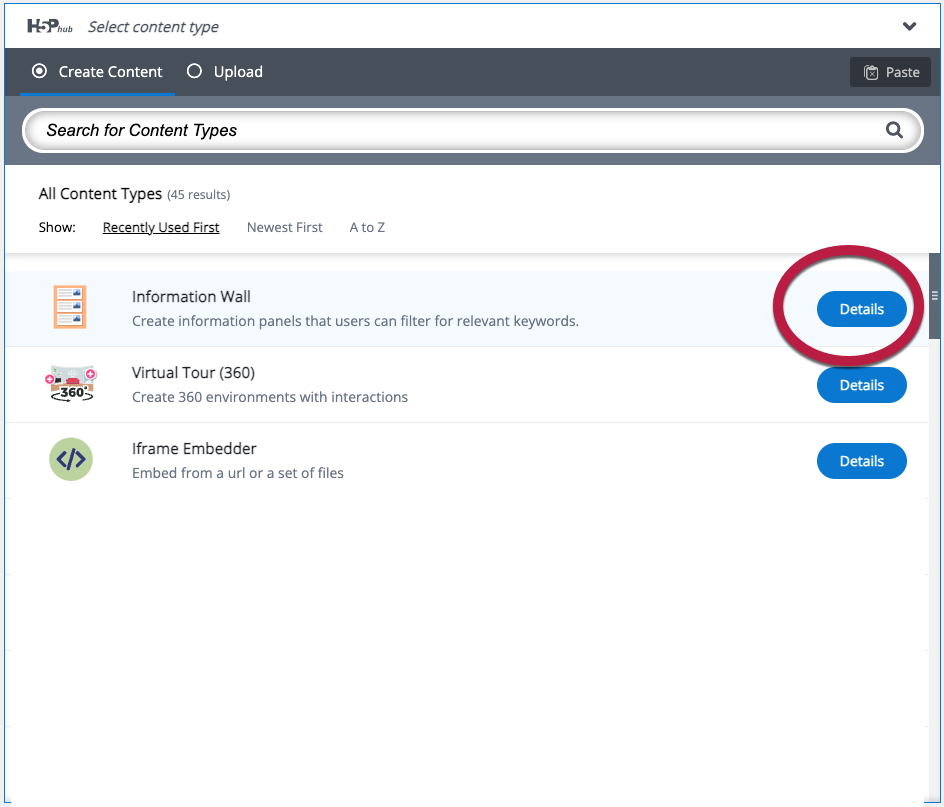
- Select Information Wall to open the Information Wall creator.
Create your Information Wall
On the Add New page, you’ll add images and text to create your Information Wall. There are three main sections you’ll need to fill out to create an information wall, a Title section, a Properties section, and the information Panels section.
Title Section
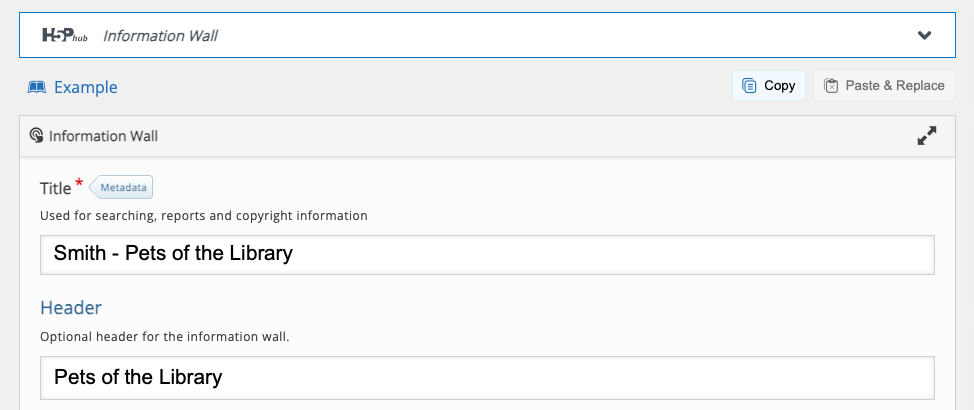
- Title: A title you’ll be able to recognize later. This won’t appear on your page, but it will appear on the list of H5P content.
- Tip: You can search the list, so choose a title that will be easy to find, like your last name and a short description, e.g. “Smith – Pets of the Library”
- Header: The title that will appear on your Information Wall when it’s displayed
Properties Section
The Properties section is where you’ll need to define each section that will appear in the panel. For example, if you want each panel to include a title or name, you’ll need to create a title or name property. If you want your section to create a description, create a description section.
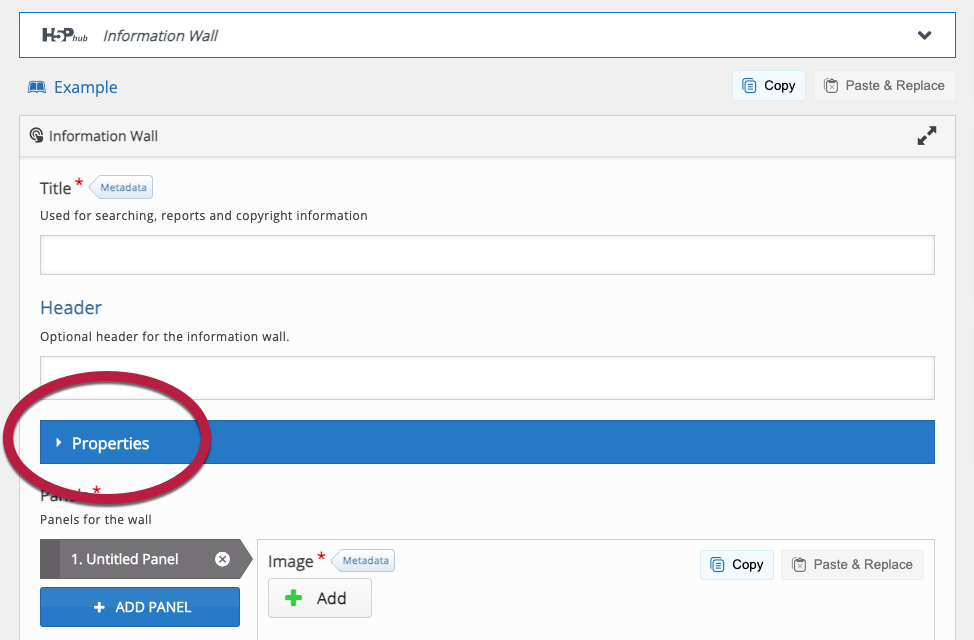
Note: The Properties section will be closed by default
- Click on the Properties dropdown to expand the Properties Panel.
- In the Label field, enter the name of your first label.
- To display the label in your information panel, check “Show property label.”
- eg, checking the box displays a property labeled Name as “Name: Sophia Smith“. Leaving the box unchecked displays the property labeled Name as “Sophia Smith“.
- To make sure that property is searchable, leave “Enabled searching in the property” checked.
- In the Label field, enter the name of your first label.
- To add another property, choose the blue +ADD PROPERTY button
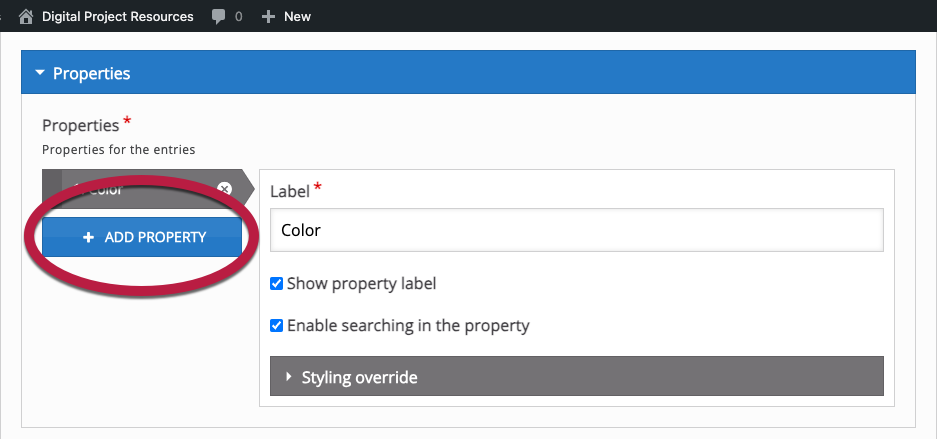
- Repeat until you’ve added all of the properties you need to include.
Panels Section
The Panels section is where you can add your actual information.
- Image: Add an image that represents your topic
- Alternative Text: Add a brief description of your image
- Entries: Add your content into each of the properties you created in the previous section.
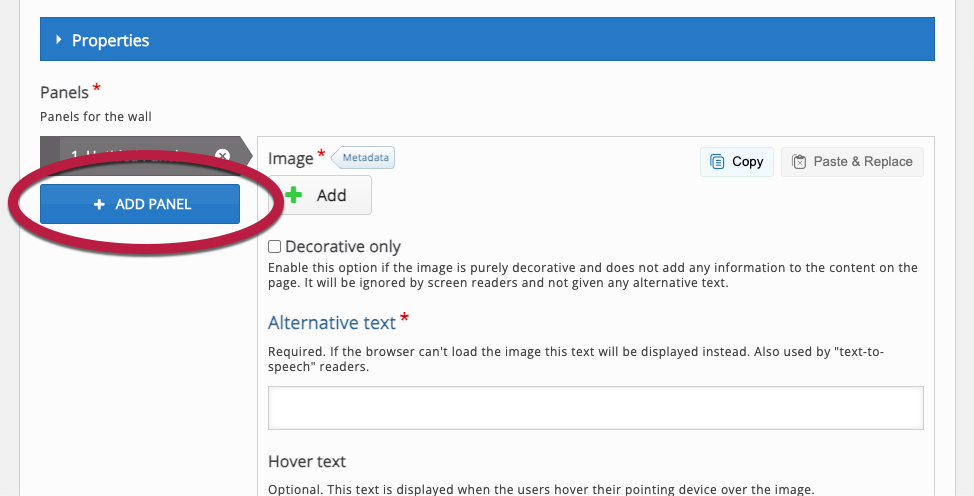
To add another Panel, choose the blue +ADD PANEL button.
Saving your Information Wall
Saving your Image Hotspot Content
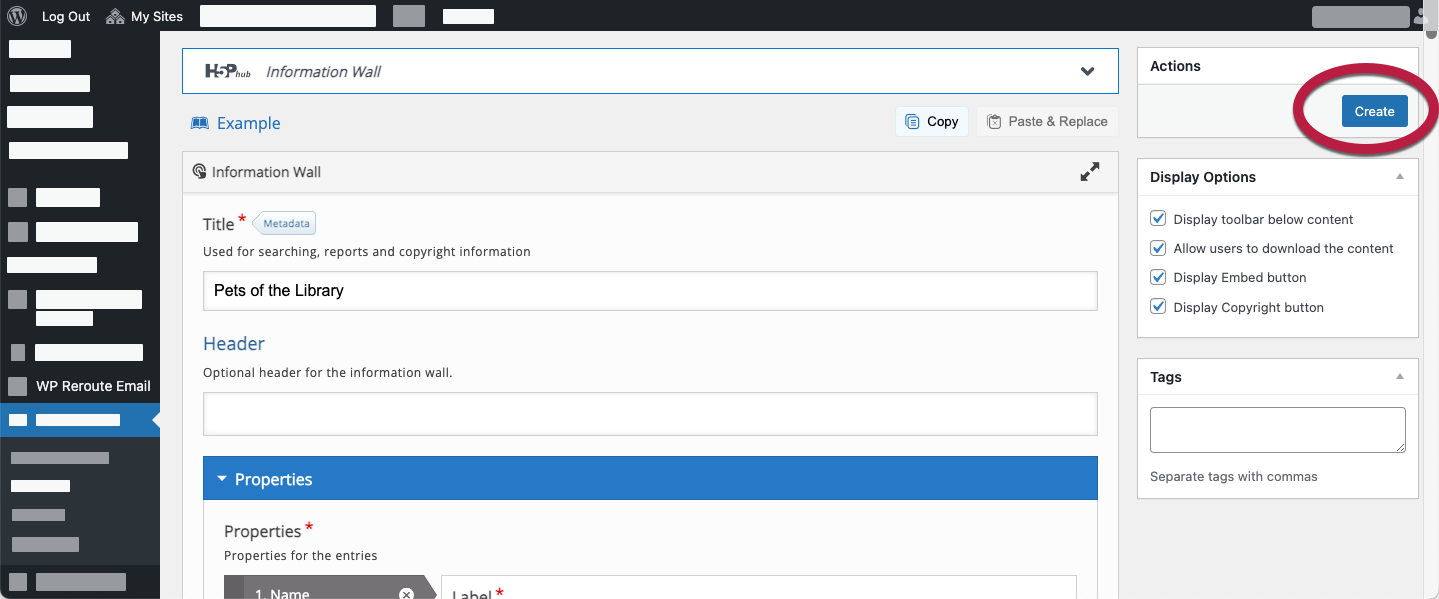
- When you have finished creating your information wall, at the top-right side of the page in the Actions block, select Create.
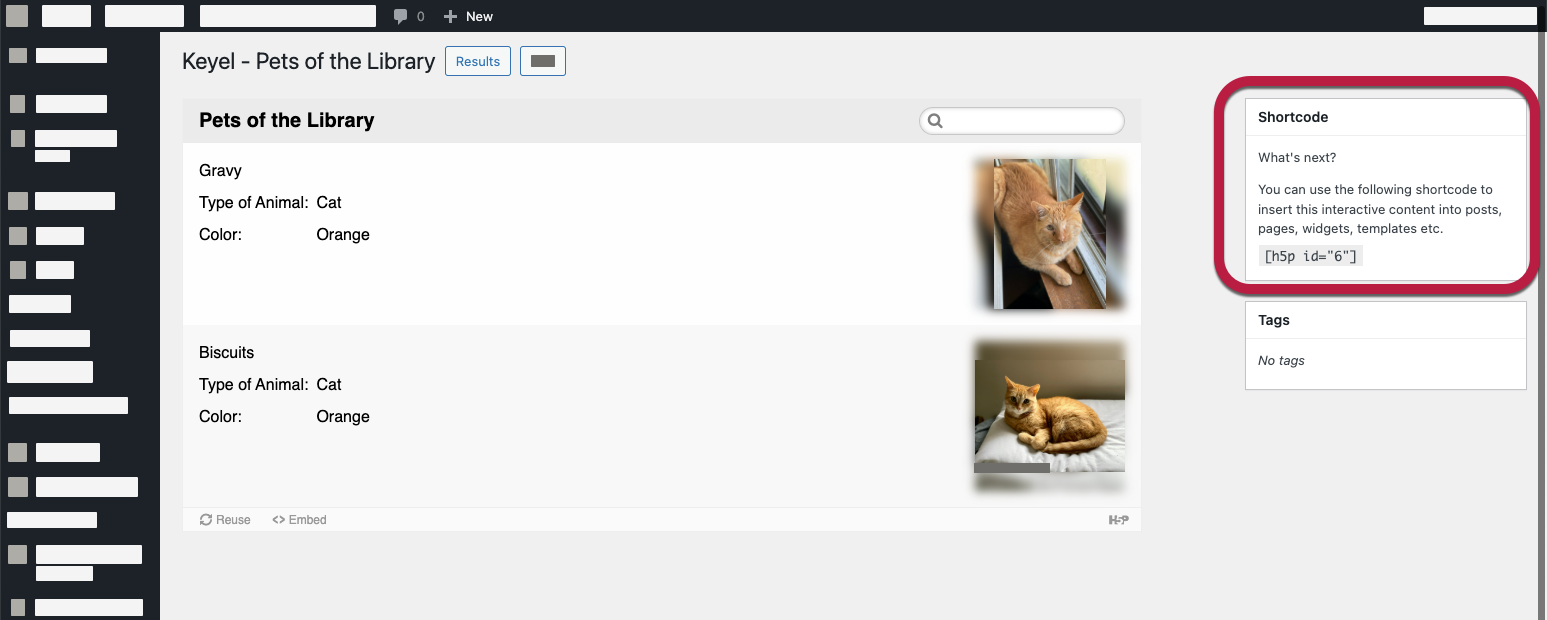
- The page will refresh showing the Information Wall final result on the left, and a Shortcode block will replace the Actions block on the right.
Add the Shortcode to the Post
The last step is to add the article to your WordPress post.
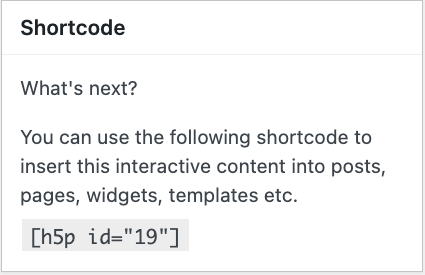
- Copy the short code displayed in the block in the top corner of your new iframe
- Navigate to the post or page where you would like to embed your article.
- In the Block editor workspace, add a new paragraph block wherever you’d like the Image hotspot to appear on your page.
- Paste the shortcode into the new paragraph block.
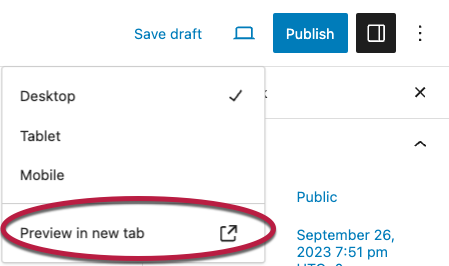
- To preview your new article, select the laptop icon from the top navigation bar, then select Preview in new tab.
- When you are finished adding content, choose Save draft or Publish to save your work.