Edit the Color Scheme of your WordPress site

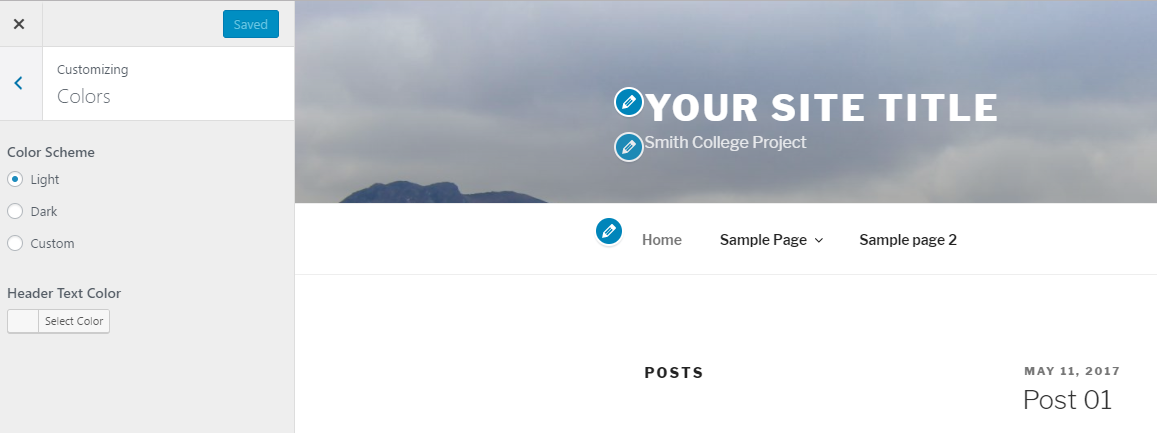
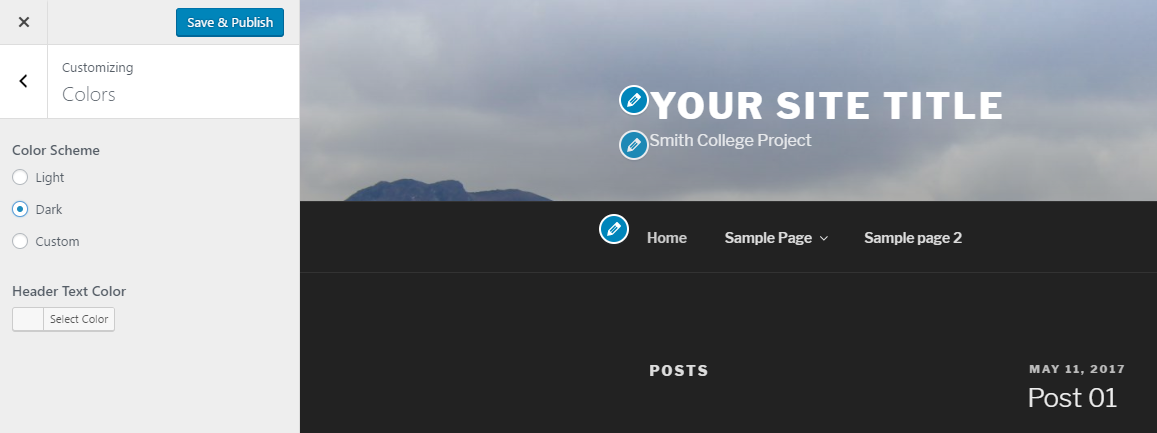
The color scheme of your site is an important aspect of the designing process. Keeping the harmony between the elements throughout the page is essential to keep users’ attention on your site. This page shows you a quick way to edit the color scheme of your site without the need to use any HTML.

Note: WordPress themes color scheme options are different from theme to theme.  Some themes give you many options, some are more limited.  For the examples presented on this page, the “Twenty Seventeen” theme was used. If you are using a different theme, you can still find all the options in the same way.

Edit the Color Scheme on WordPress

1

Navigate to the Dashboard of your site.

2

In the “Dashboard”, on the left side of the page, under the toolbar, click Appearance, then click Customize. The “Customizer” page will open.

3

In the “Customizer” page, on the left side of the page, click Colors. The “Customizing Colors” menu will be displayed.

4

In the “Customizing Colors”, select Light or Dark. The site preview will display the new color scheme.

Note: Keep in mind that, depending on the theme, the options on this page may vary. The theme used for this example was “Twenty Seventeen”.

Light Example

Colors - Light Preview Example
Colors – Light. Preview Example.

Dark Example

Colors Dark Preview Example
Colors – Dark. Preview Example.
5

Optional: You could also change the colors using the “Custom” and the “Header Text Color” options. However, for these options we highly encourage to start by developing a color scheme.

6

To confirm your changes, click Save & Publish at the top-left side of the page. Your new color scheme will now be displayed on your website.


We'd love your feedback!

Last modified: July 28, 2017