Adobe Express: Create a Narrated Book
Step 1. Go To Adobe Express
Visit express.adobe.com and log in with your Smith email (including the @smith.edu). When prompted, complete your login with your Smith username and password.
Step 2. Get Started with a Blank Canvas
To do so, select the Create new “+” button from the upper lefthand side of the home screen, and then choose Custom size:

Then, change the Units to whatever makes sense for your product, and fill in the desired Width and Height accordingly. For example, fill in 5.5 in as the width and 8.5 in as the height to make a digest (half-letter) sized book:

Now you’re ready to begin editing!
Step 3. Get Started With the Editing Interface
Rename your project something different than the default title in the upper lefthand corner of the screen. Note that Adobe Express will save your project automatically as you work.

Step 4. Add text & Image content
Look to the toolbar on the left-side of the page to add different types of content, including text and images.
Text
The Text tool will allow you to browse templated text options, or choose Add your text to create a text box on the page for you to start adding text from scratch.

Once you have a text box on the page, you can select that text box to edit it and change its properties. With the text box actively selected, the left-side menu will now offer you related text-editing options.

You can change the formatting of your text to ensure that it is readable over the background. Out of the text menu, you can select Effects to change text color, add a drop shadow, or add a shape behind the text.

Once you have settled on a style for your text, I recommend you copy and paste the text boxes from page to page, editing each one for content only, to avoid having to re-create the style choices every time.
Media
The Media tool can be found under the “+ Add Content” option in the toolbar. There, you can choose from Adobe stock images, as well as an Upload from device option to import your own saved files.


Once you upload a media file or select an item from the stock library, it will populate on the slide.
You can then edit/adjust the properties of each file if you first select the item on the slide. Notice that the left-side menu will update with the related options for that item, while it is actively selected, just like a Text item:

As you add content to your slide, the layers panel to the right side will become useful if you have to re-order or change the stack of the items on your slide. To change the order, click and drag a layer in the panel to the top or bottom of another layer in the panel.

Step 5. Add/Edit each page of your book
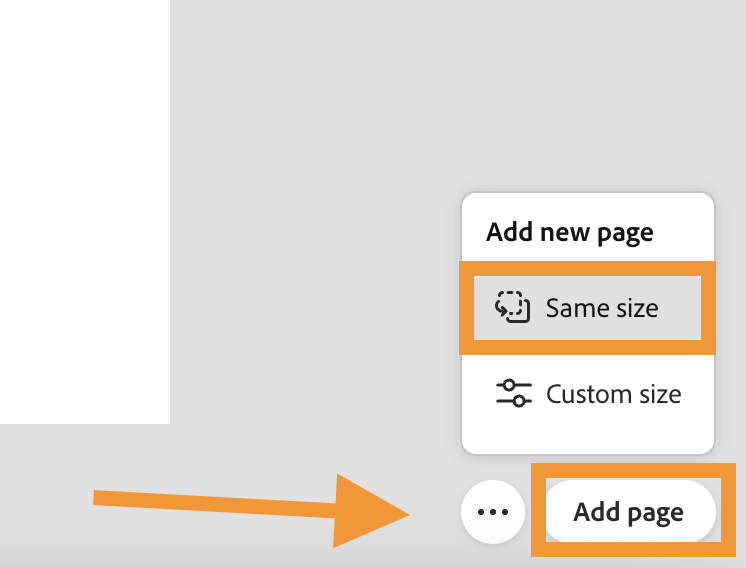
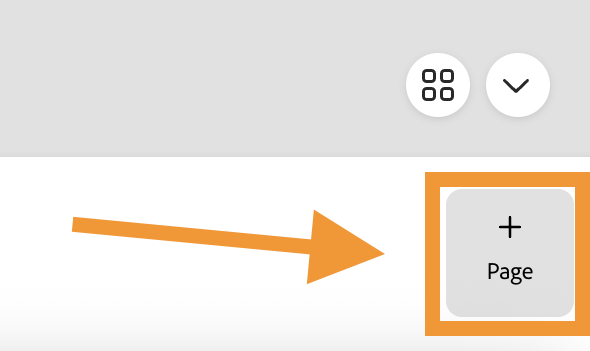
Work on adding each page to your book with text and imagery. To add a new page, look to the bottom lefthand side of the screen and choose either Add page or + Page. Choose Same size to match the other pages you’ve already created.
Step 6. Record narration on each slide
To narrate each page of your book, you can use Adobe Express to record a voiceover directly into this document. However, to set up the project correctly for easy downloading, you will need to do this on the first page of your book ONLY.
To get started, you can select the first page of your book and find the Record voiceover option under the Media tool’s Music tab.
Importantly, when you first select Record voiceover, most browsers will ask for permission to access the microphone on your computer. Choose Allow to grant access and continue.


Record your voiceover for that first page, and you will notice that a timeline shows up at the bottom of the screen.
You will be recreating the rest of the pages of your book on this timeline by adding new slides or scenes as Adobe Express calls them.
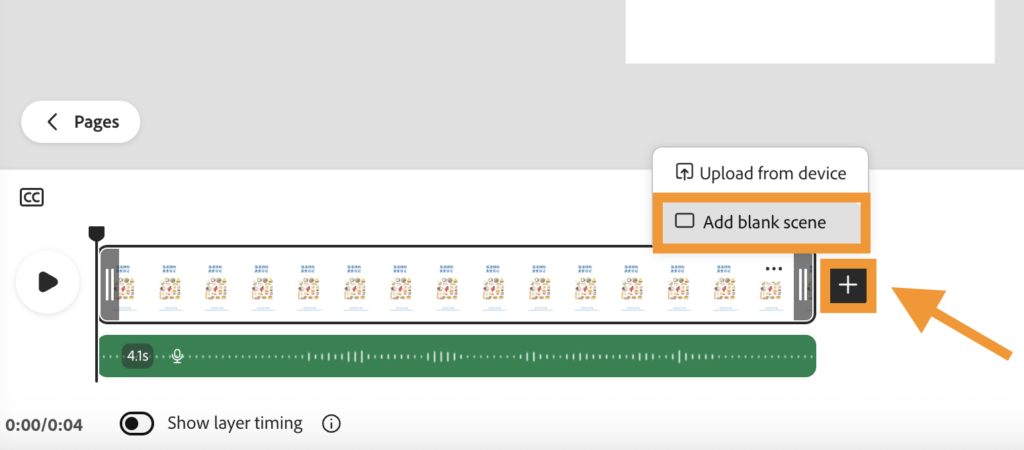
To do so, you can choose the + symbol after the first slide, and select Add blank scene. You can then copy the content from your other pages directly onto these new blank scenes attached to the first page, in this way. To navigate back to your other pages, select < Pages just to the left top of the timeline.
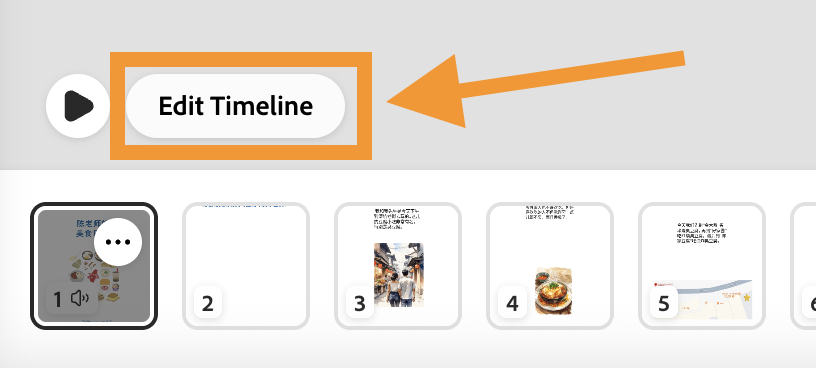
To get back to the timeline on the first page, select that first page once again and choose Edit Timeline.
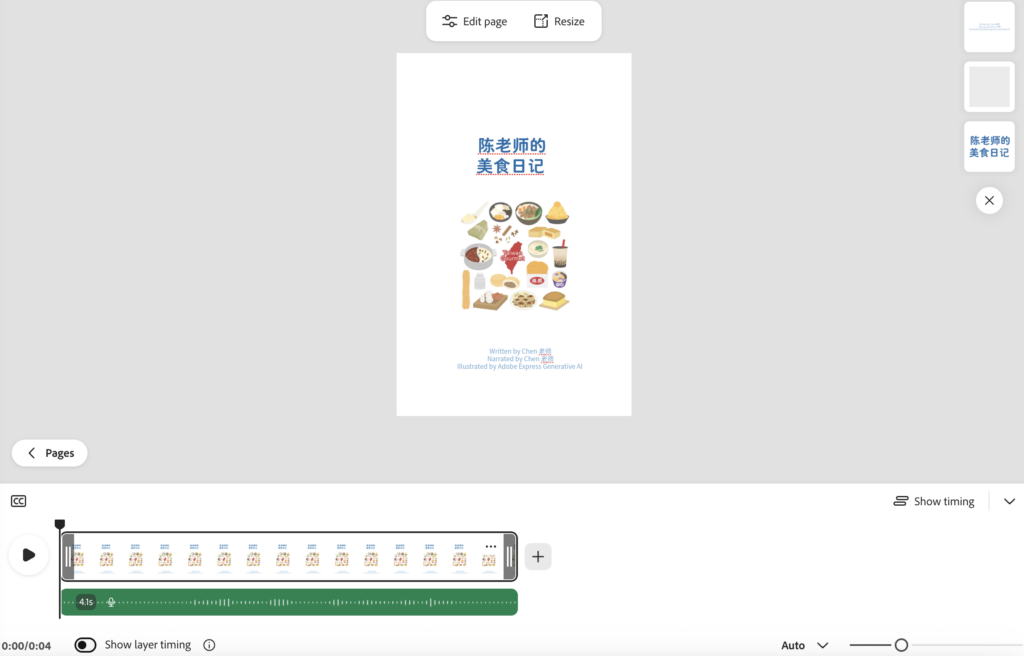
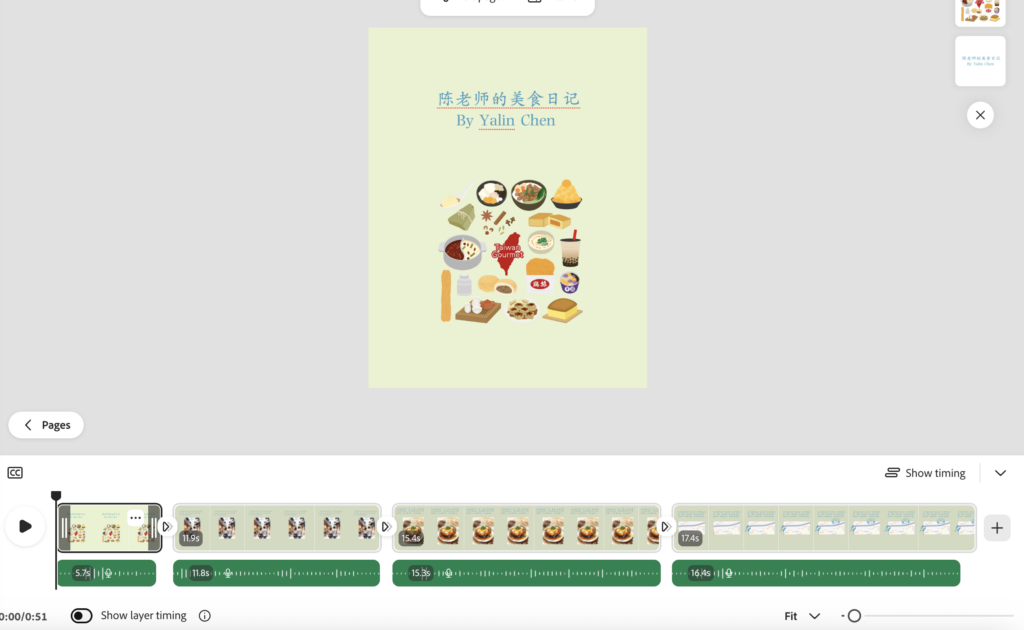
You should end up with a timeline full of scenes that contain all of the pages of your book. Once you have all of the pages copied into scenes on this timeline, go through and record the voiceover for each one as you did the first page.
Ultimately, your timeline should looks something like this:
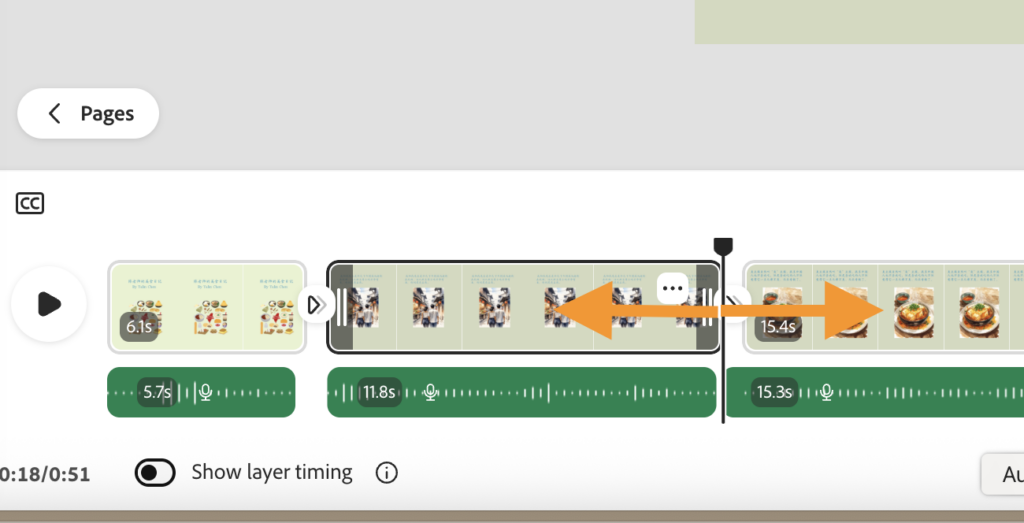
The duration of the scenes can be adjusted to match the length of your recorded narration for that page by clicking and dragging the edges to extend/shorten them.
Step 7. Export the Narrated Video
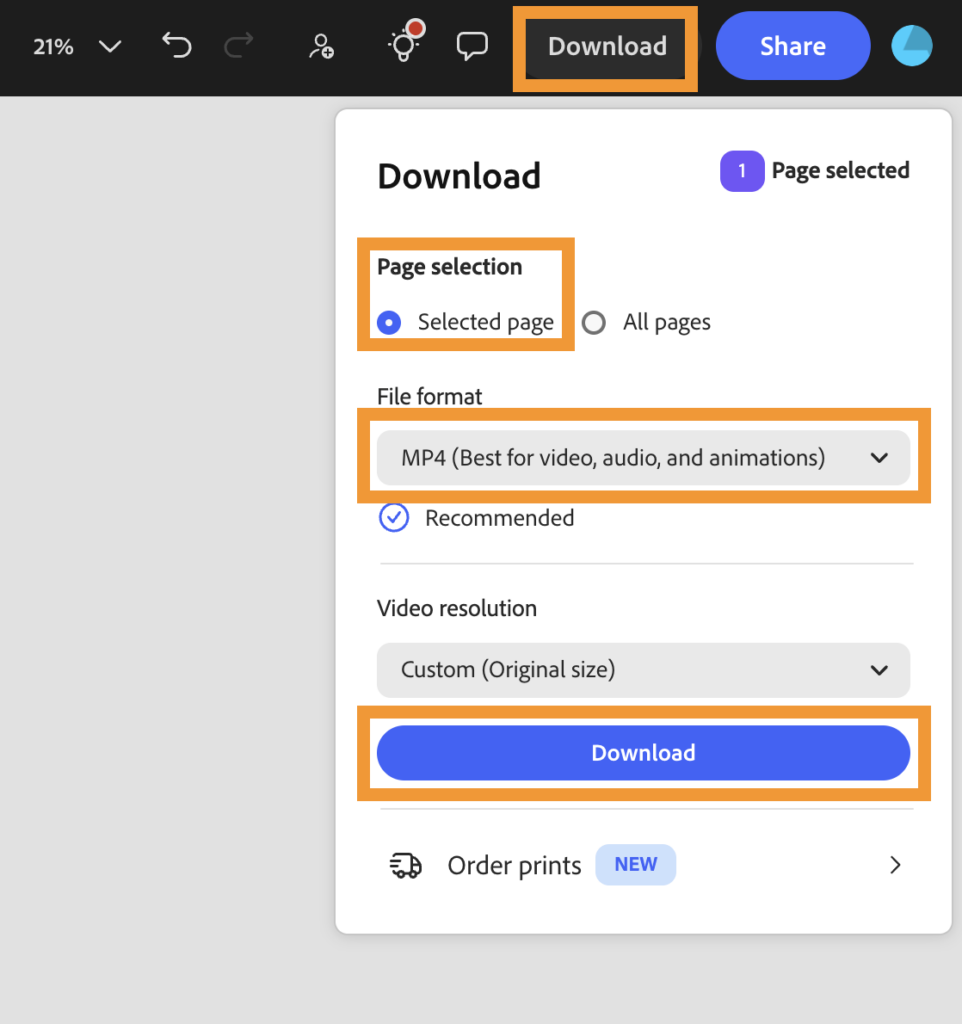
When you are ready to export your project, you’ll have to select the first page of your book that contains all of the narration. Then, choose the Download option in the upper righthand corner, make sure to choose Selected page, and finally select MP4 as the the File format. Then Download the video to your computer.
Step 8. Upload Narrated Video to Panopto
Once you have the video of your narrated book downloaded, you will have to upload that MP4 file to Panopto. This will allow us to store the video on Panopto and link it via QR code in the printed version of your book, for readers to scan and listen along as they read.
To upload your video to Panopto, follow along with these instructions.
Step 9. Add qR code & Export the Print copy
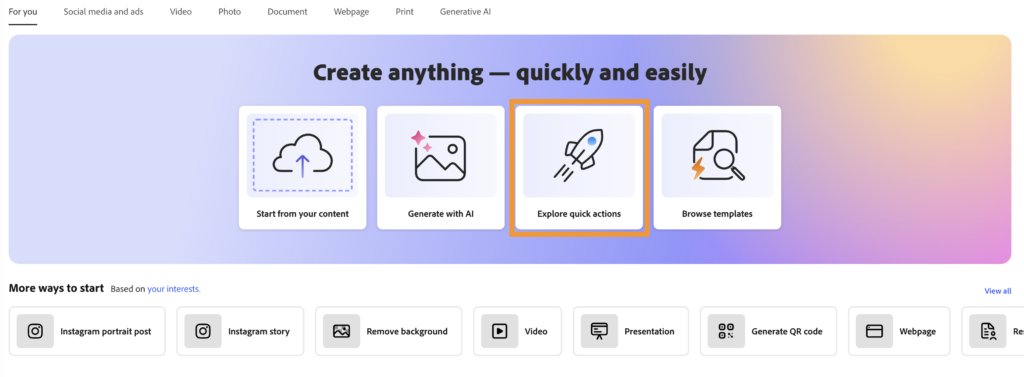
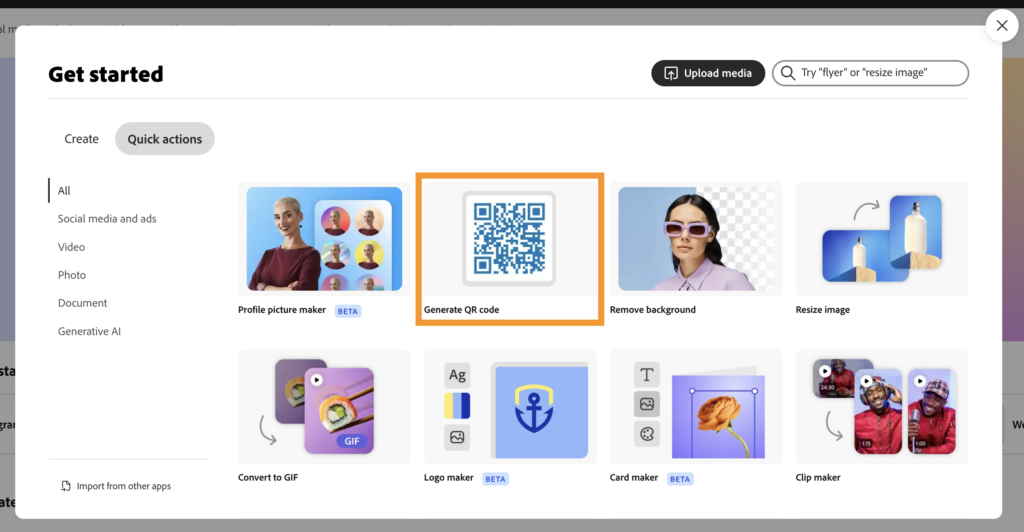
Create the QR code that links to your narrated video by using the Quick Actions menu in Adobe Express. On the home page, look for the Explore quick actions menu and select Generate QR code.
Copy the link to your video on Panopto to create the QR code. Once you have saved your QR code, add it to the last page of your book.
When you are ready to export your completed book to print, choose the Download option in the upper righthand corner, make sure you select All pages this time as the page selection, and finally choose PDF Print (Best for printing). Then click to Download your book!