H5P Allows you to create images with “hotspots” – buttons that users can click to see additional content.
Create Interactive Images using H5P Image Hotspots
1
Navigate to the “Dashboard” of your WordPress site. On left side menu, click H5P Content, then Add New.
Note: If you do not see the H5P Content feature, visit the Install H5P on Your WordPress Site document.
2
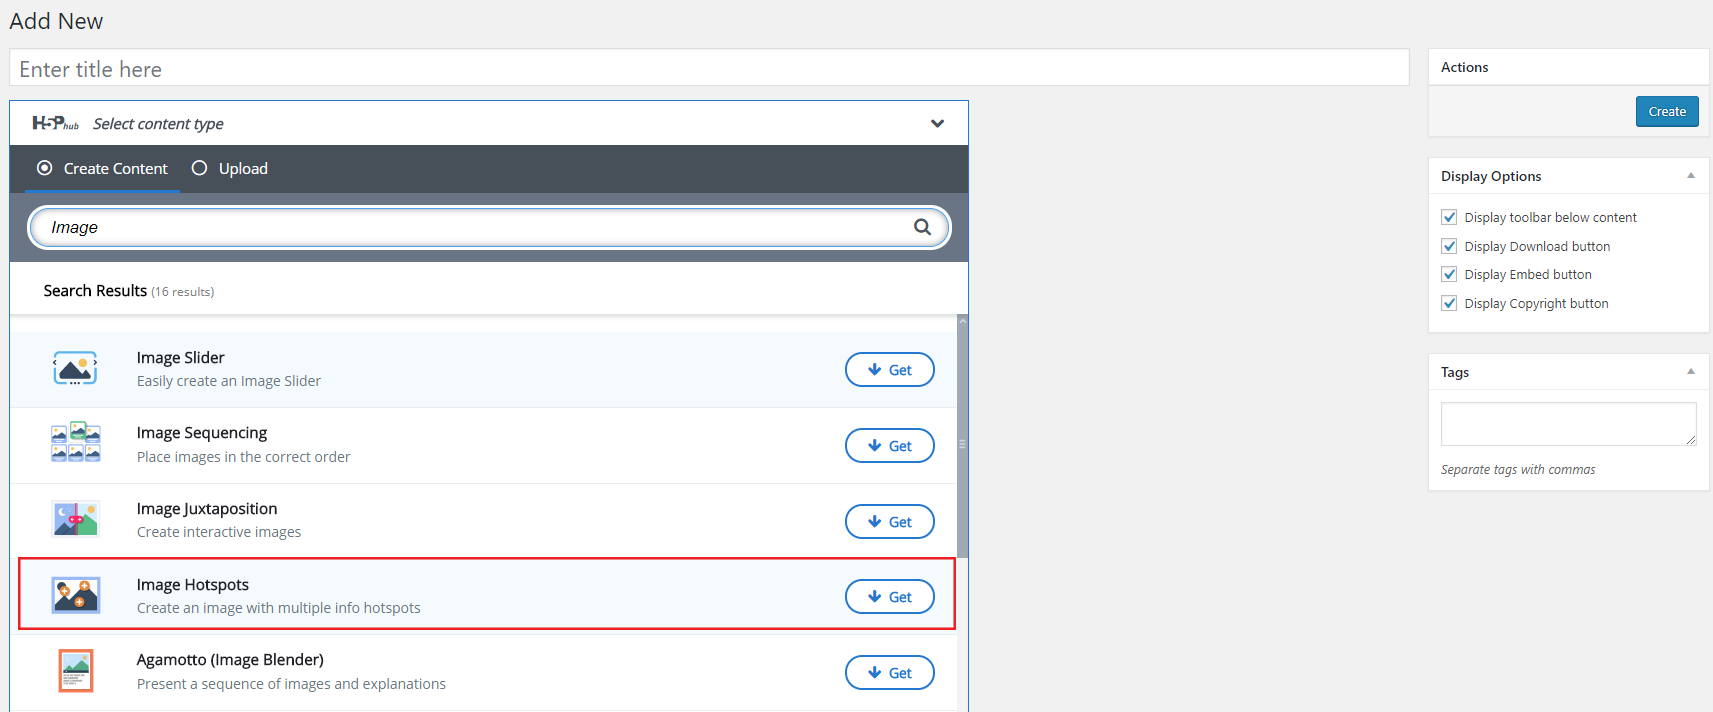
In the Add New page, add a title to your H5P content. Then, click the Select content type drop-down menu. Lastly, search for Image Hotspots. Click the Image Hotspots row.
Note: If this is your first time using Image Hotspots, you need to install the feature on your website. Click Get, then Install. Once installed, click Use to continue.
3
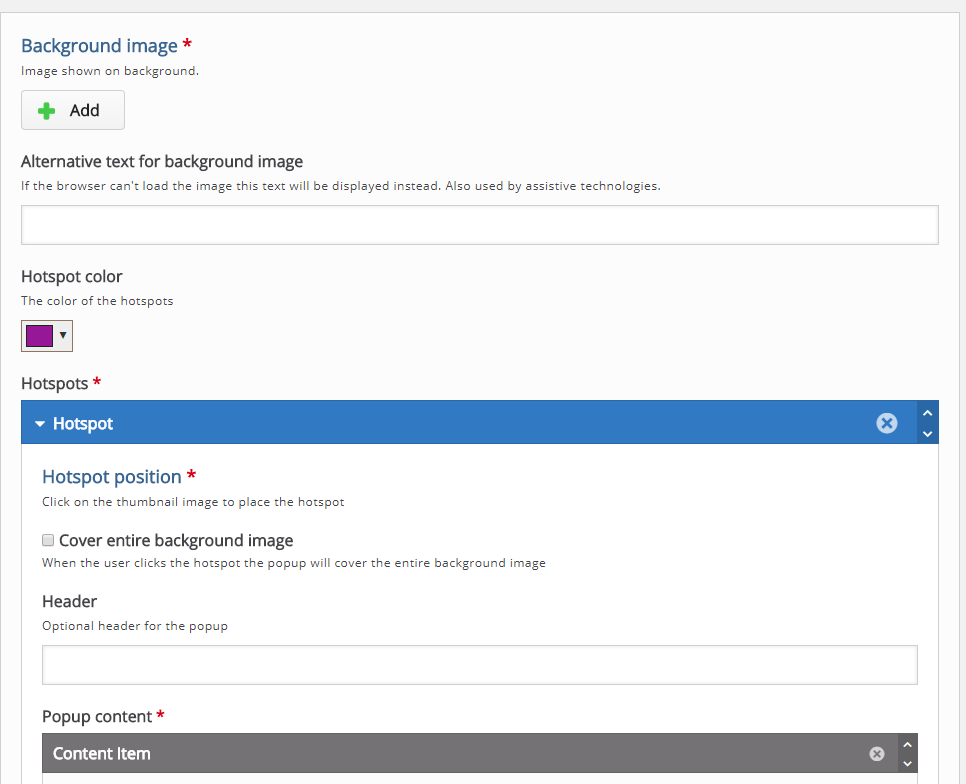
The Image Hotspots menu will appear on the screen. To add your image, under the background image, click +Add. Then, select the hotspots desired color.
4
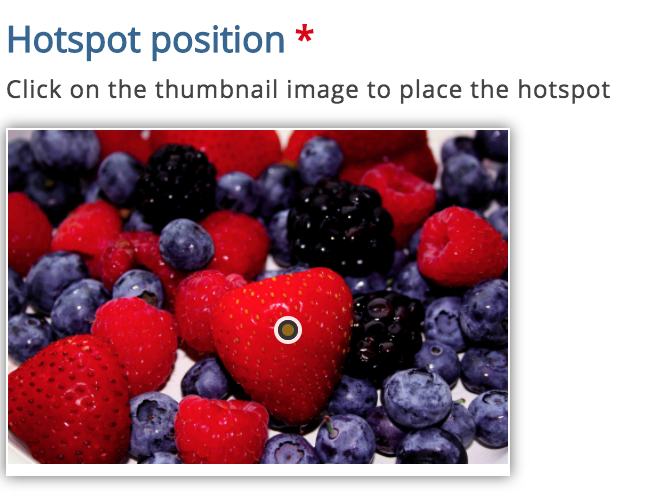
From the “Hotspots” section, click the image thumbnail to select the hotspot location. Then, select whether the hotspot will use text and/or video.
5
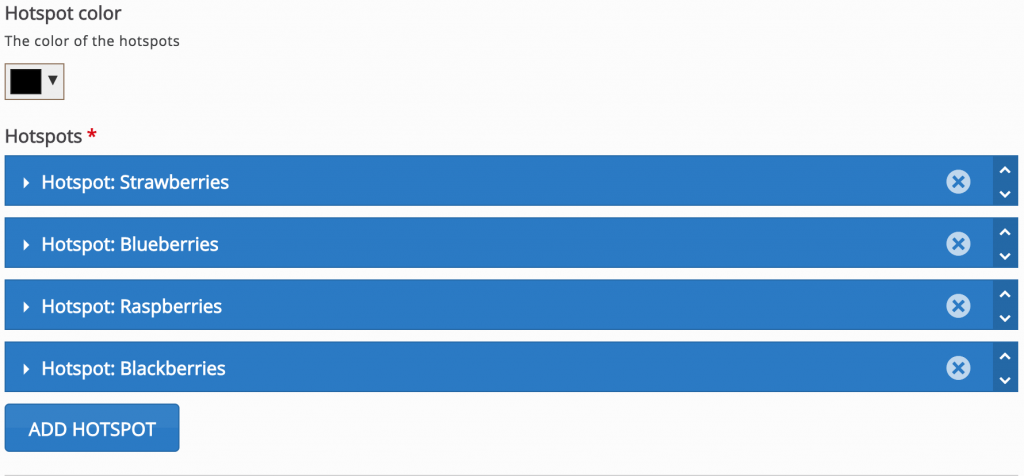
To add more hotspots, simply click the Add Hotspot button at the bottom of the page.
6
When finished, at the top-right side of the page, click Create. The page will refresh showing the Image Hotspot final result on the left, and a shortcode on the right.
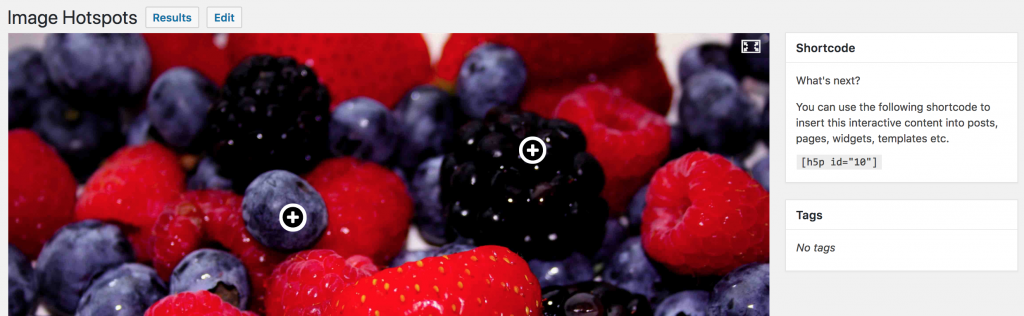
7
Copy the shortcode and paste it into your WordPress post, page, widget, or custom field. When the page is published or updated, the image will be displayed on the front end of your WordPress site.
We'd love your feedback!
Last modified: August 30, 2018