WordPress widgets allow you to add functionality and content to sidebars and footers (and sometimes other spots) in your site without the need to write any code. Usually if you have something that you’d like to show up on multiple pages or posts, you can put it in a Widget. Widgets cover a broad arrange of WordPress items, from archives and categories to search bars, calendars, and social media features. WordPress comes with a number of widgets built in and others are available through plugins.
Edit Widgets on WordPress
Add Widgets
1
Navigate to the Dashboard of your site.
2
In the “Dashboard”, on the left side of the page, under the toolbar, click Appearance, then click Widgets. The “Widgets” page will open.
3
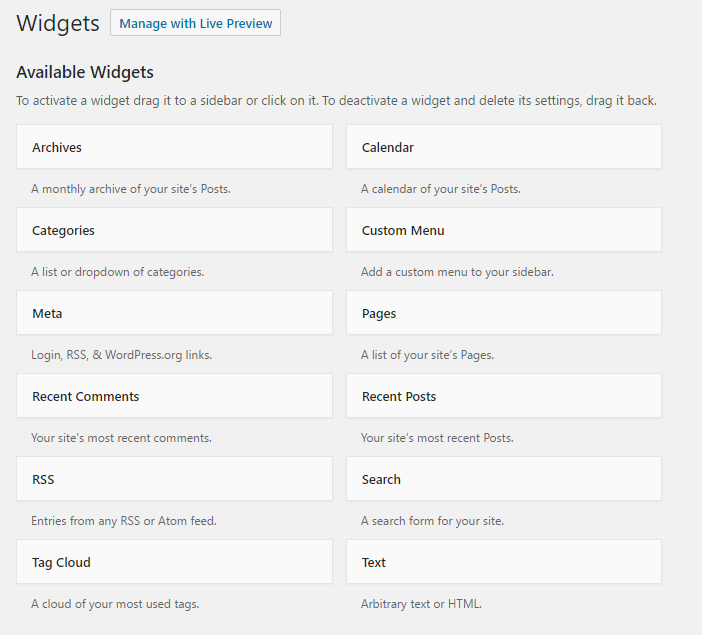
In the “Widgets” page, on the left side of the page, available widgets are displayed.
4
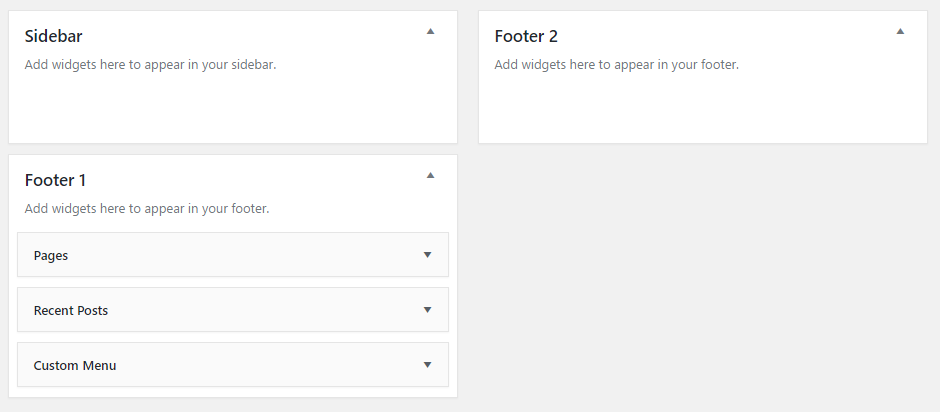
On the right side of the page, the locations where widgets can be added will be displayed.
Note: These locations vary depending on the theme you have selected.
5
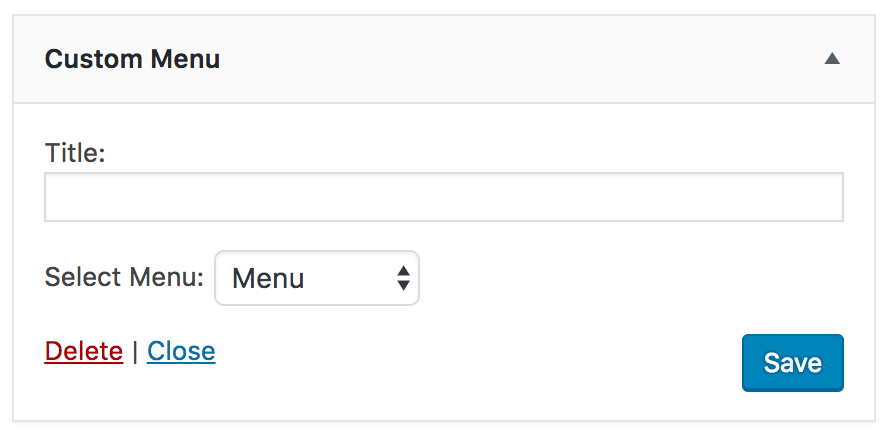
To add a widget to a specific location, simply drag and drop the desired item from the “Available Widgets” list into the location block area. The widget editing options will open.
6
Name the widget and define the parameters prompted. To confirm the widget creation, in the widget setting block, click Save. To delete any widget, in the widget setting block click Delete.
For more information about widgets, see WordPress Widgets.
We'd love your feedback!
Last modified: July 28, 2017